How to turn a Vintage Zenith Radio Cabinet into a Lighted Bar Part 4: Refinishing
Refinishing
This is a guest post written by my wife. She is far better than me at detail work, so here is her account.
Painting the Inside
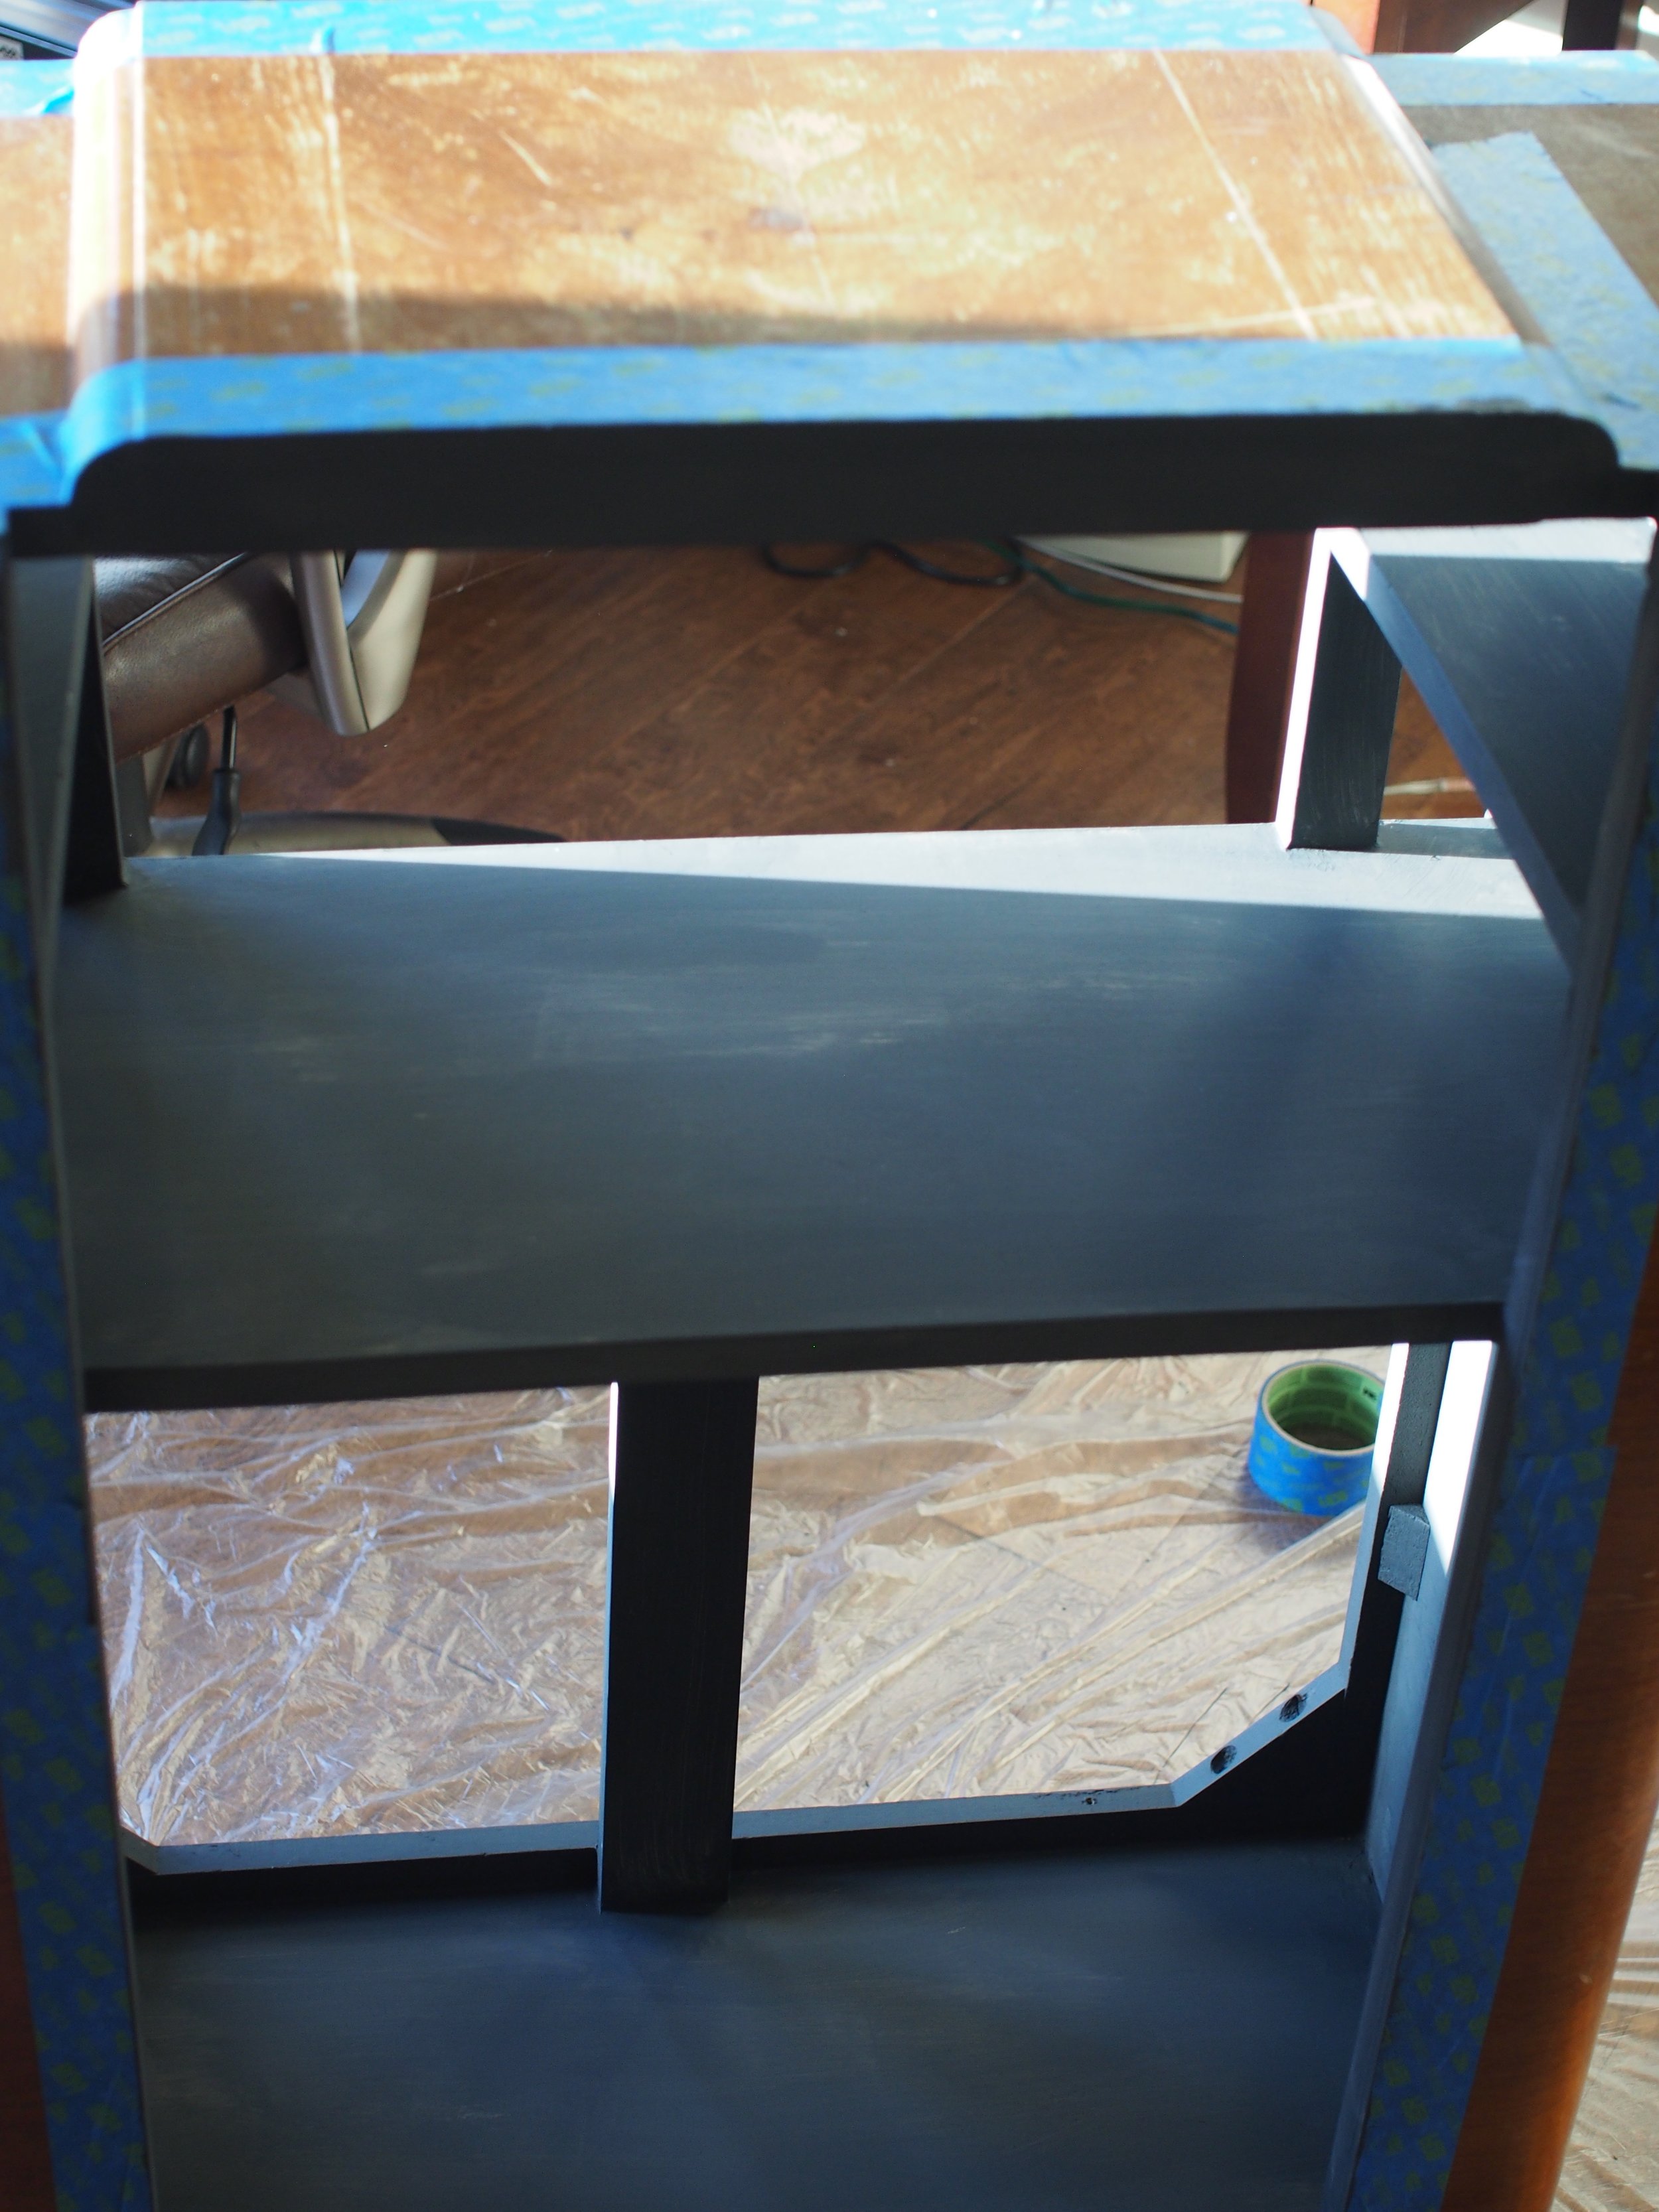
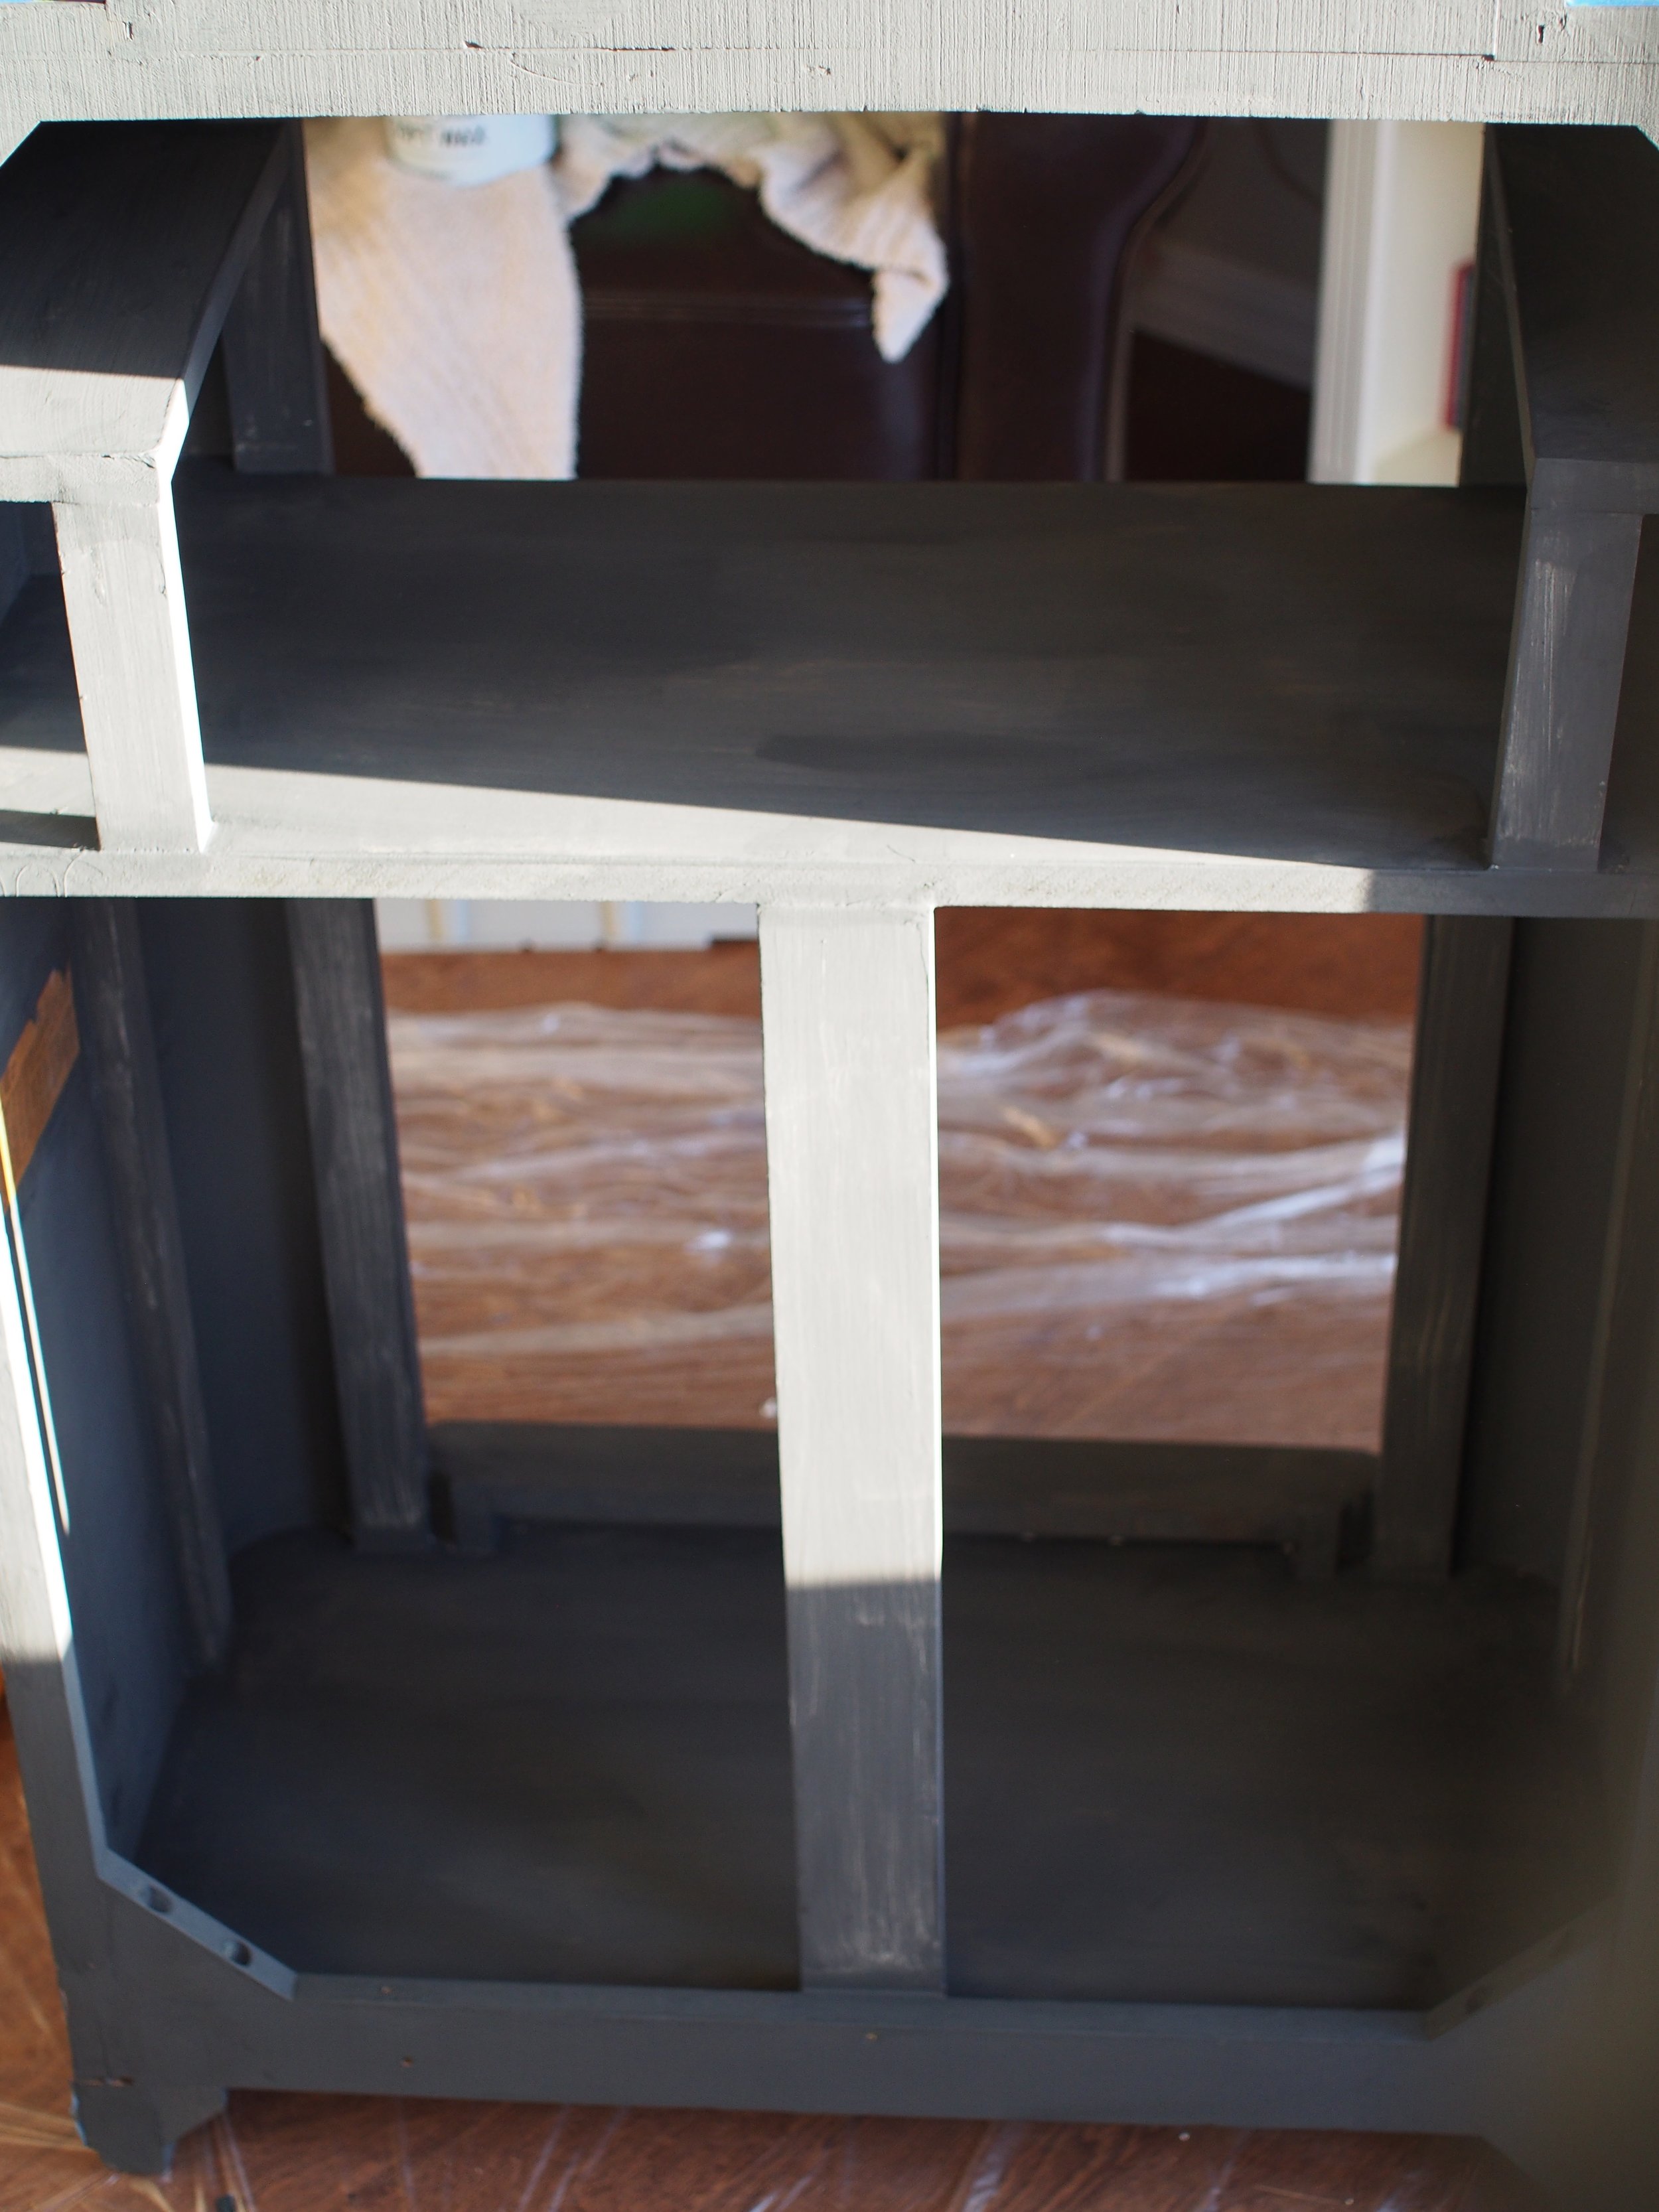
I started the refinishing work by painting the inside of the cabinet. Because the wood on the interior of the cabinet was never meant to be seen, it was not the highest quality, it was sealed with something that made it blue, and we used MDF for the shelves we made. All of this just meant that painting was our best option.
I used Annie Sloan Chalk Paint in Graphite, and sealed it with the clear wax. There are more thorough tutorials on Pinterest if you are interested in the details of that process. I also used Mod Podge to glue the repair card we found in the cabinet onto one of the shelves, and to seal the the Zenith part number label.
First coat on the shelf
First coat on the back
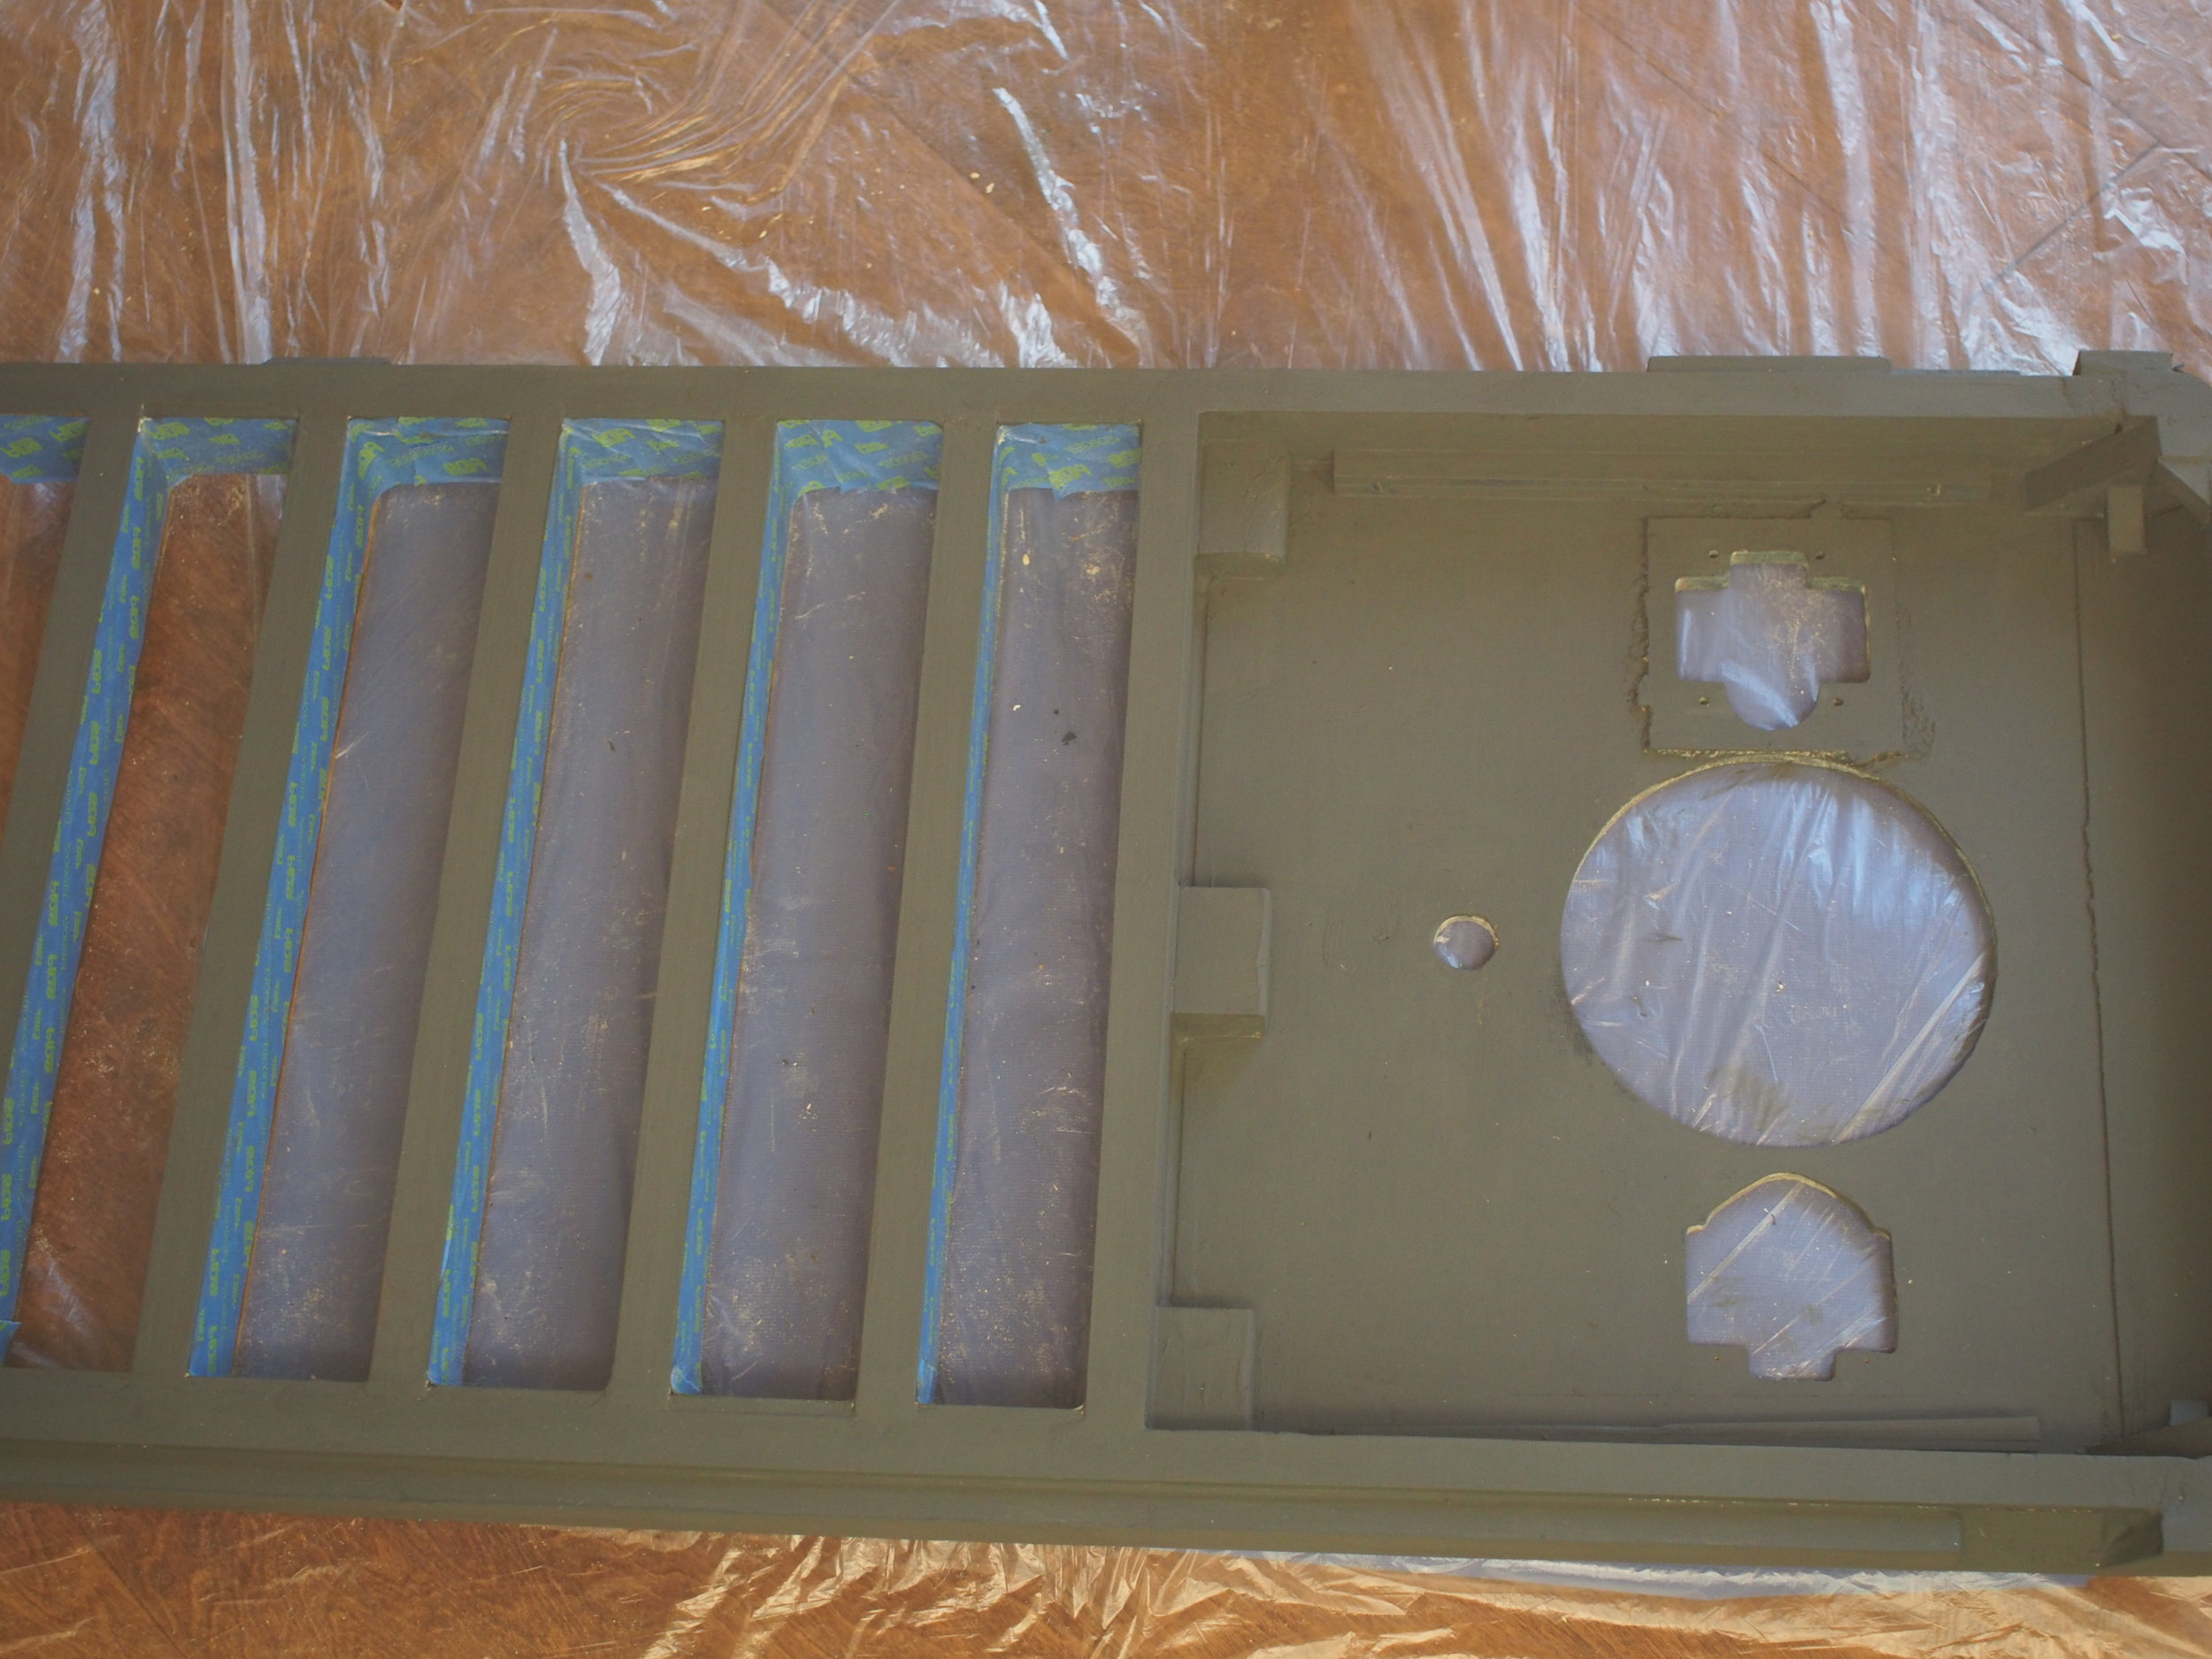
Painting the door
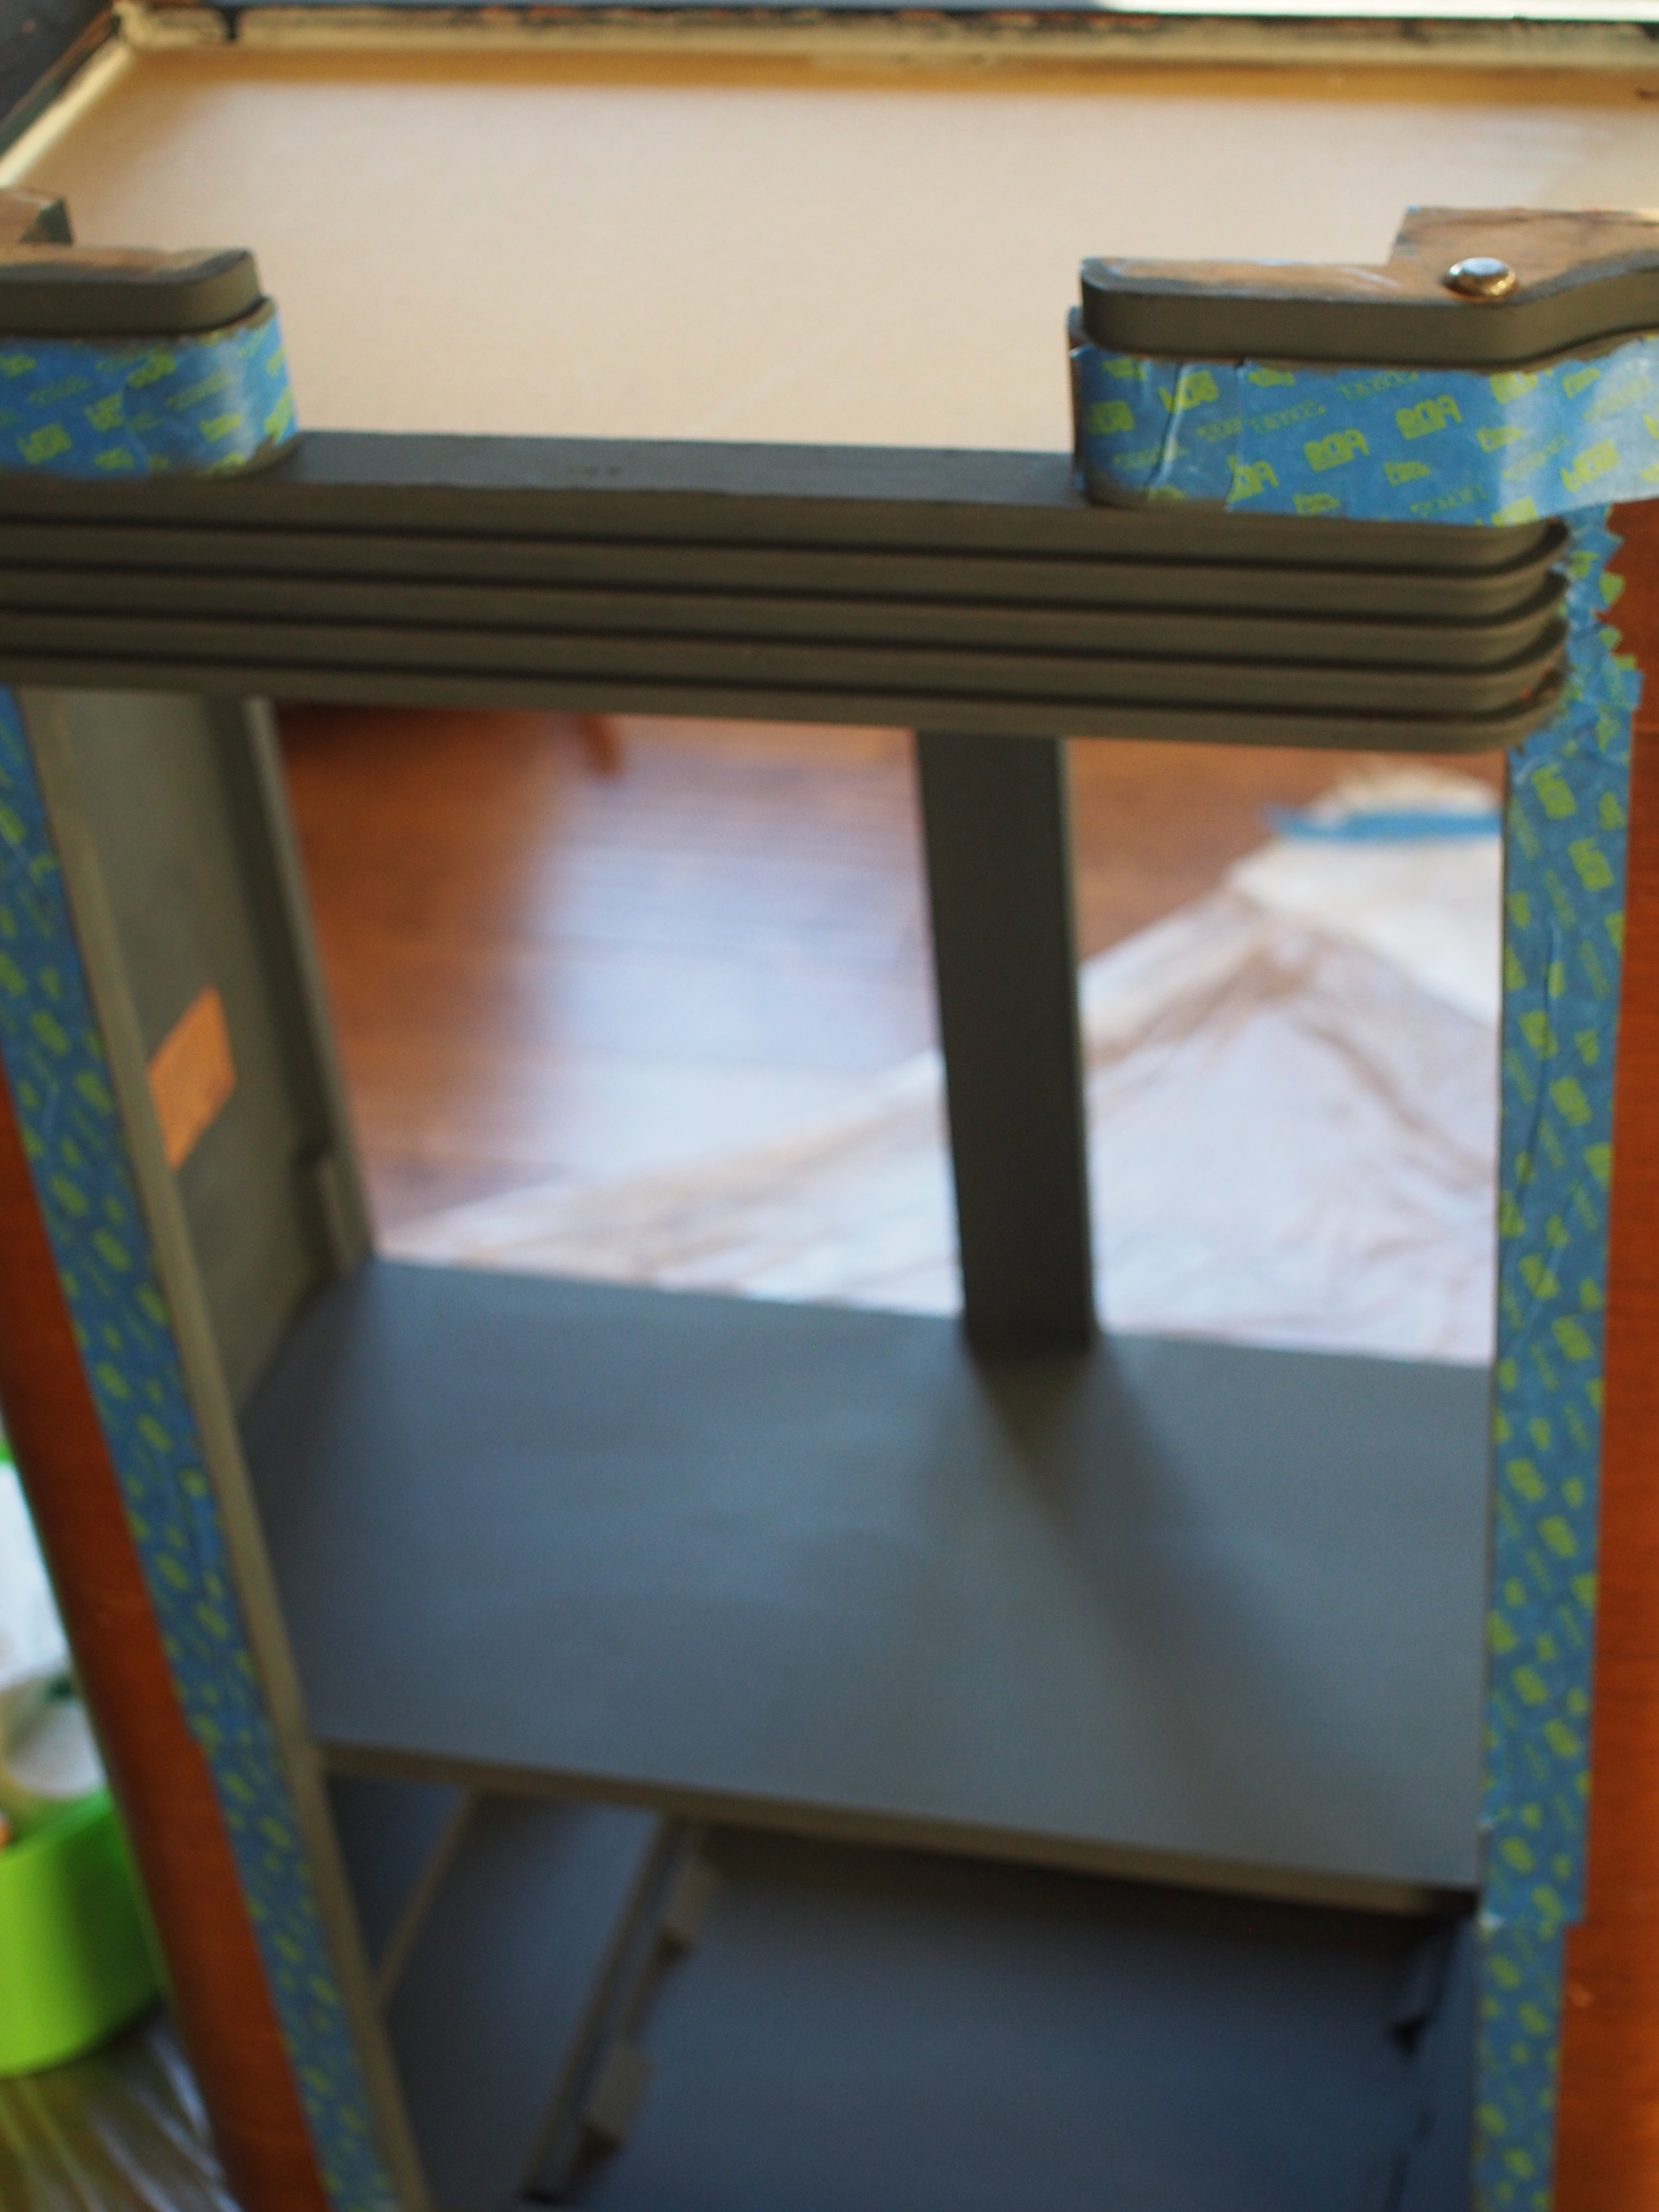
Finishing the bottom
The original feet of the cabinet
Refinishing
After finishing the inside, I turned my attentions to the outside. I looked up various tutorials via Pinterest to get ideas for ways to possibly/hopefully repair the cabinet without refinishing. I decided to try the Howards Resto-a-finish and Feed-n-wax combo. The products were easy to use, and did improve the appearance of the cabinet, but the finish, especially on the top, was just to far gone.
It took me a long time to come to terms with the fact that I was going to have to strip and refinish the cabinet. I had never refinished anything before, so I bought some vintage desks and did those first so that I would have some experience with the process. It also took some time to find replacements for the labels by the knob, as well as a replacement for the faux finish on the front of the cabinet where the speaker fabric used to be. Also, I was pregnant and everything just takes longer and is more emotional then it needs to be, so if you're wondering why it took us so long to finish...there you go!
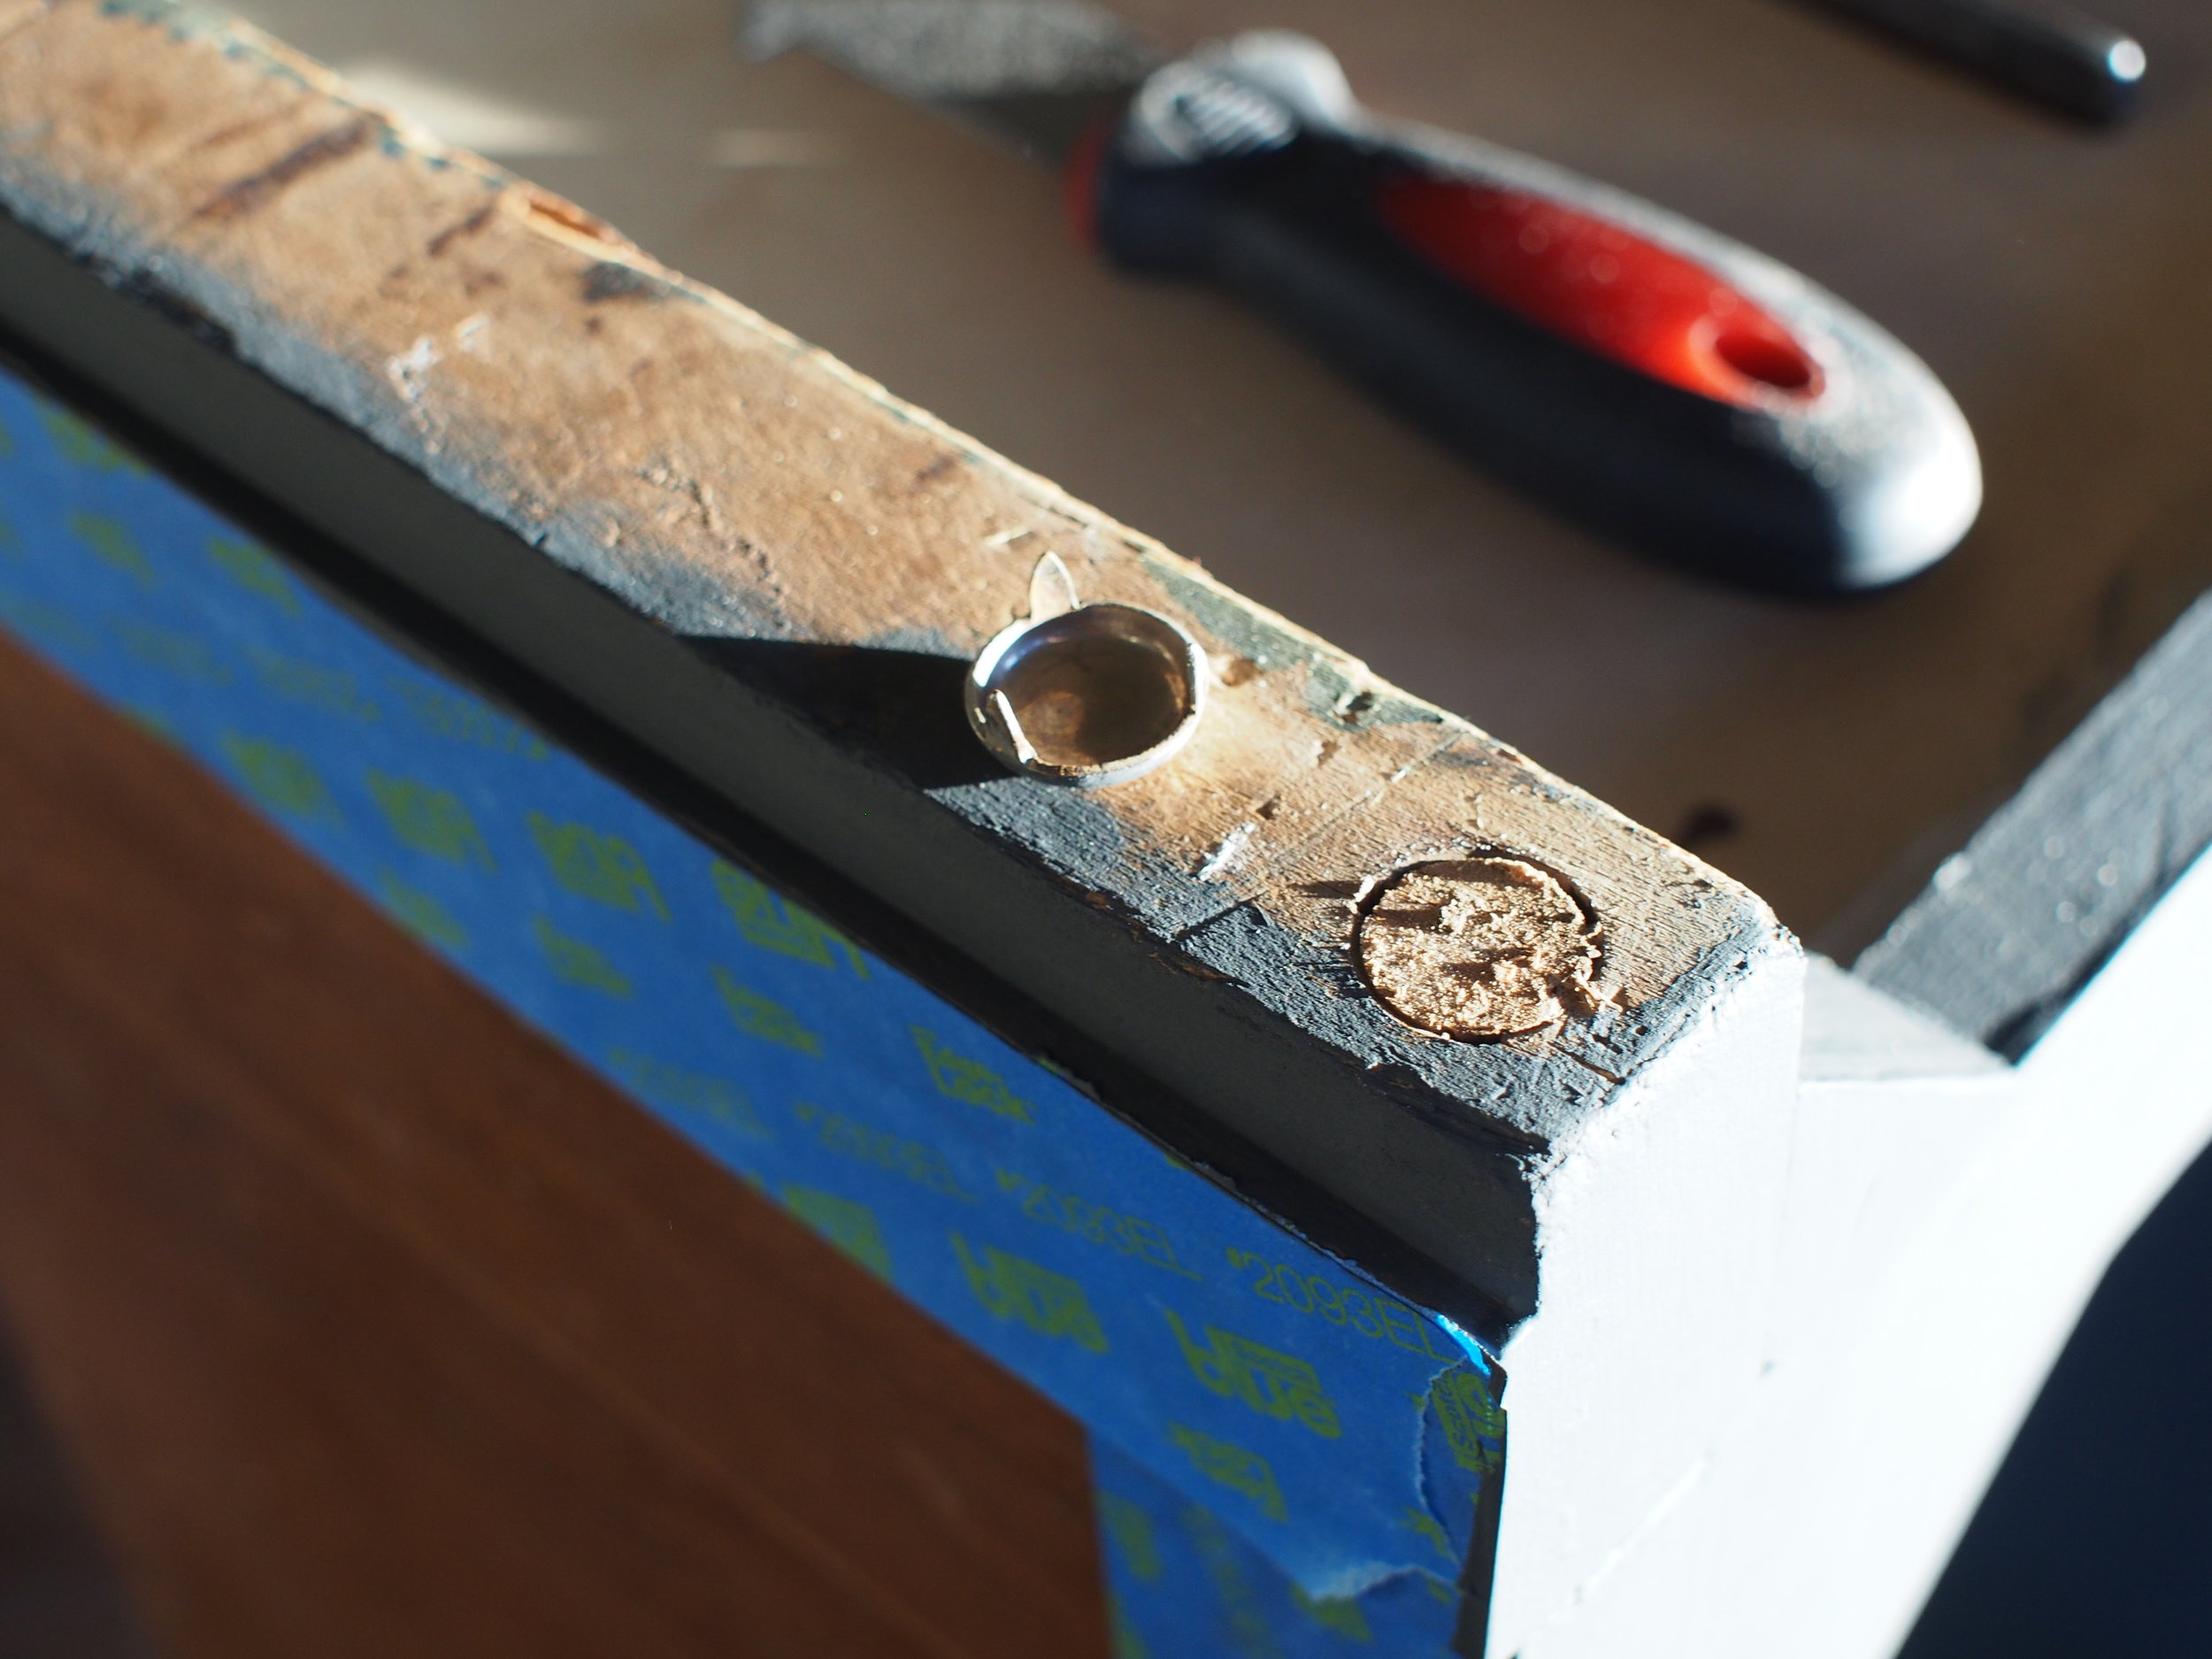
I decided to strip the cabinet with our orbital sander instead of using a chemical stripper, mostly because I was pregnant and wanted to minimize my exposure to chemicals (the area was always well ventilated and I always wore PPE!). I was taking a risk by sanding because the cabinet is a veneer and there was a good chance I would sand through the nice wood veneer and end up with the ugly wood underneath. Thankfully, that didn't happen, and the process of stripping the cabinet portion was fairly quick and easy.
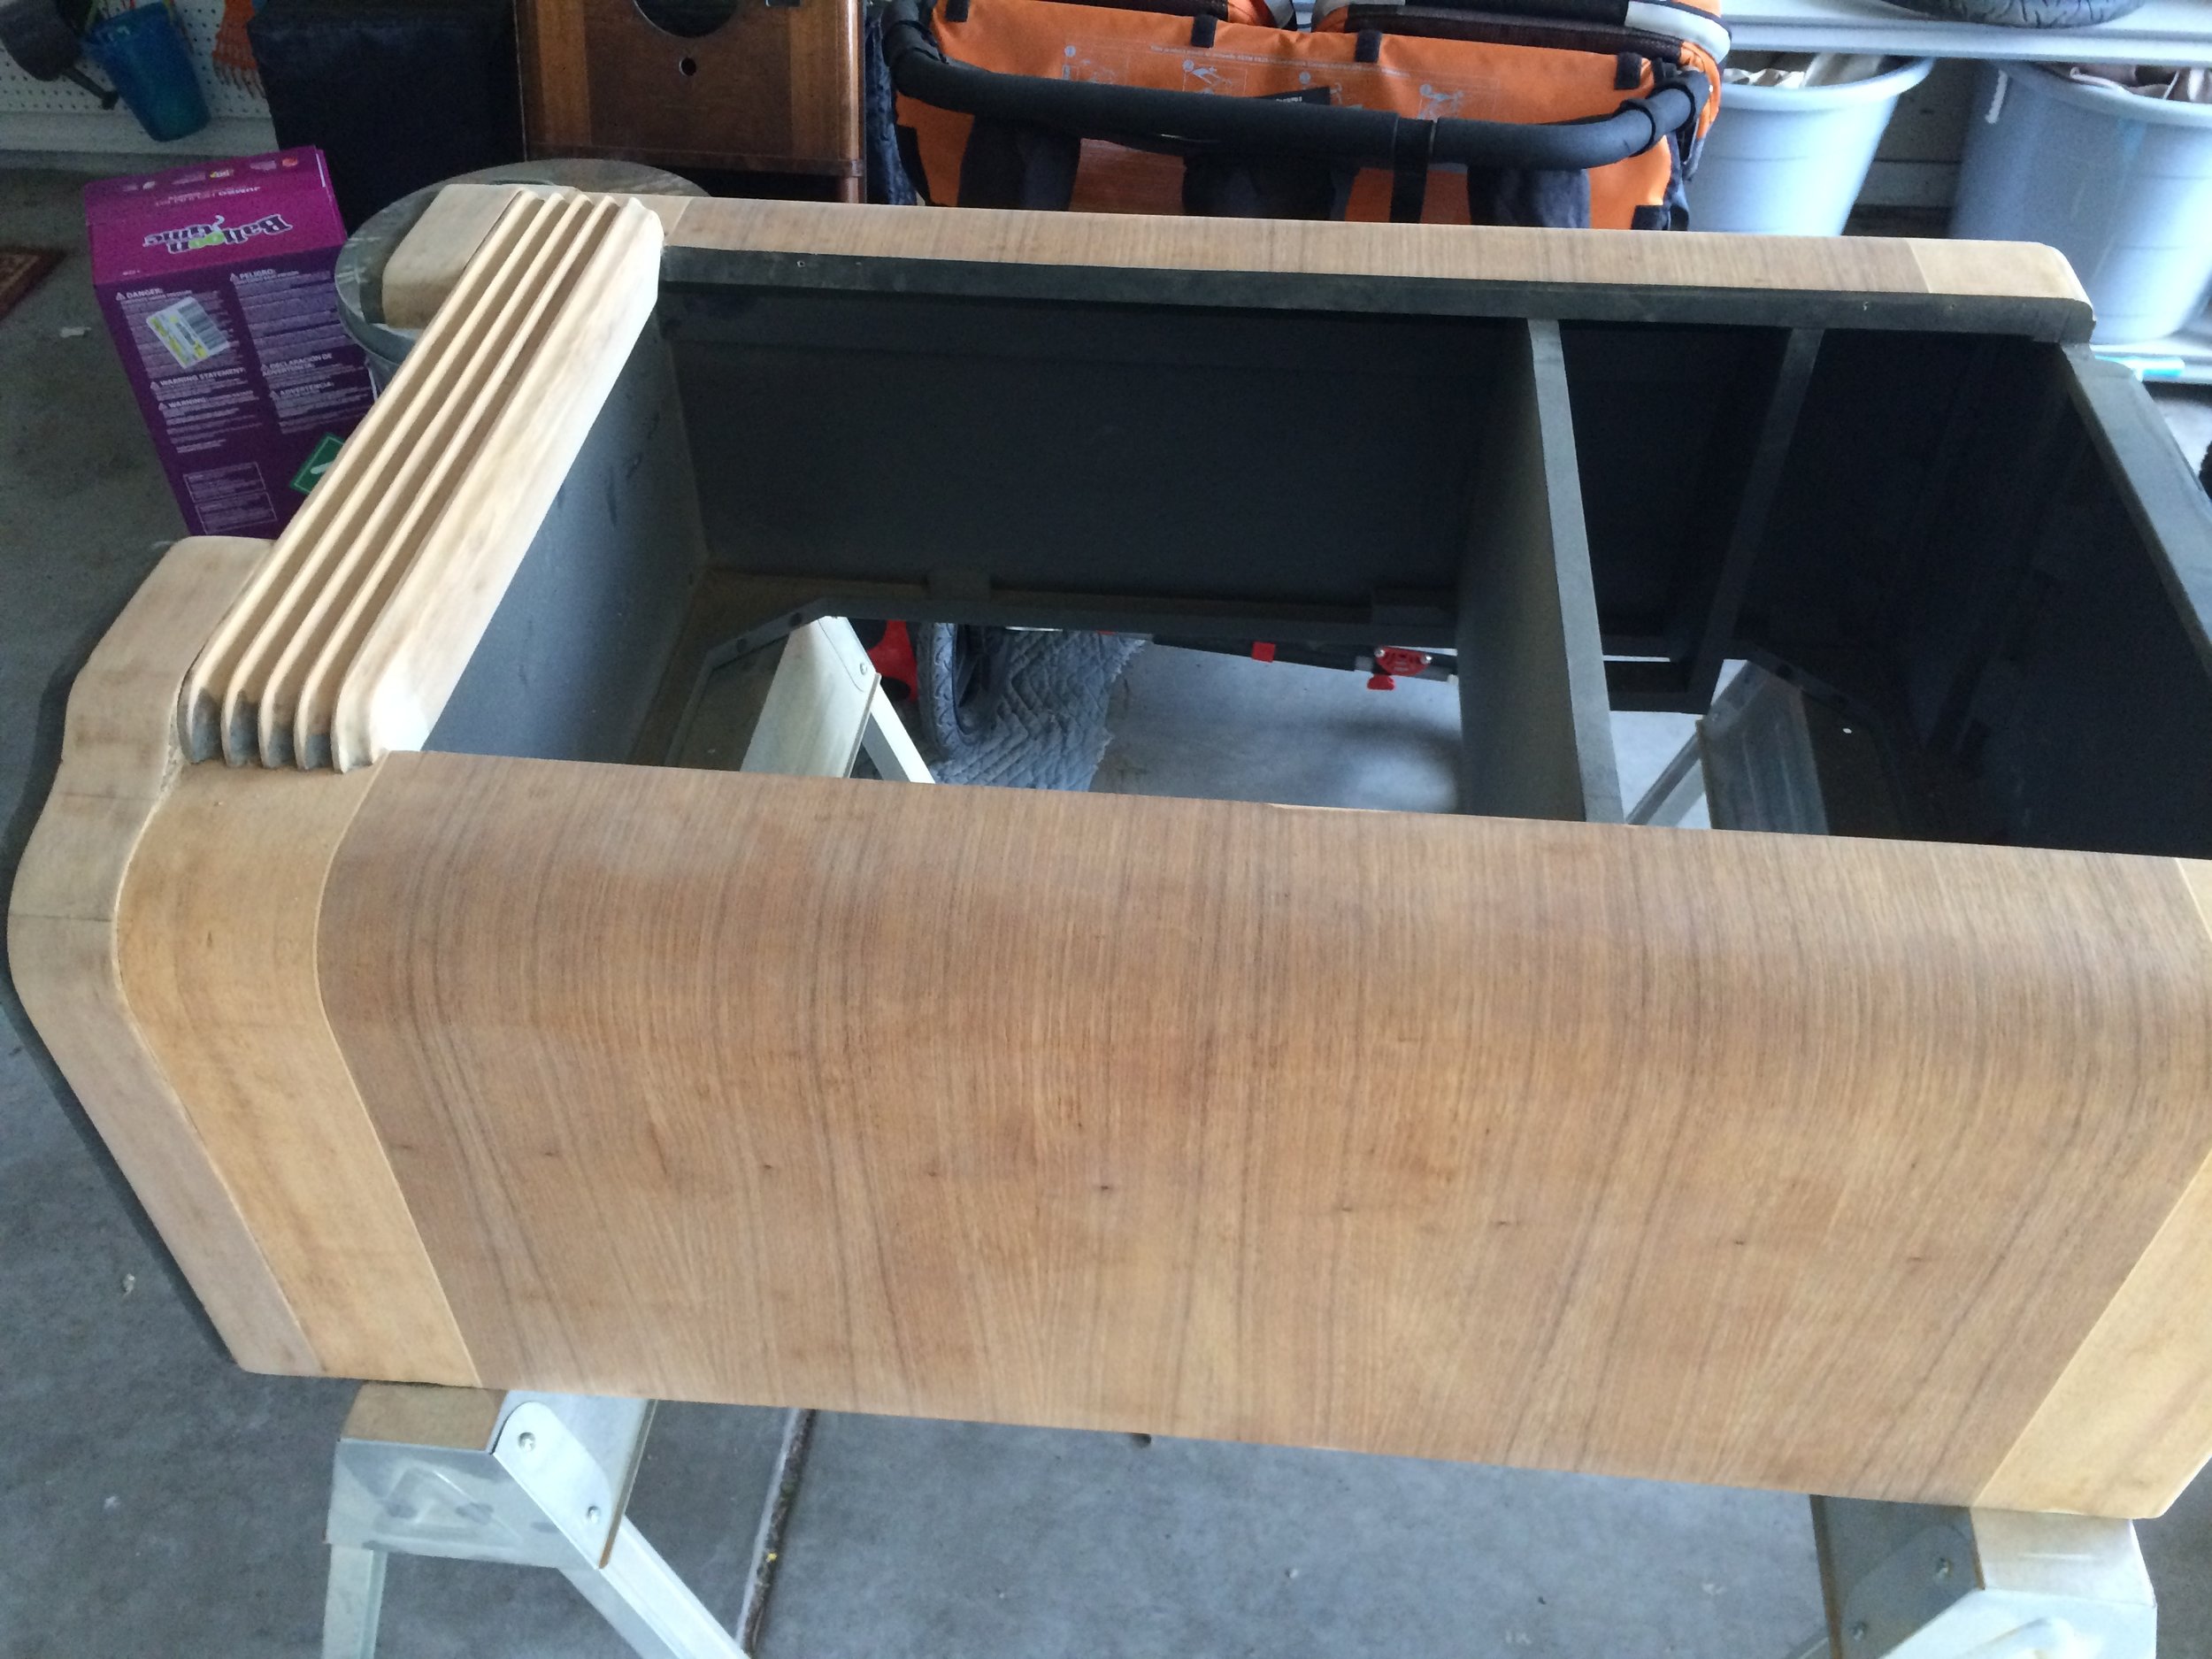
The sanded cabinet
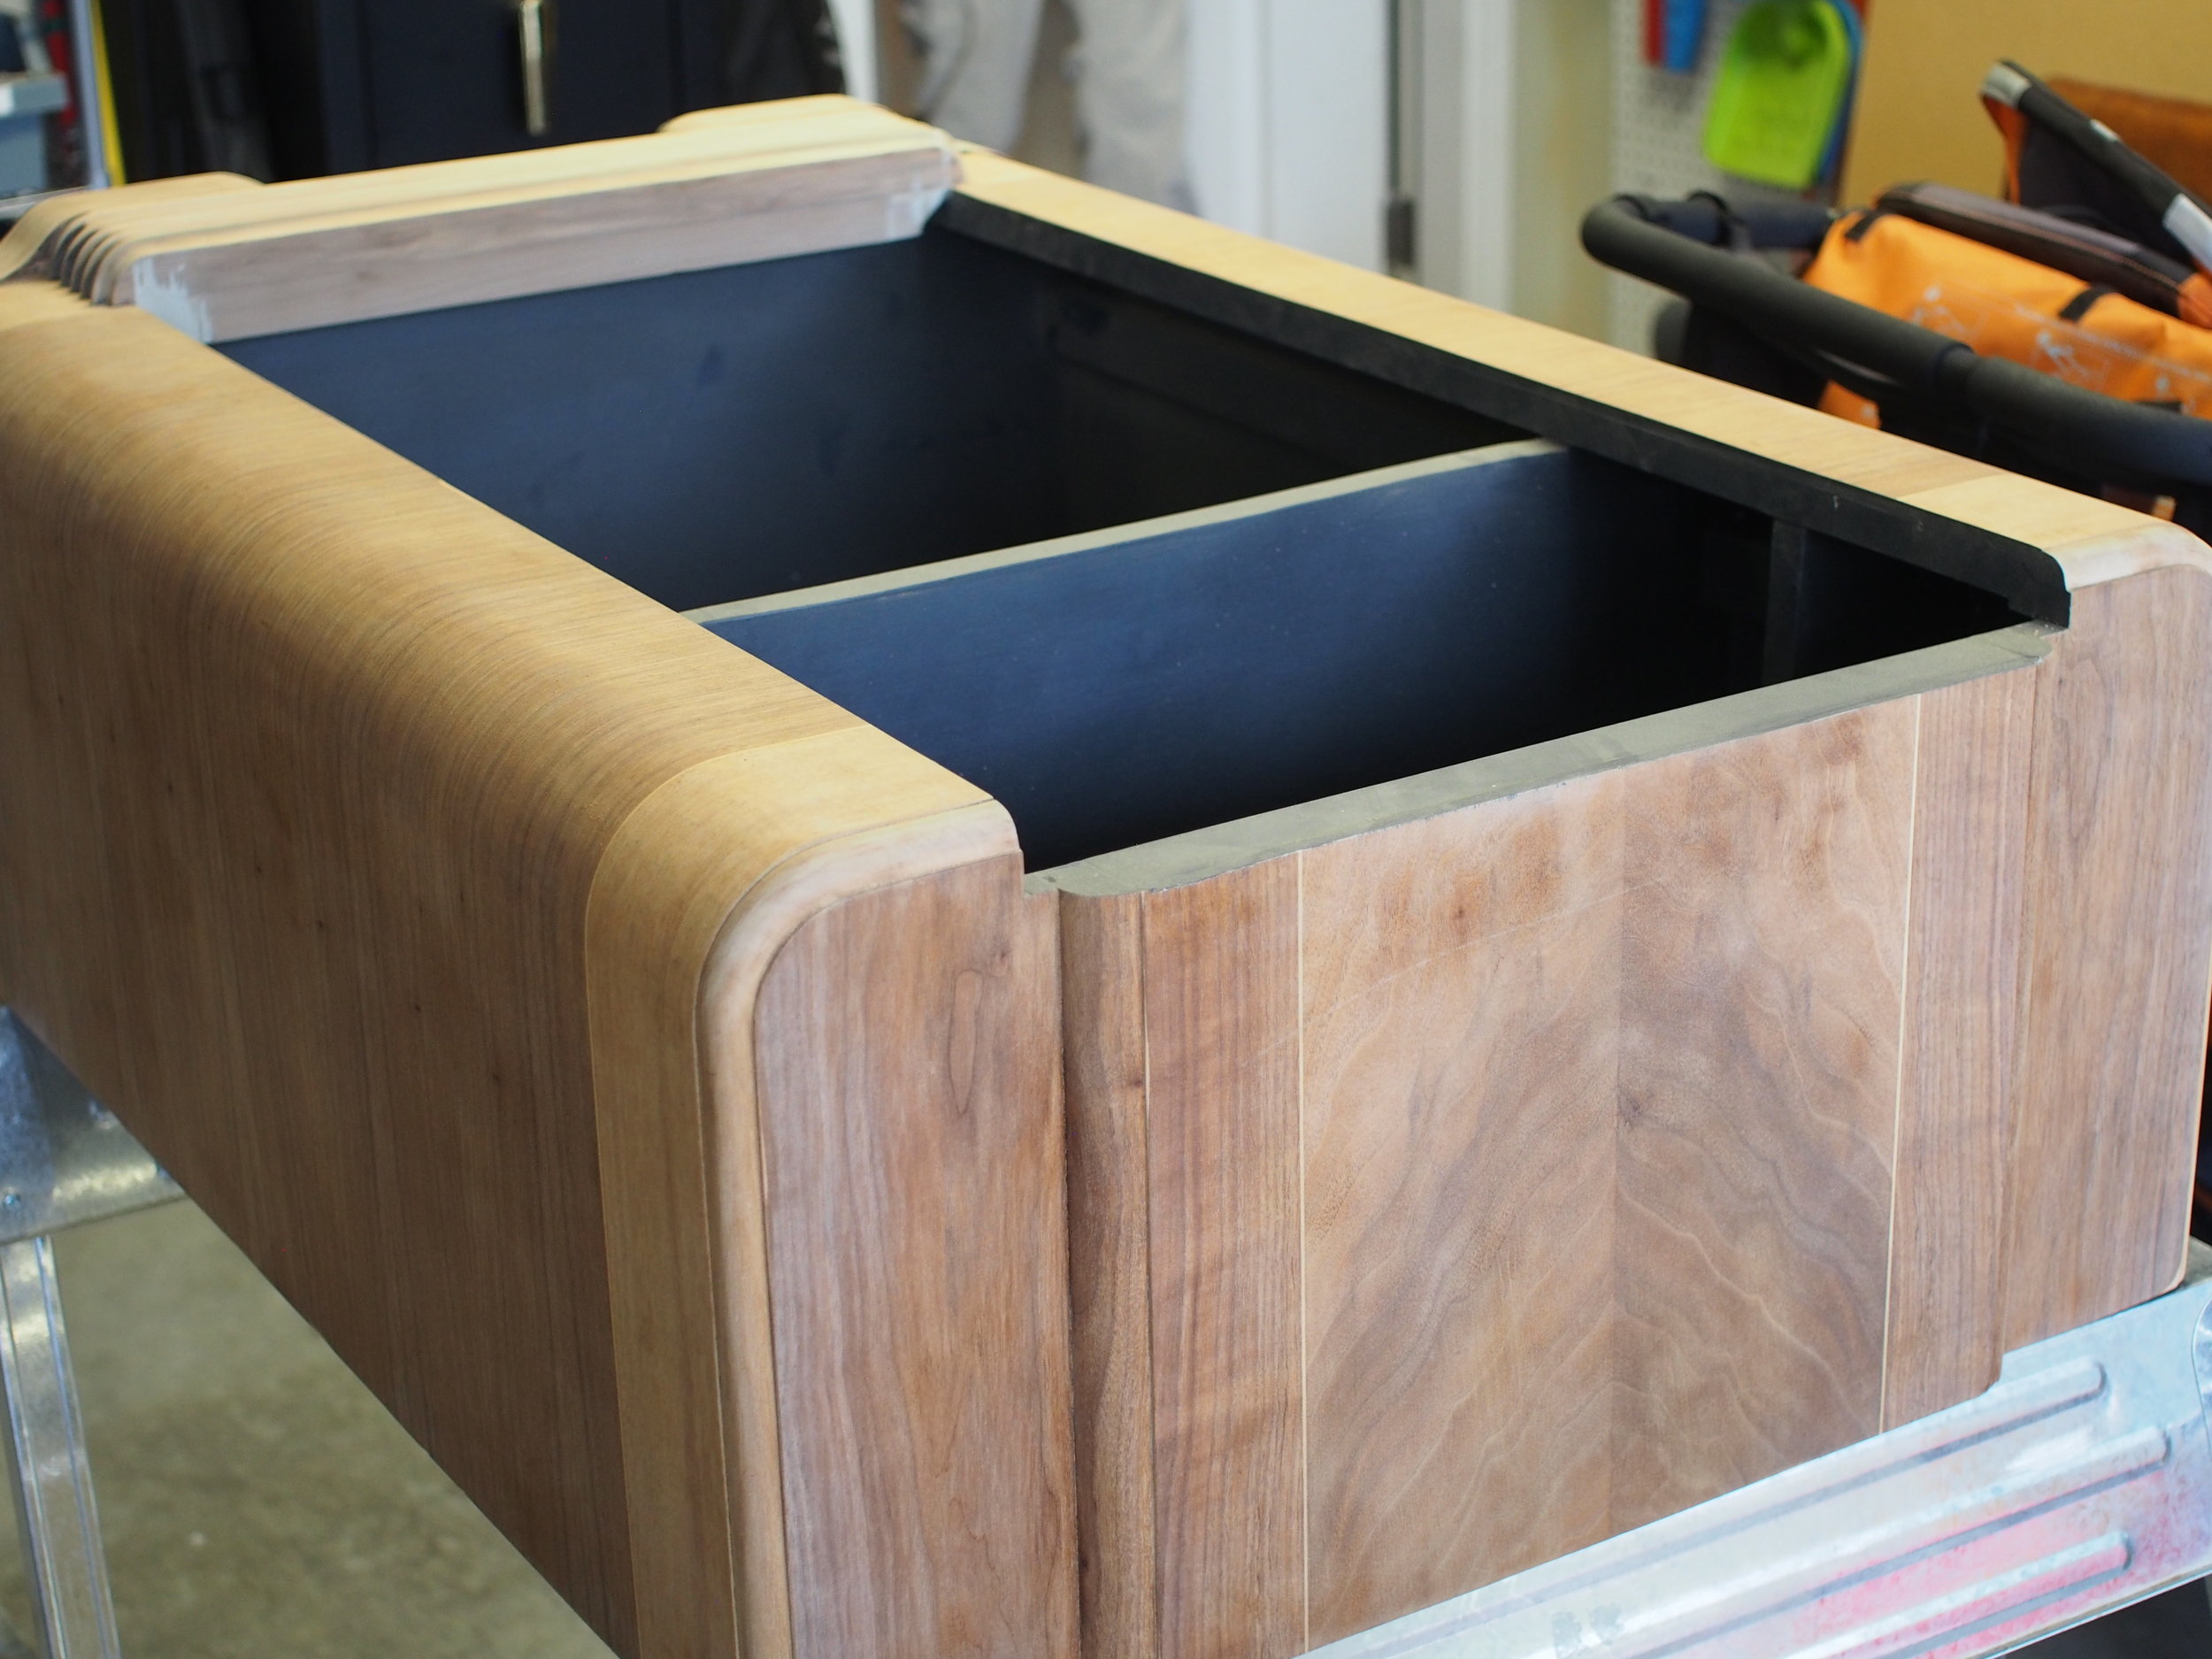
The top looks better!
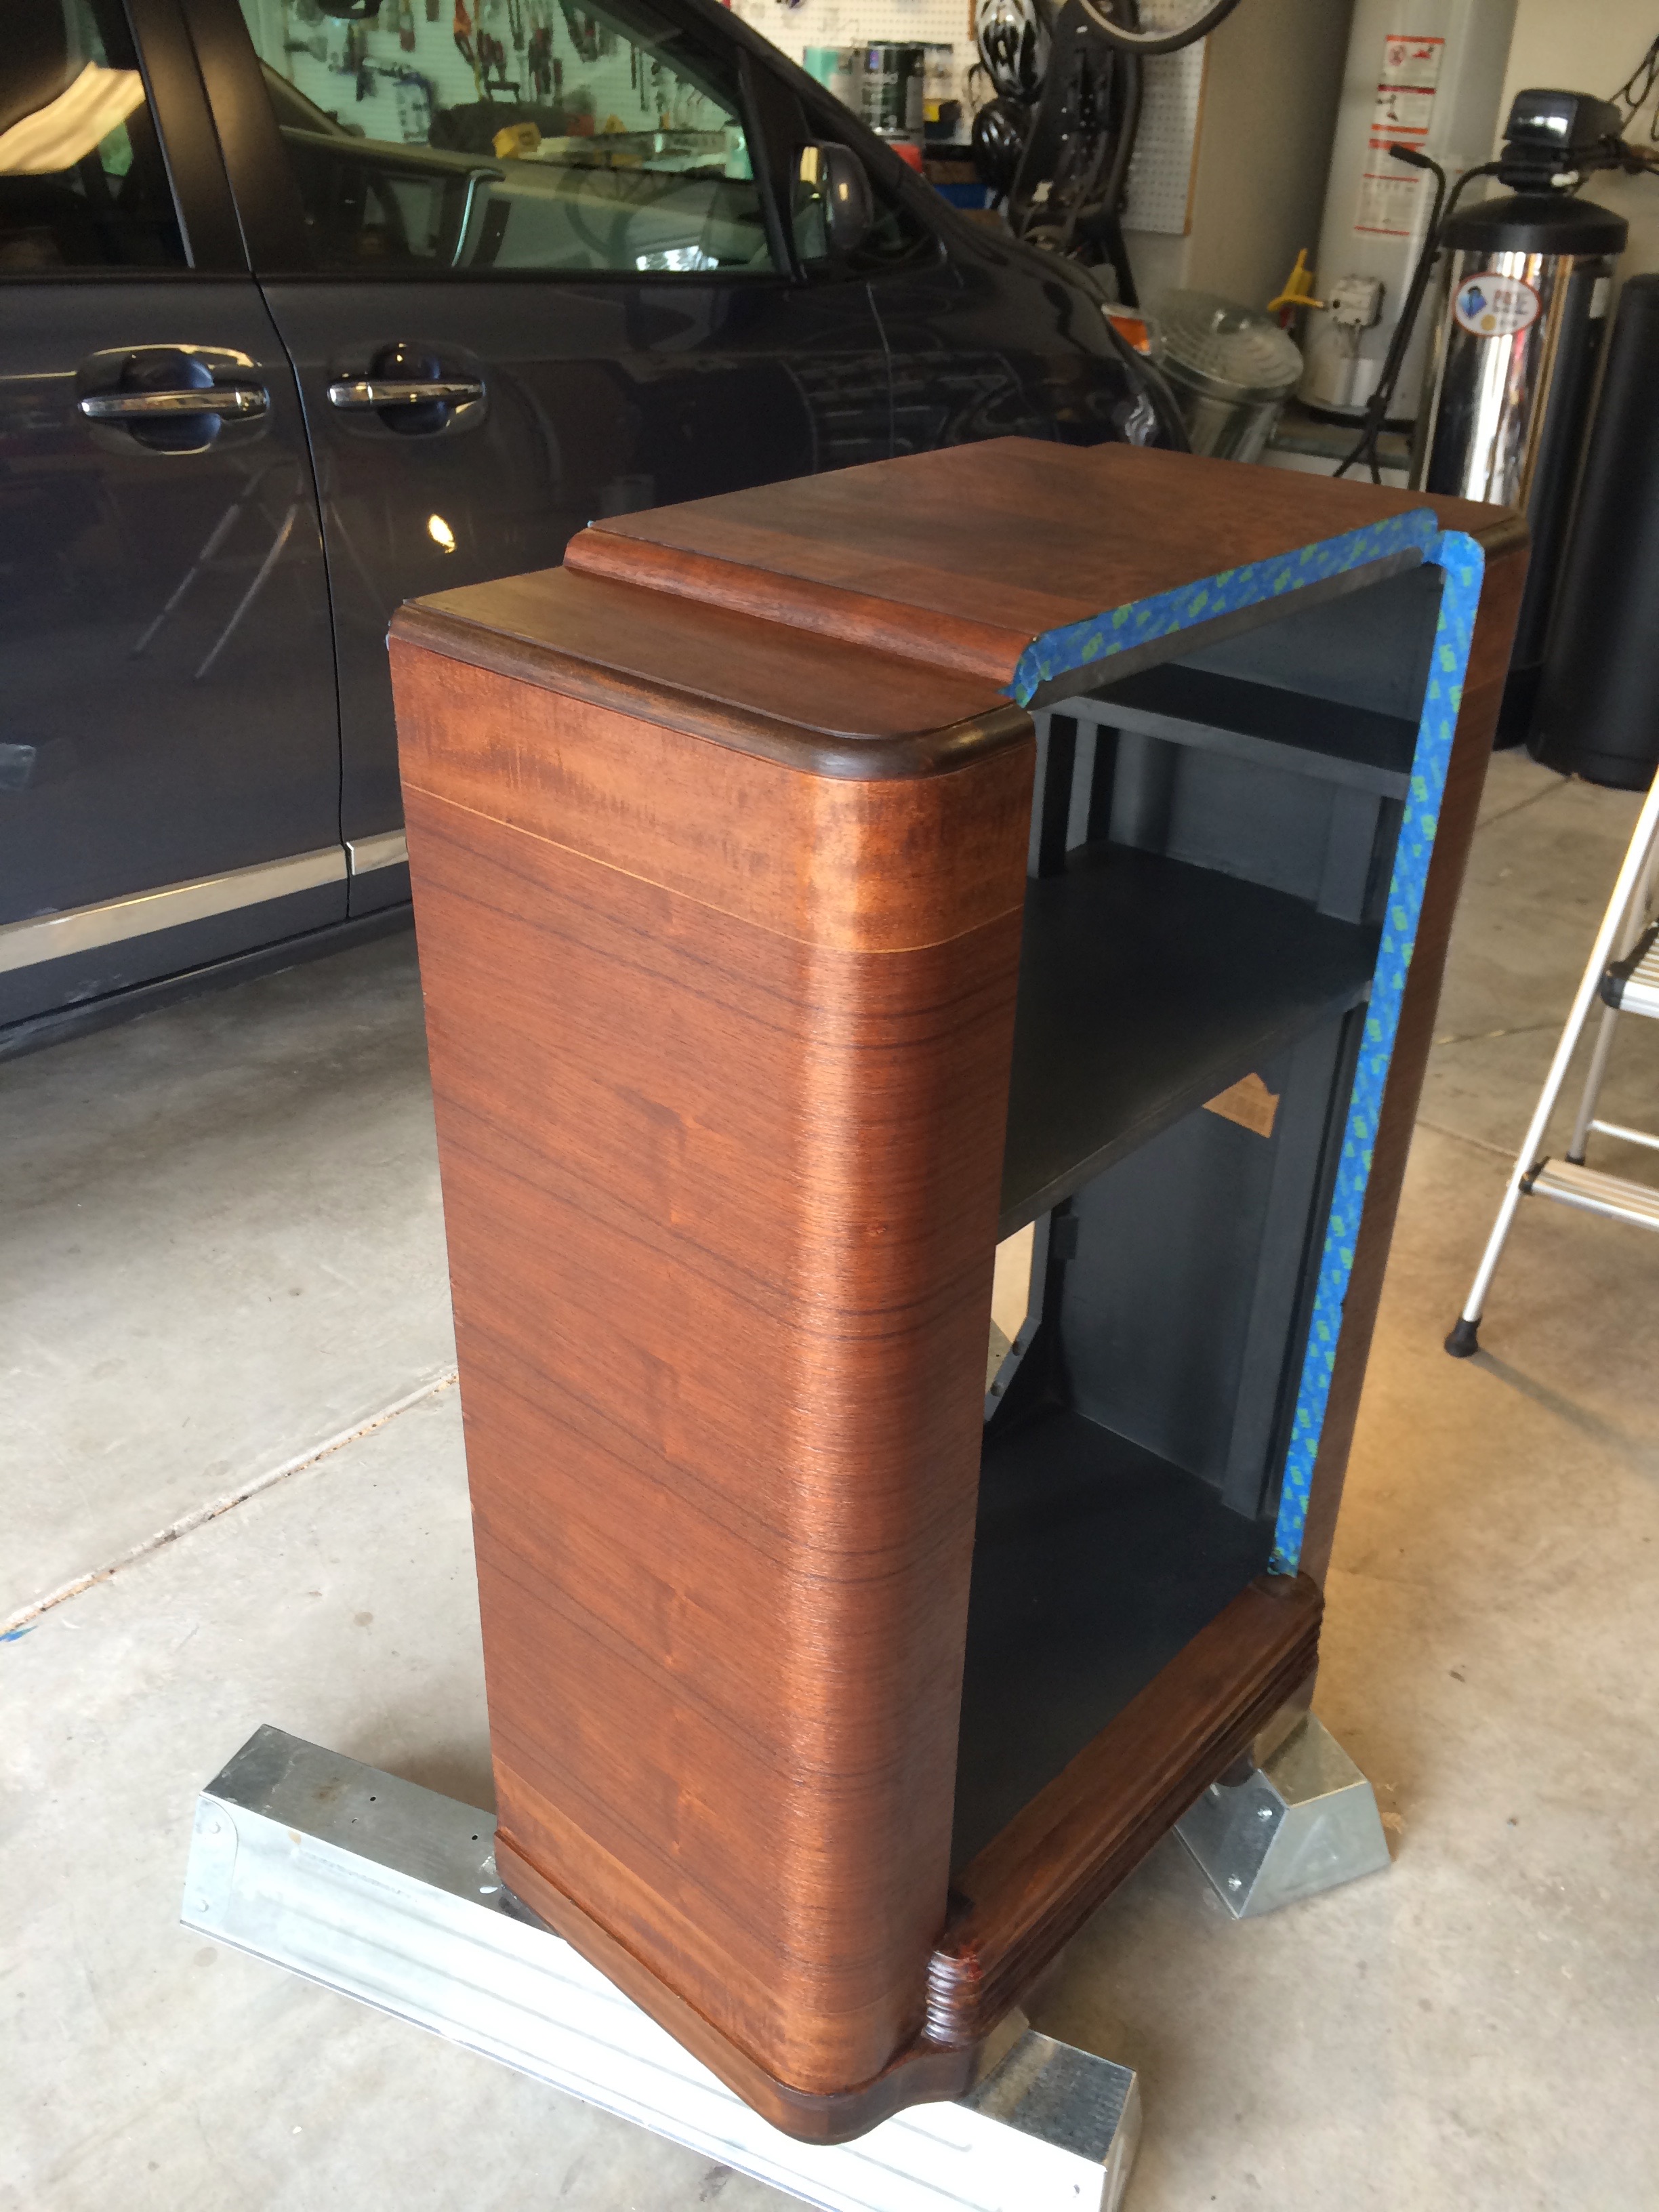
I used Minwax English Chestnut stain and Minwax Polycrylic to refinish the cabinet per the instructions on the can. Nothing unique or fancy about the process.
I then took another really long break before starting the door. The cabinet was mostly flat, so I could use the orbital sander. The door had all the detail work, and so most of the sanding had to be done by hand. It took forever. Ben also had to do some chemical stripping in some of the nooks and crannies that the sand paper just couldn't reach.
Where chemical stripping was needed
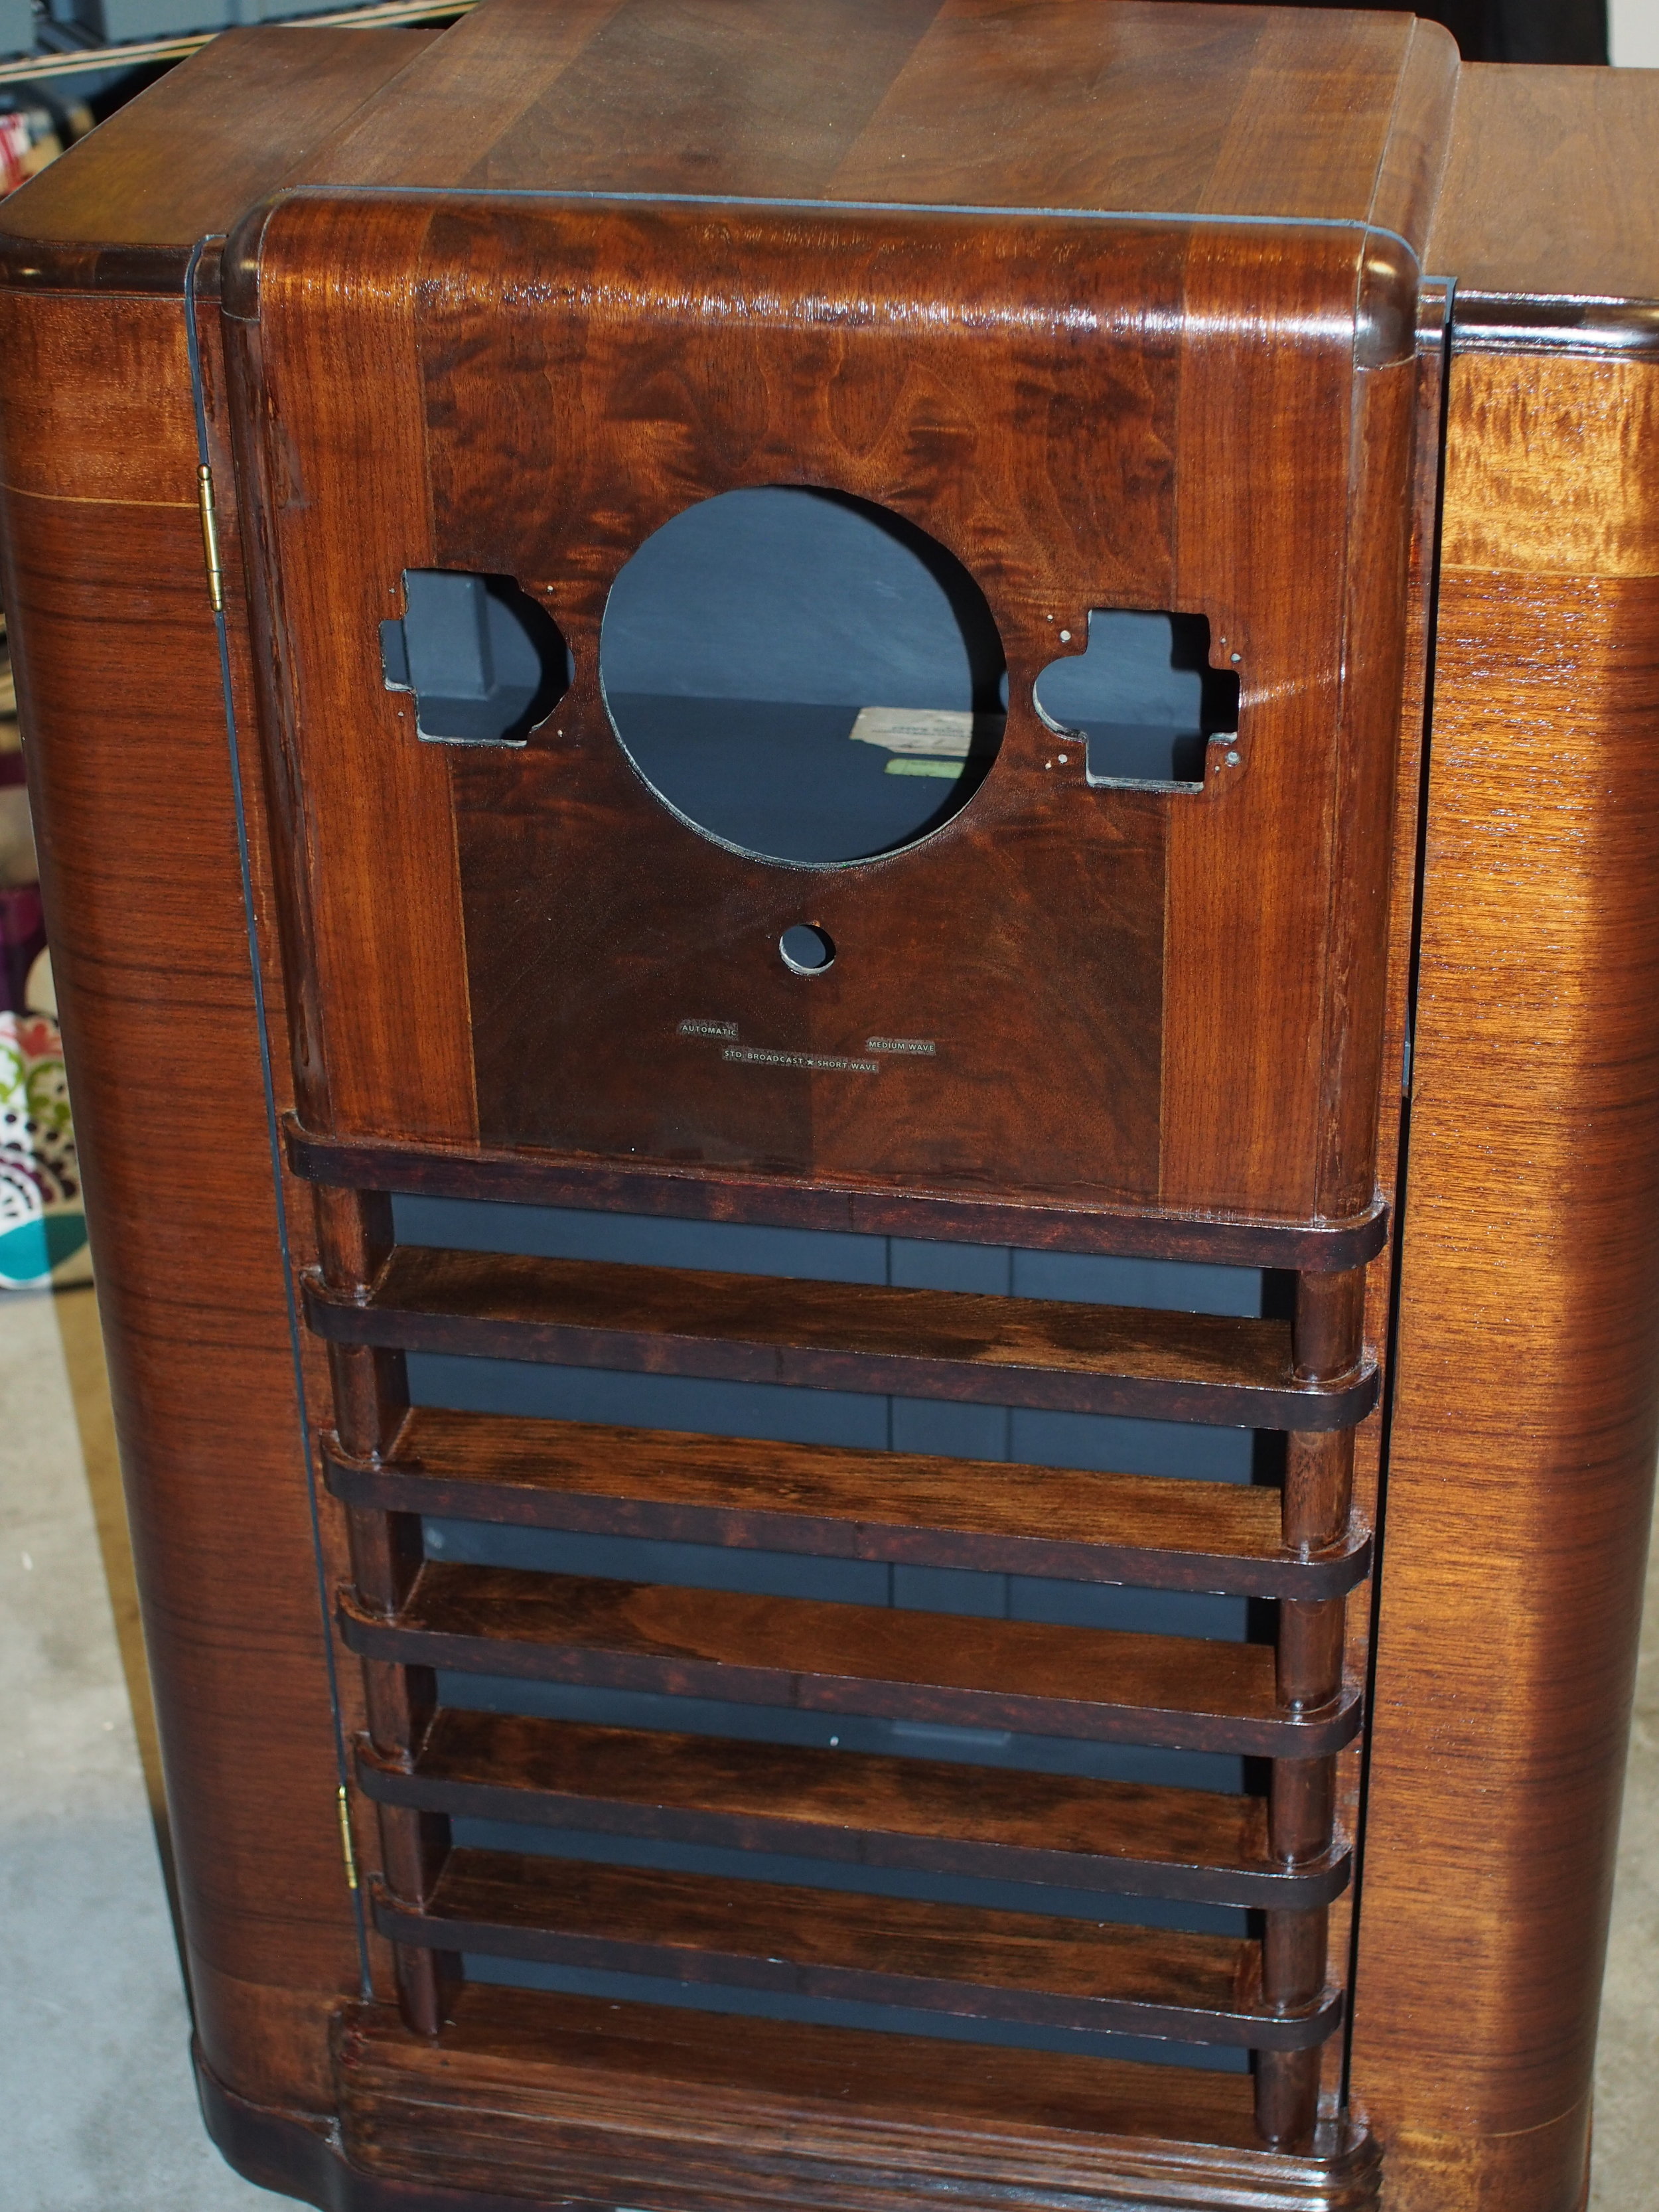
I put the decal labels on after staining, but before the acrylic. It turns out I should've done at least one coat of acrylic before placing the labels. It looks okay, but there is a little bit of cloudiness around the letters that no one but me would ever notice.
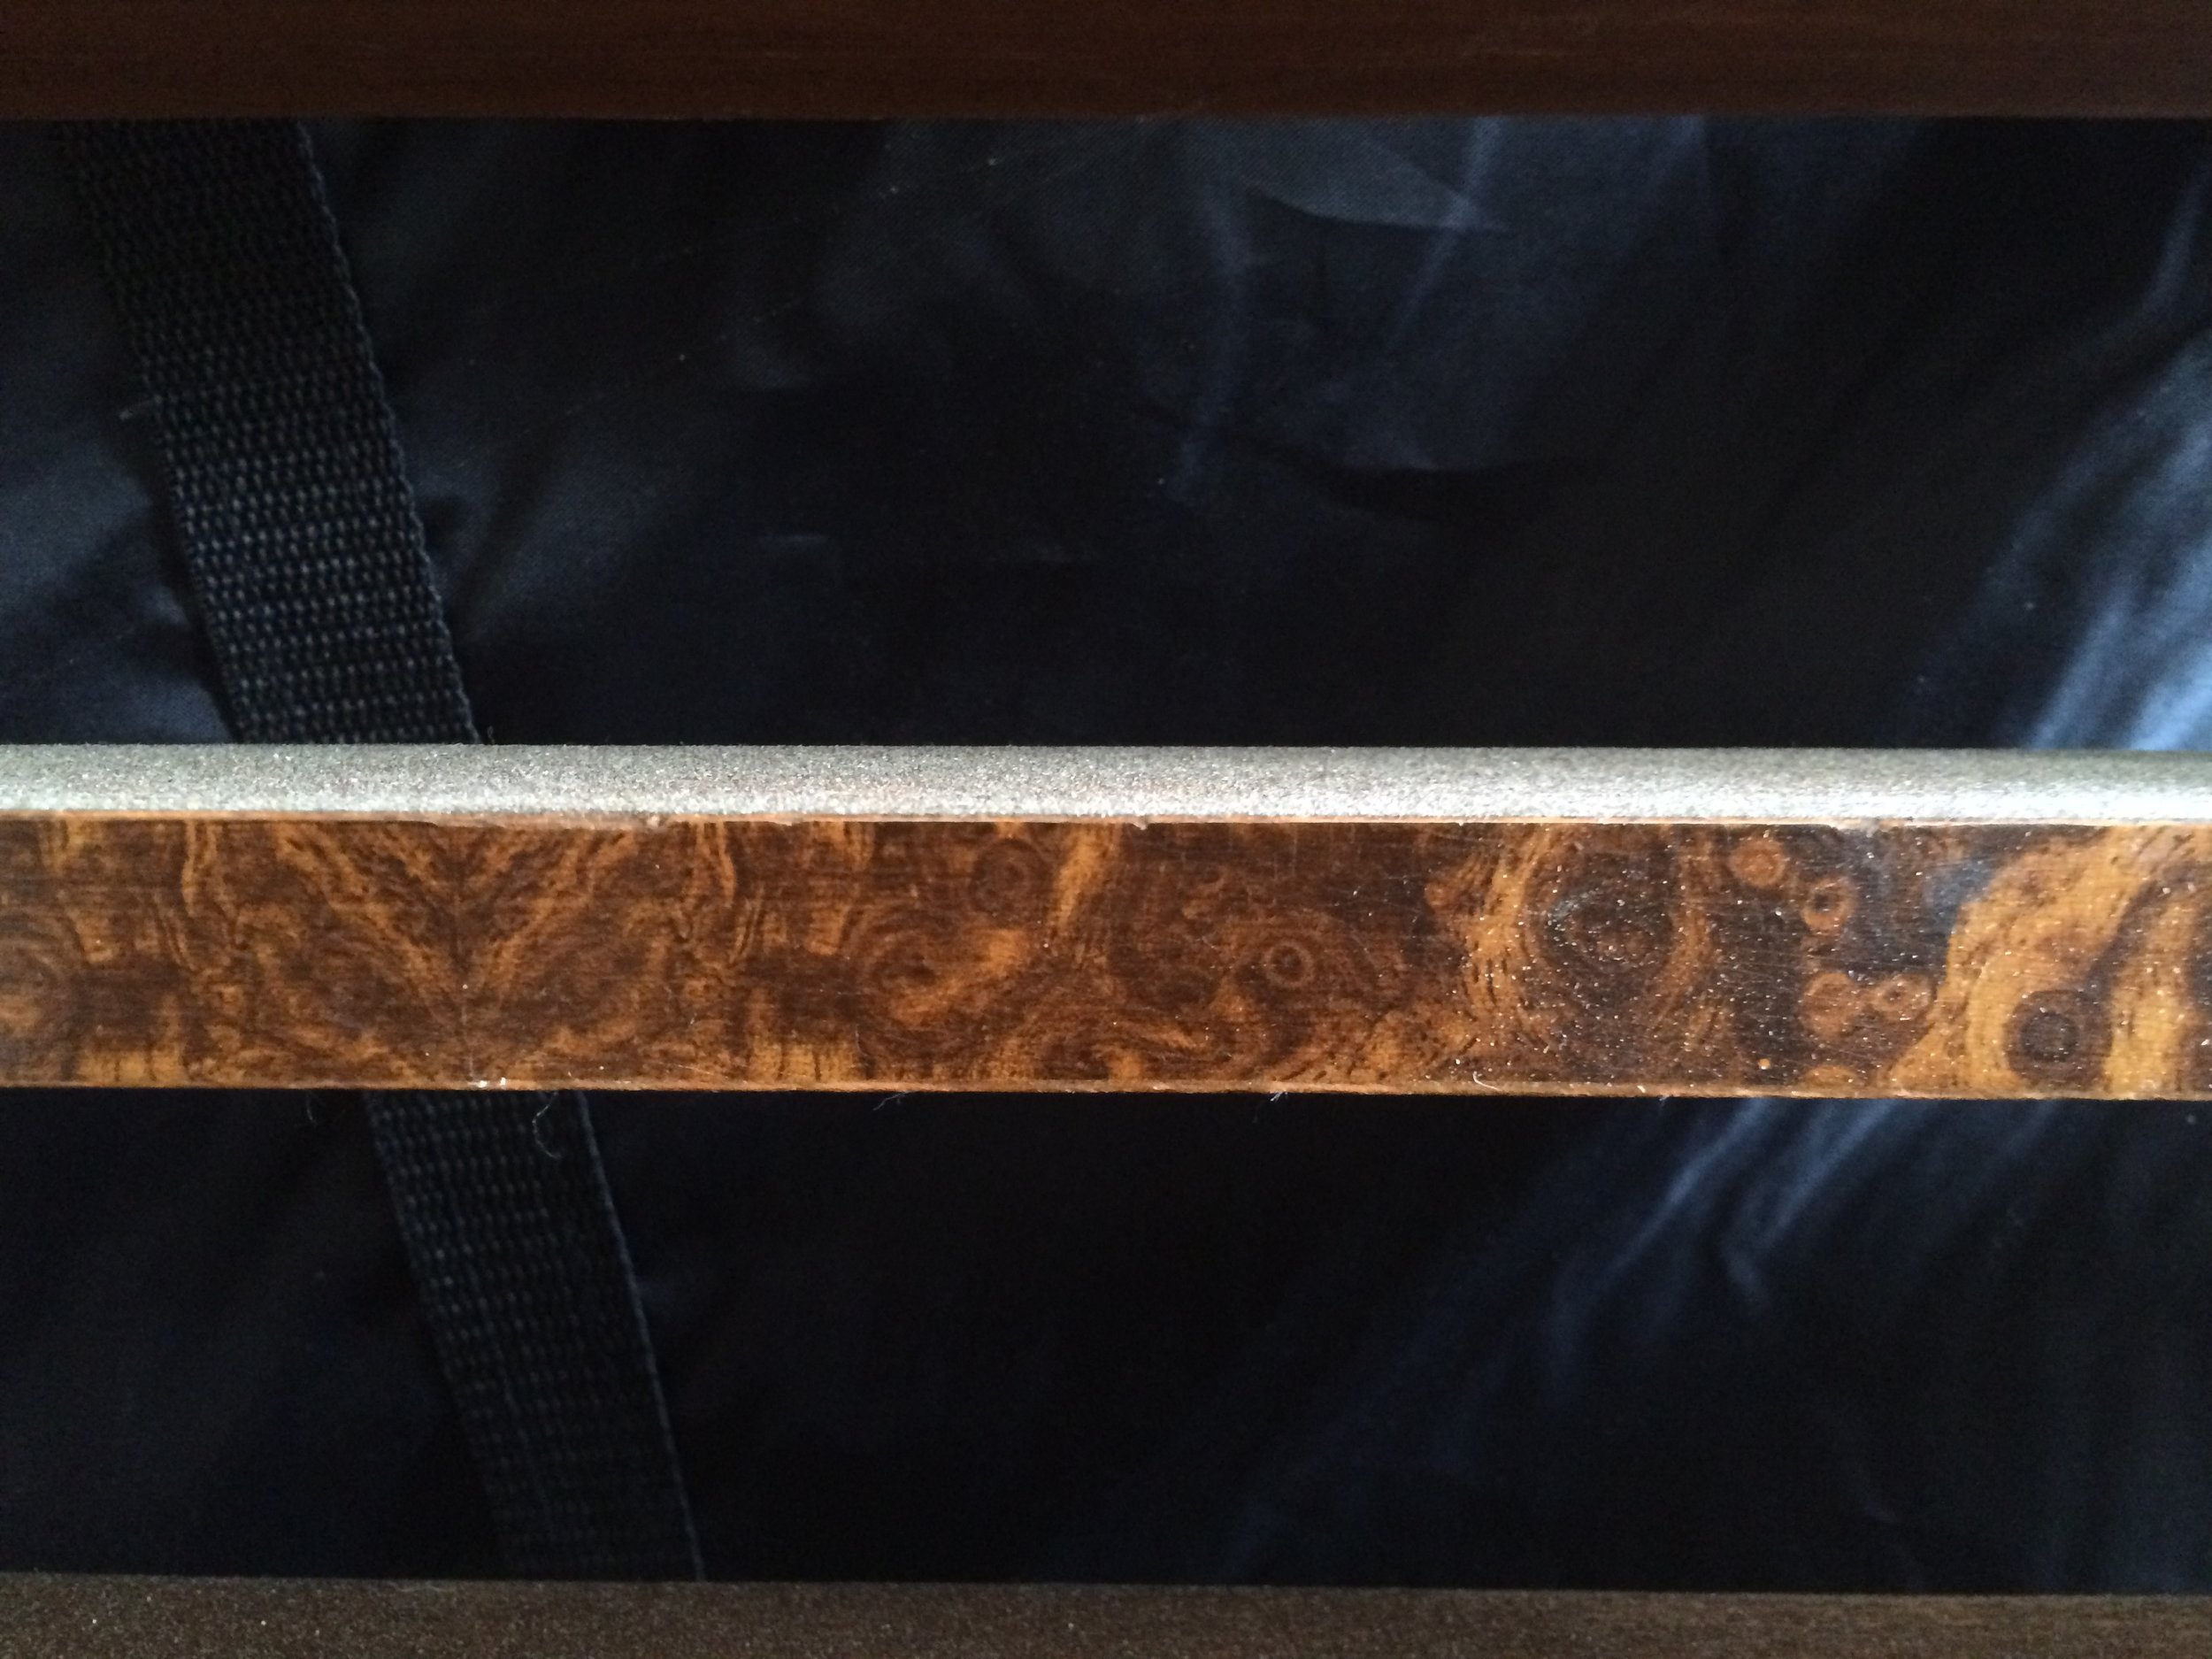
The original faux finish
The new faux finish
After I finished sealing the door with acrylic, it was time to add the faux finish to the door and cabinet. The faux finish had been one of the things that first drew me to the radio, and I was hopeful. I found a guy that made replacement faux finishes for radios, but mostly for the front of the smaller tabletop style radios. He made me some custom decals for this radio. I followed the instructions included in the package and in his Youtube videos, but I was not thrilled with the results. The decals had a hard time going around the curves of the radio, and so it ended up being a more time and labor intensive process then I had anticipated. Once they were applied and sealed, I didn't like them. It's difficult to tell they are even on there. If I had to do it all over again, I wouldn't bother with the faux-finish decals. Out of the entire process, this is what I was most disappointed about, because the original faux finish was so interesting!
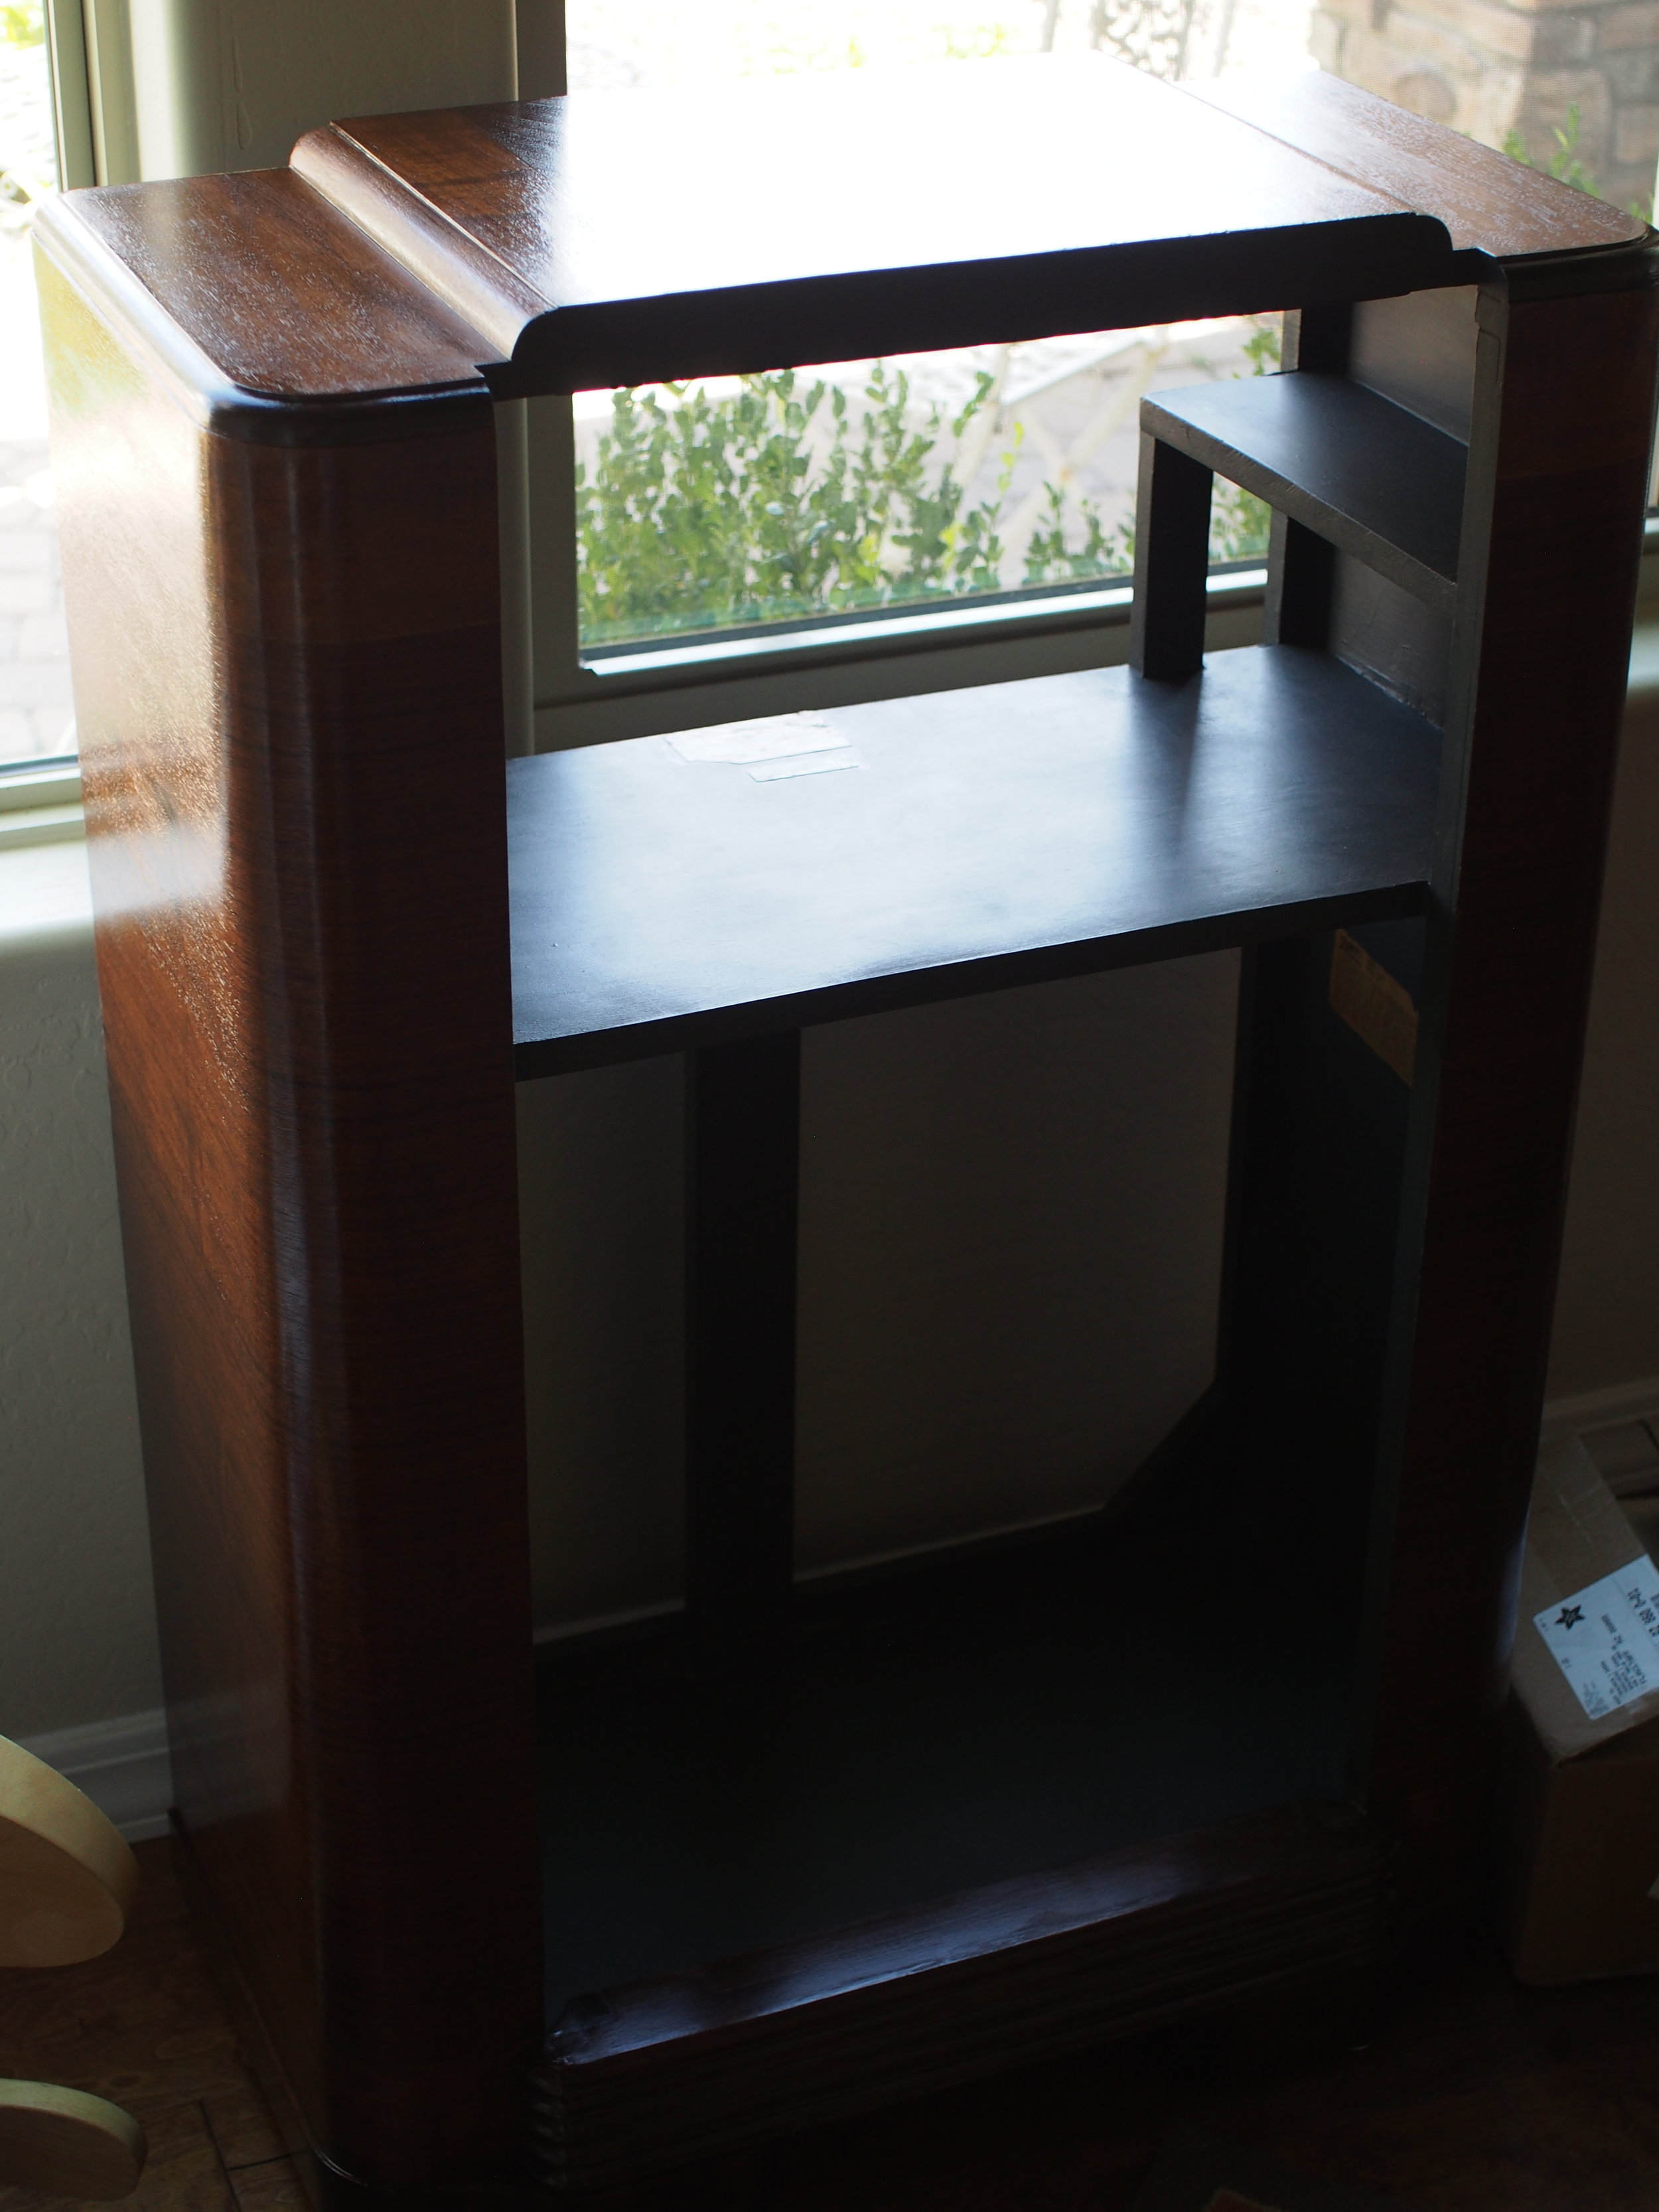
The finished cabinet
And now, at long last, the entire thing was refinished. I will turn it back over to Ben for the hanging of the door and light installation.
The cabinet in the final room for better lighting
Next
Up next is the door and the circuitry.
Comments ()