Restoring a Torco Vise
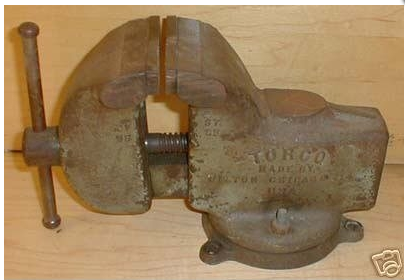
Not my vise, but a remarkably similar specimen
Restoring an old tool is a project I find incredibly fun, and this bench vise is no exception. If you are willing to put in a little effort, restoring an old bench vise can be a great project. Older American made vises are prized for their quality and durability. You can often find them at garage sales or thrift stores. There are guys who are willing to pay top dollar for a specific make or model of vise, but in this case we are talking about a small, inexpensive vise that will great for using in the shop, rather than a collectible.
I finished this project three years ago, but it seemed worth sharing! Click on the galleries to advance the images.
Torco History
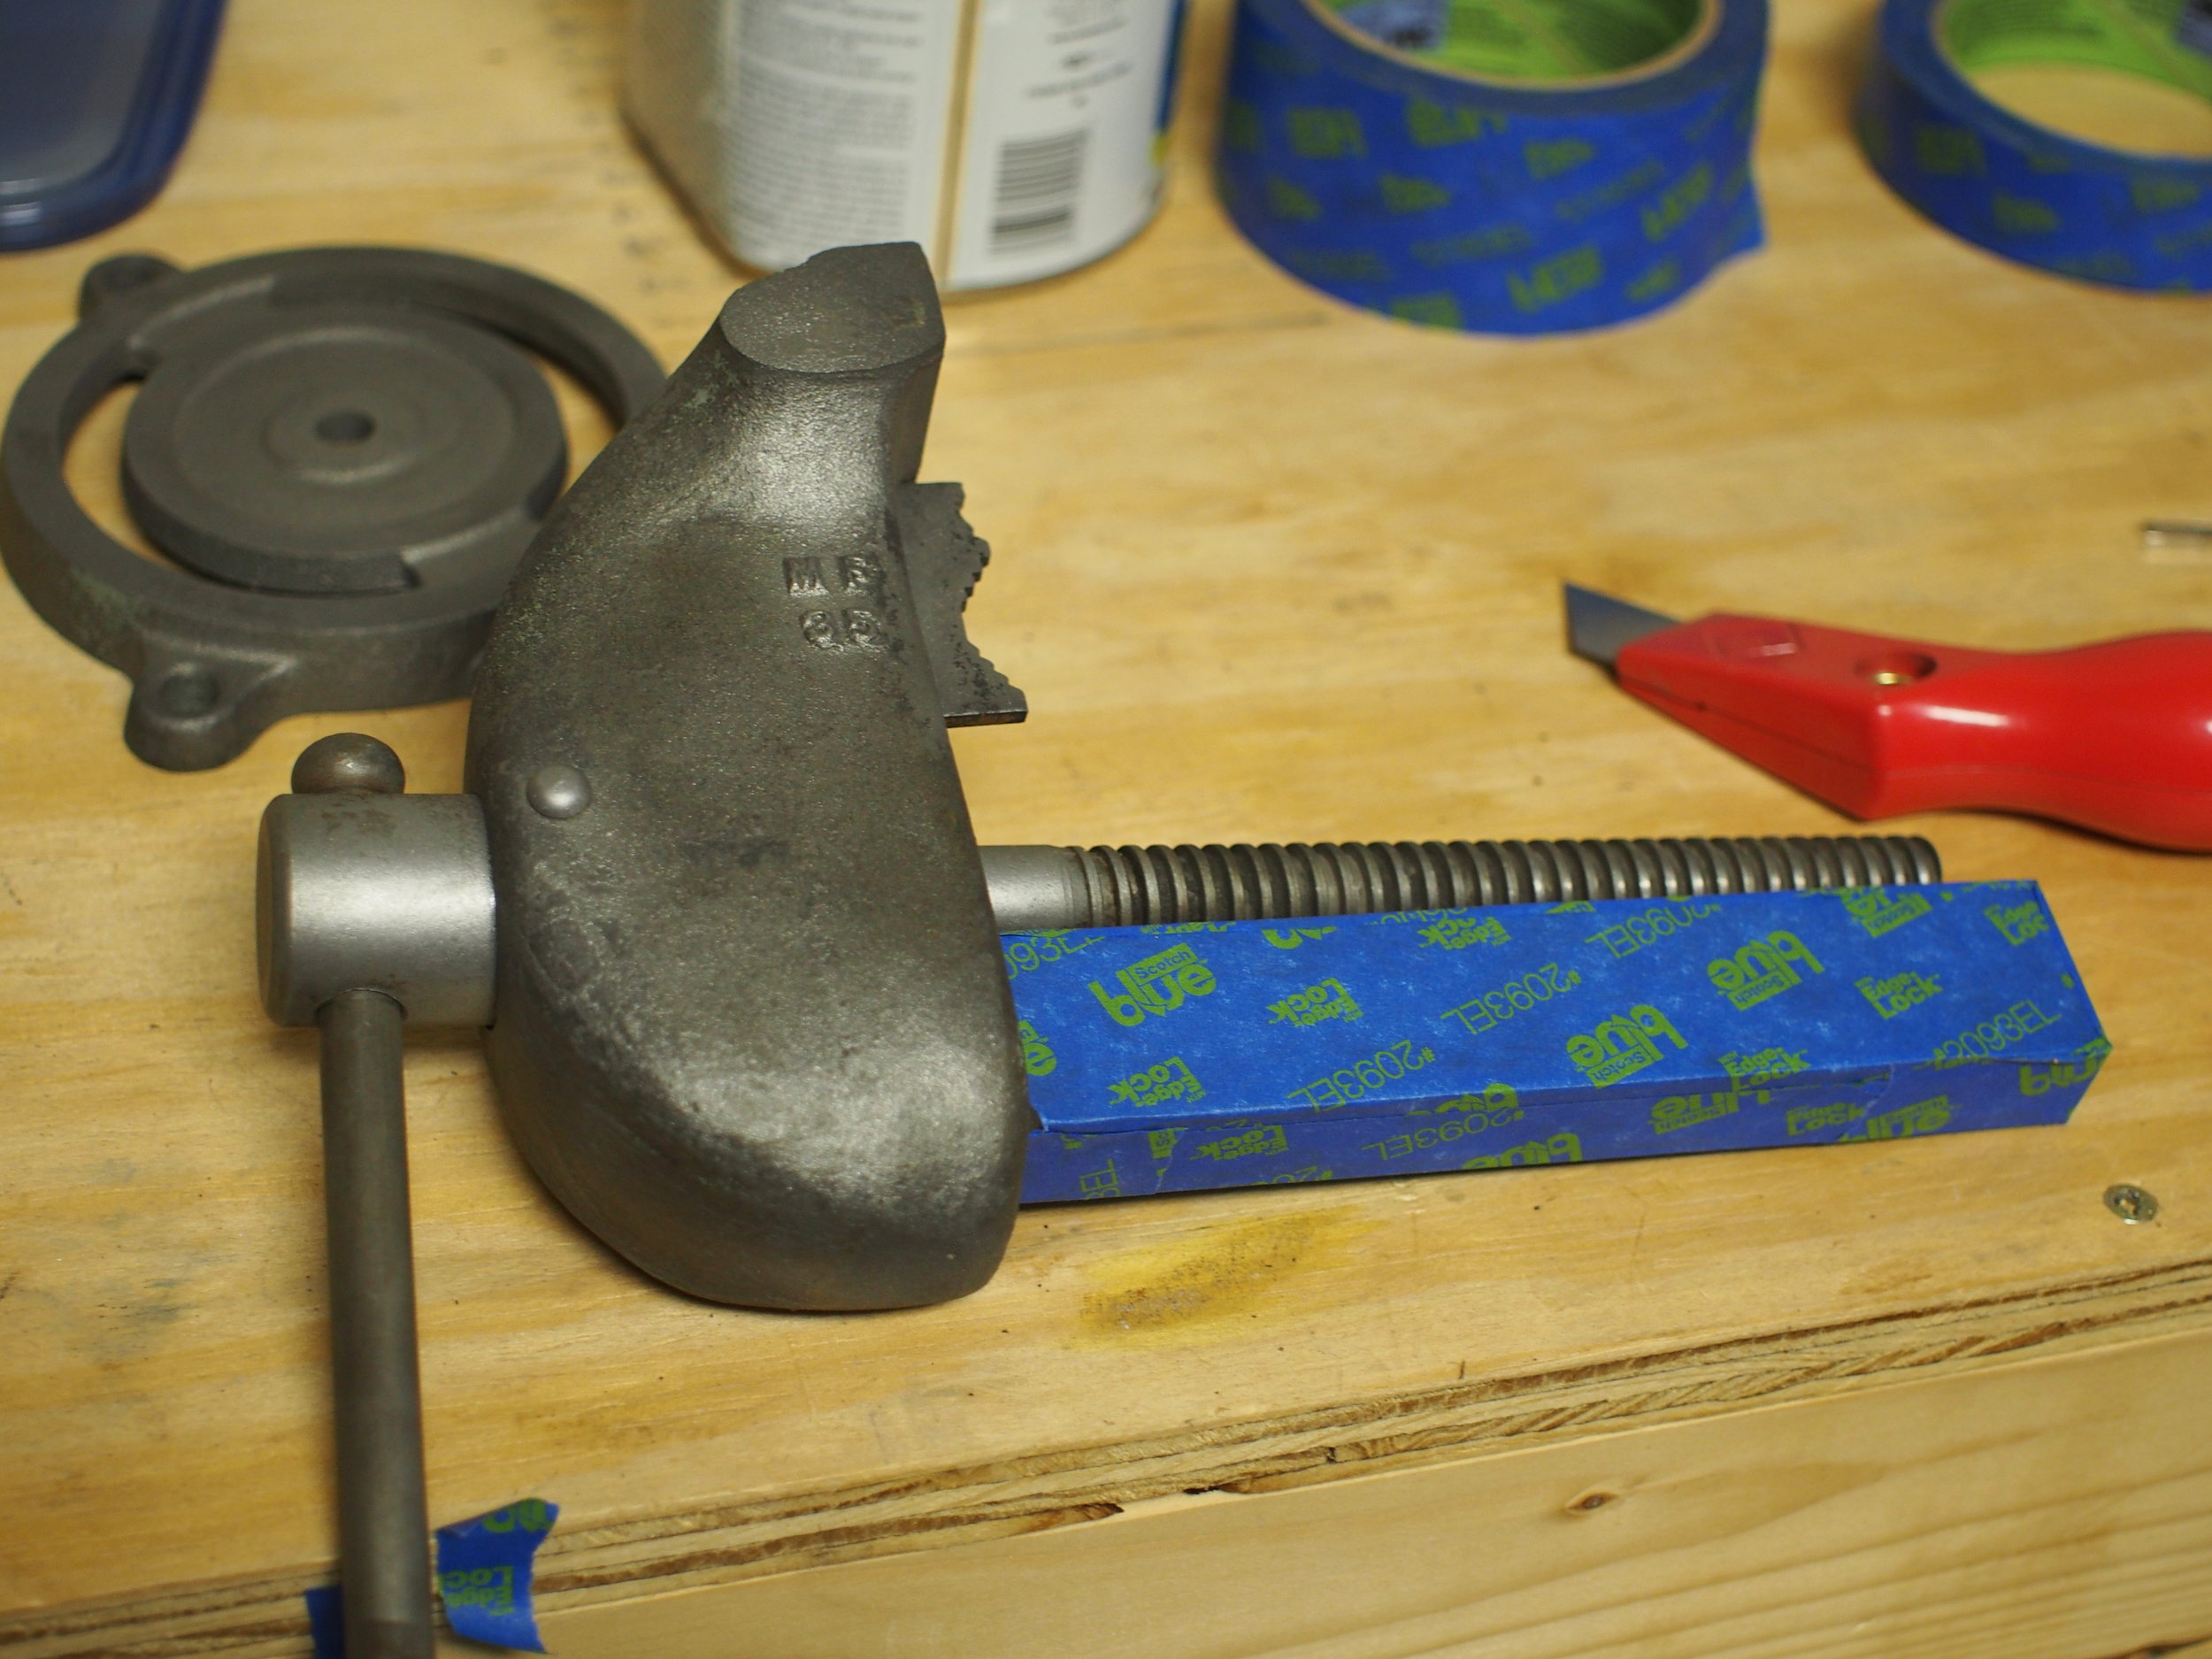
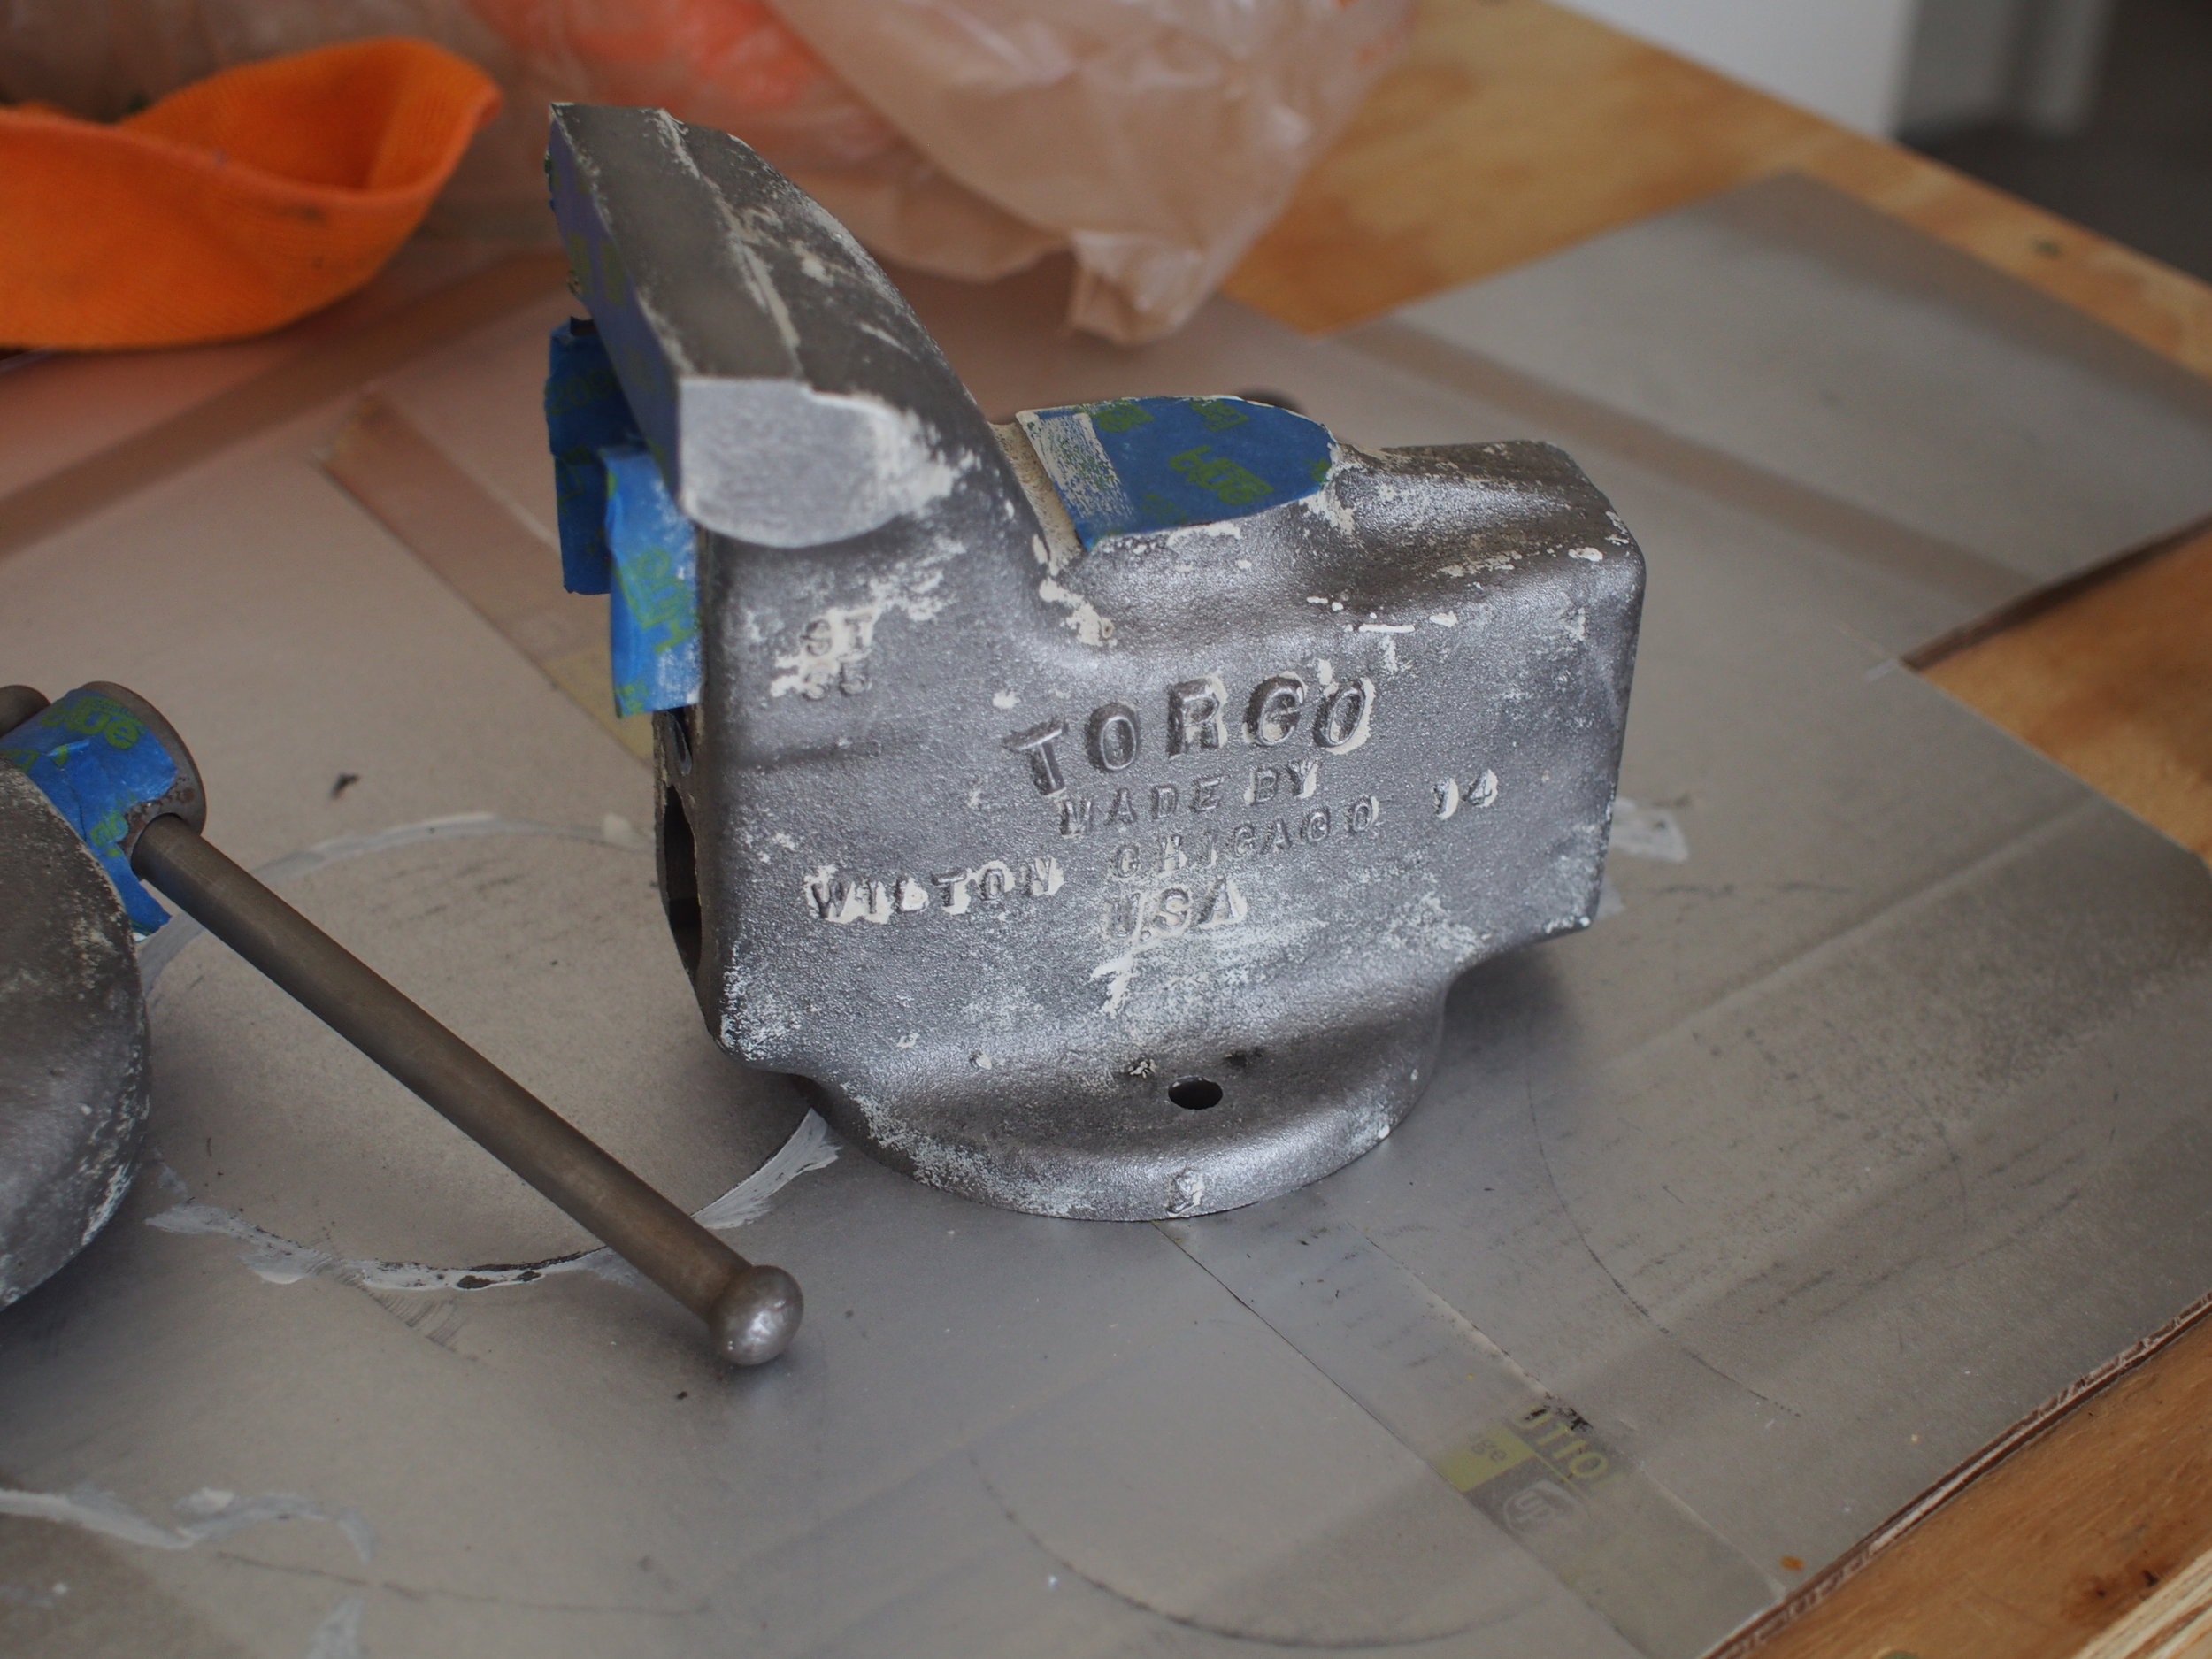
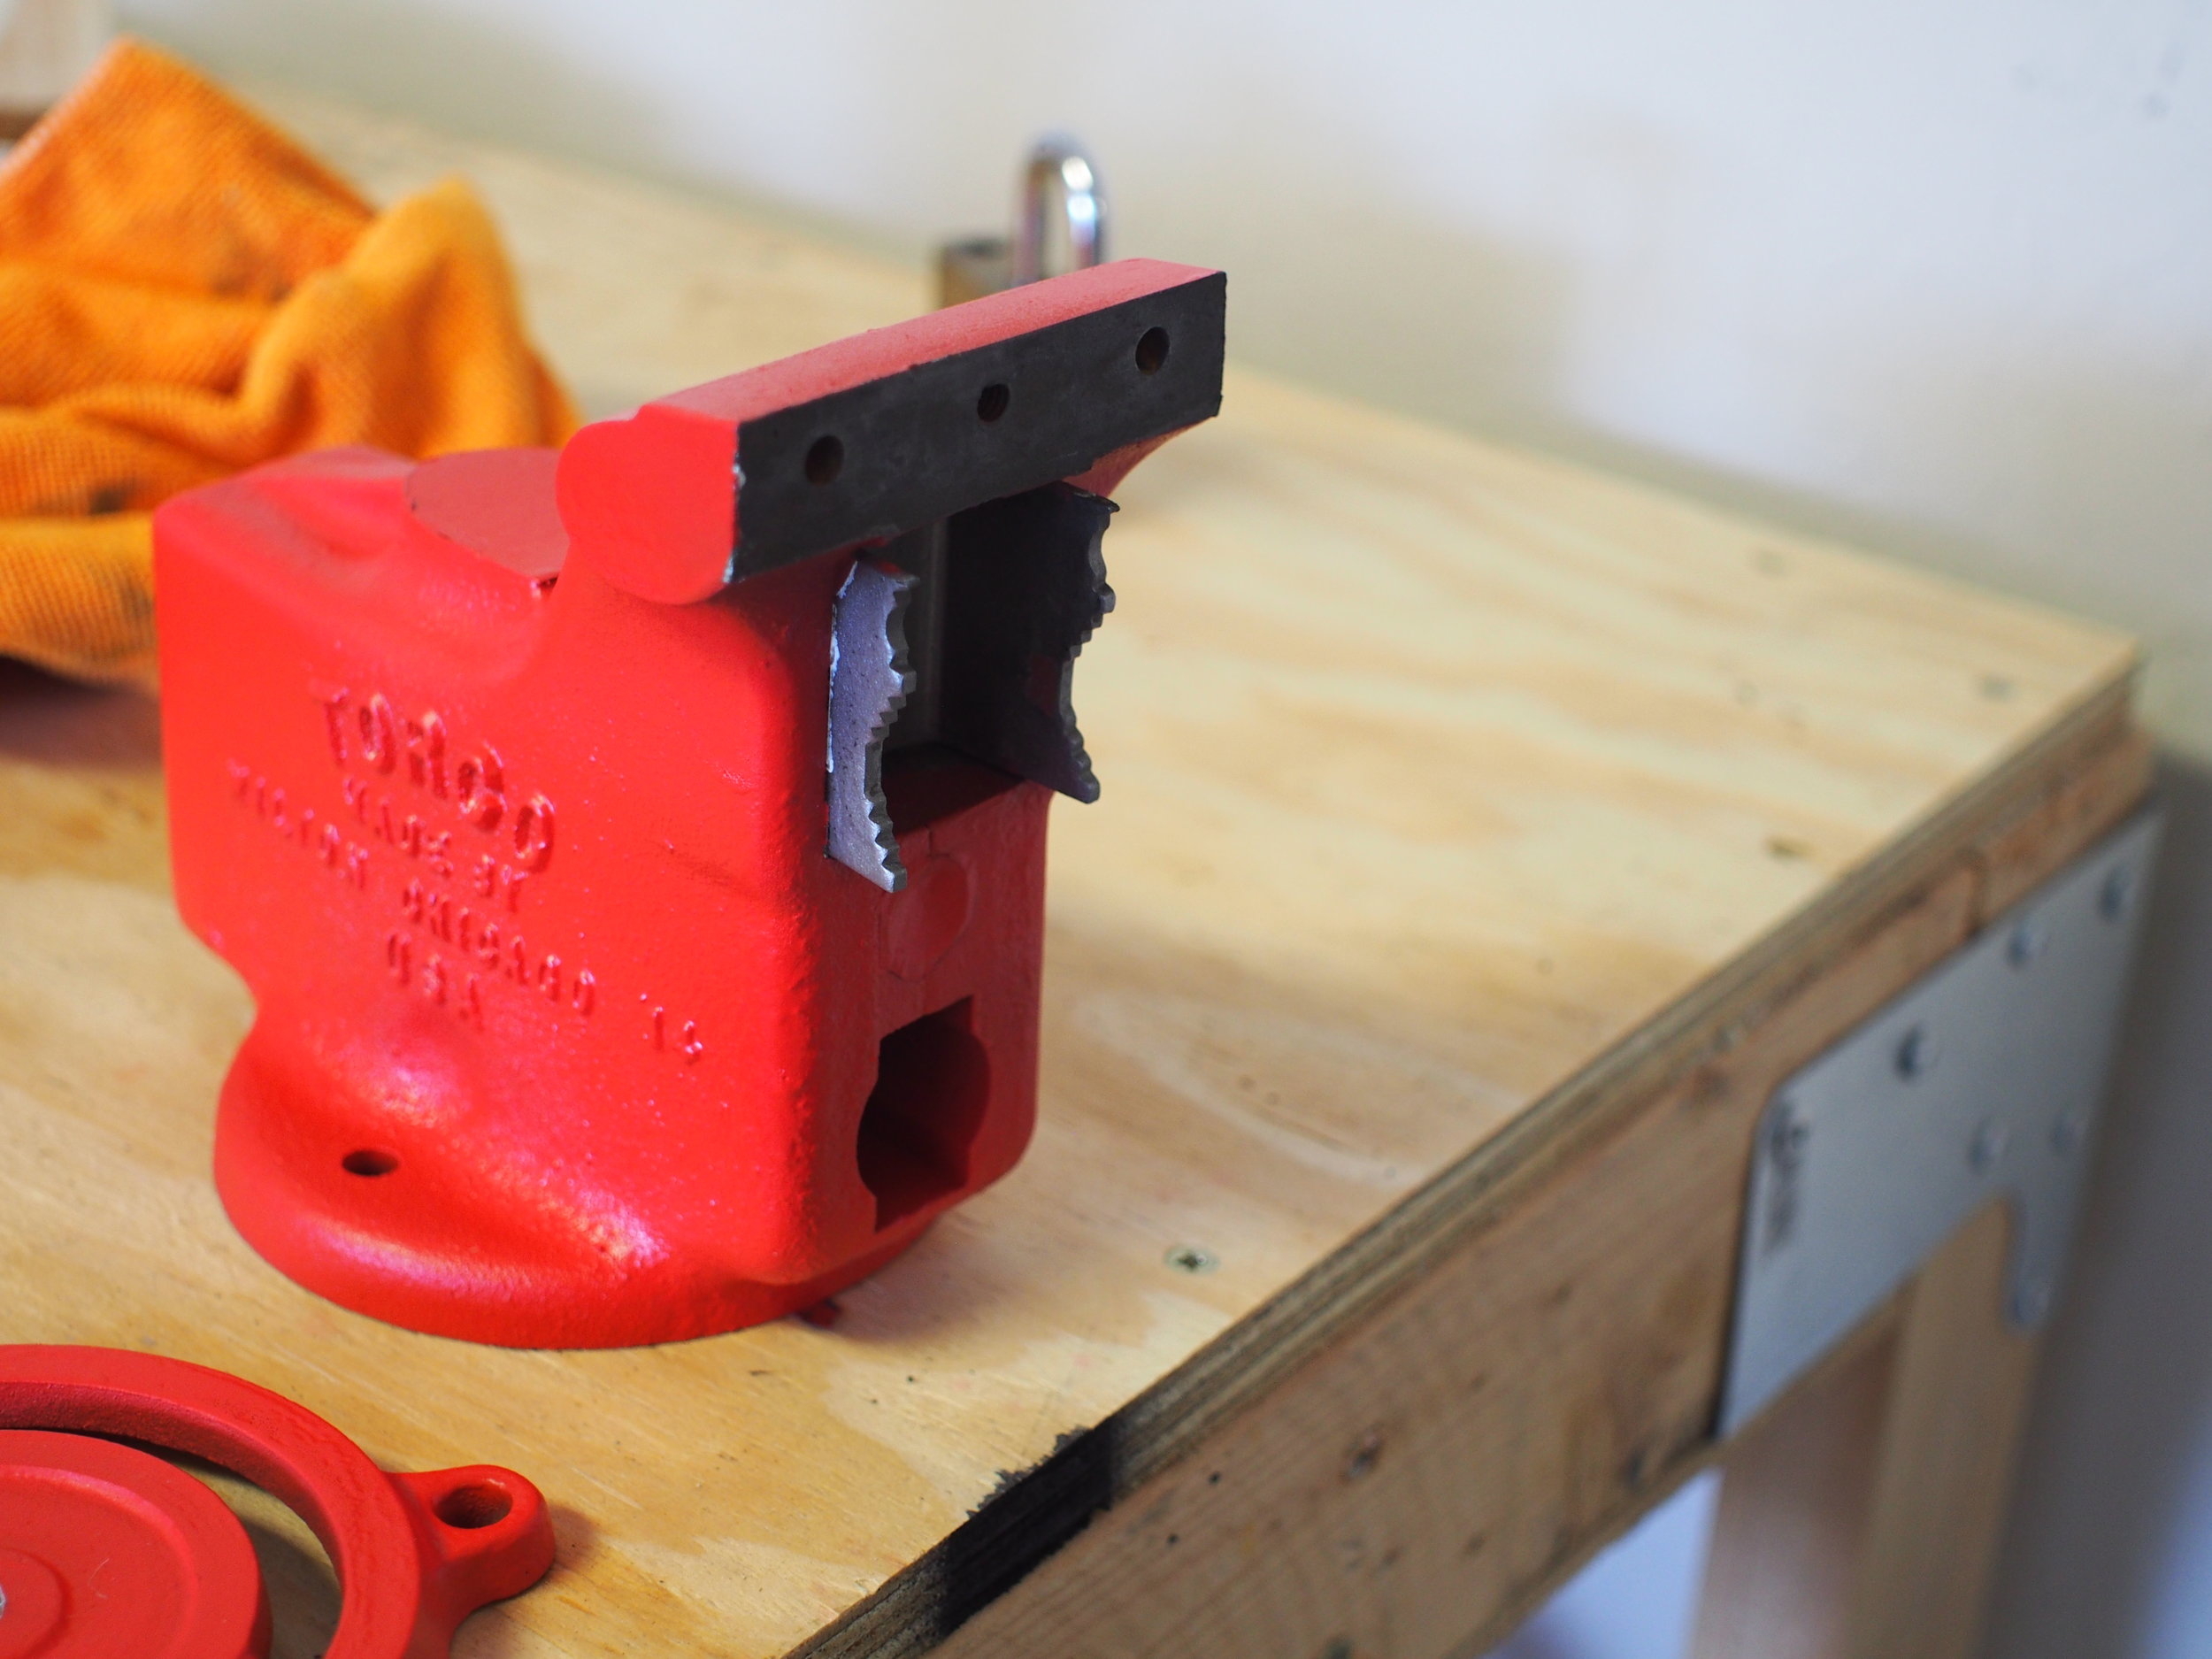
I got this particular vise from my Dad, who had it just sitting around in his garage. It was almost completely covered in rust, but otherwise in great shape. . To get started, I searched for information on this make and model, the Torco 3 1/2". The Torco vise is a home mechanics vise made by the Wilton Company during the 1950s and 1960s.
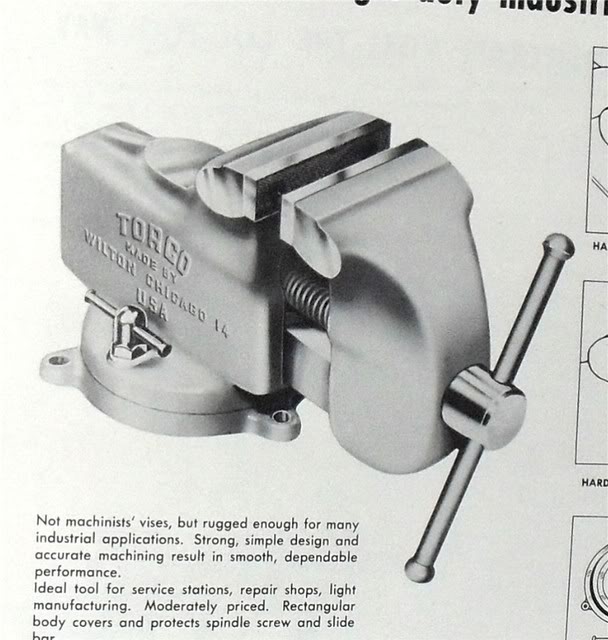
Wilton Catalog
The picture at the top isn't my vise, since I forgot to take a picture before I started, but that is very much what it looked like. The original color was some kind of green. Everything seemed square and true, and the jaw inserts were present. A little further research convinced me that this model would be worth restoring, and adequate for anything I might be doing with it.
The plan was to disassemble the vise, de-rust it, prime it, paint it, and put it back together. Easy, right?
Supplies
Nitrile gloves
Vinegar
Scouring pad
Dish soap
Sandblaster/mediablaster
Painter's tape
Self-etching primer
Paint
Graphite
Sandpaper
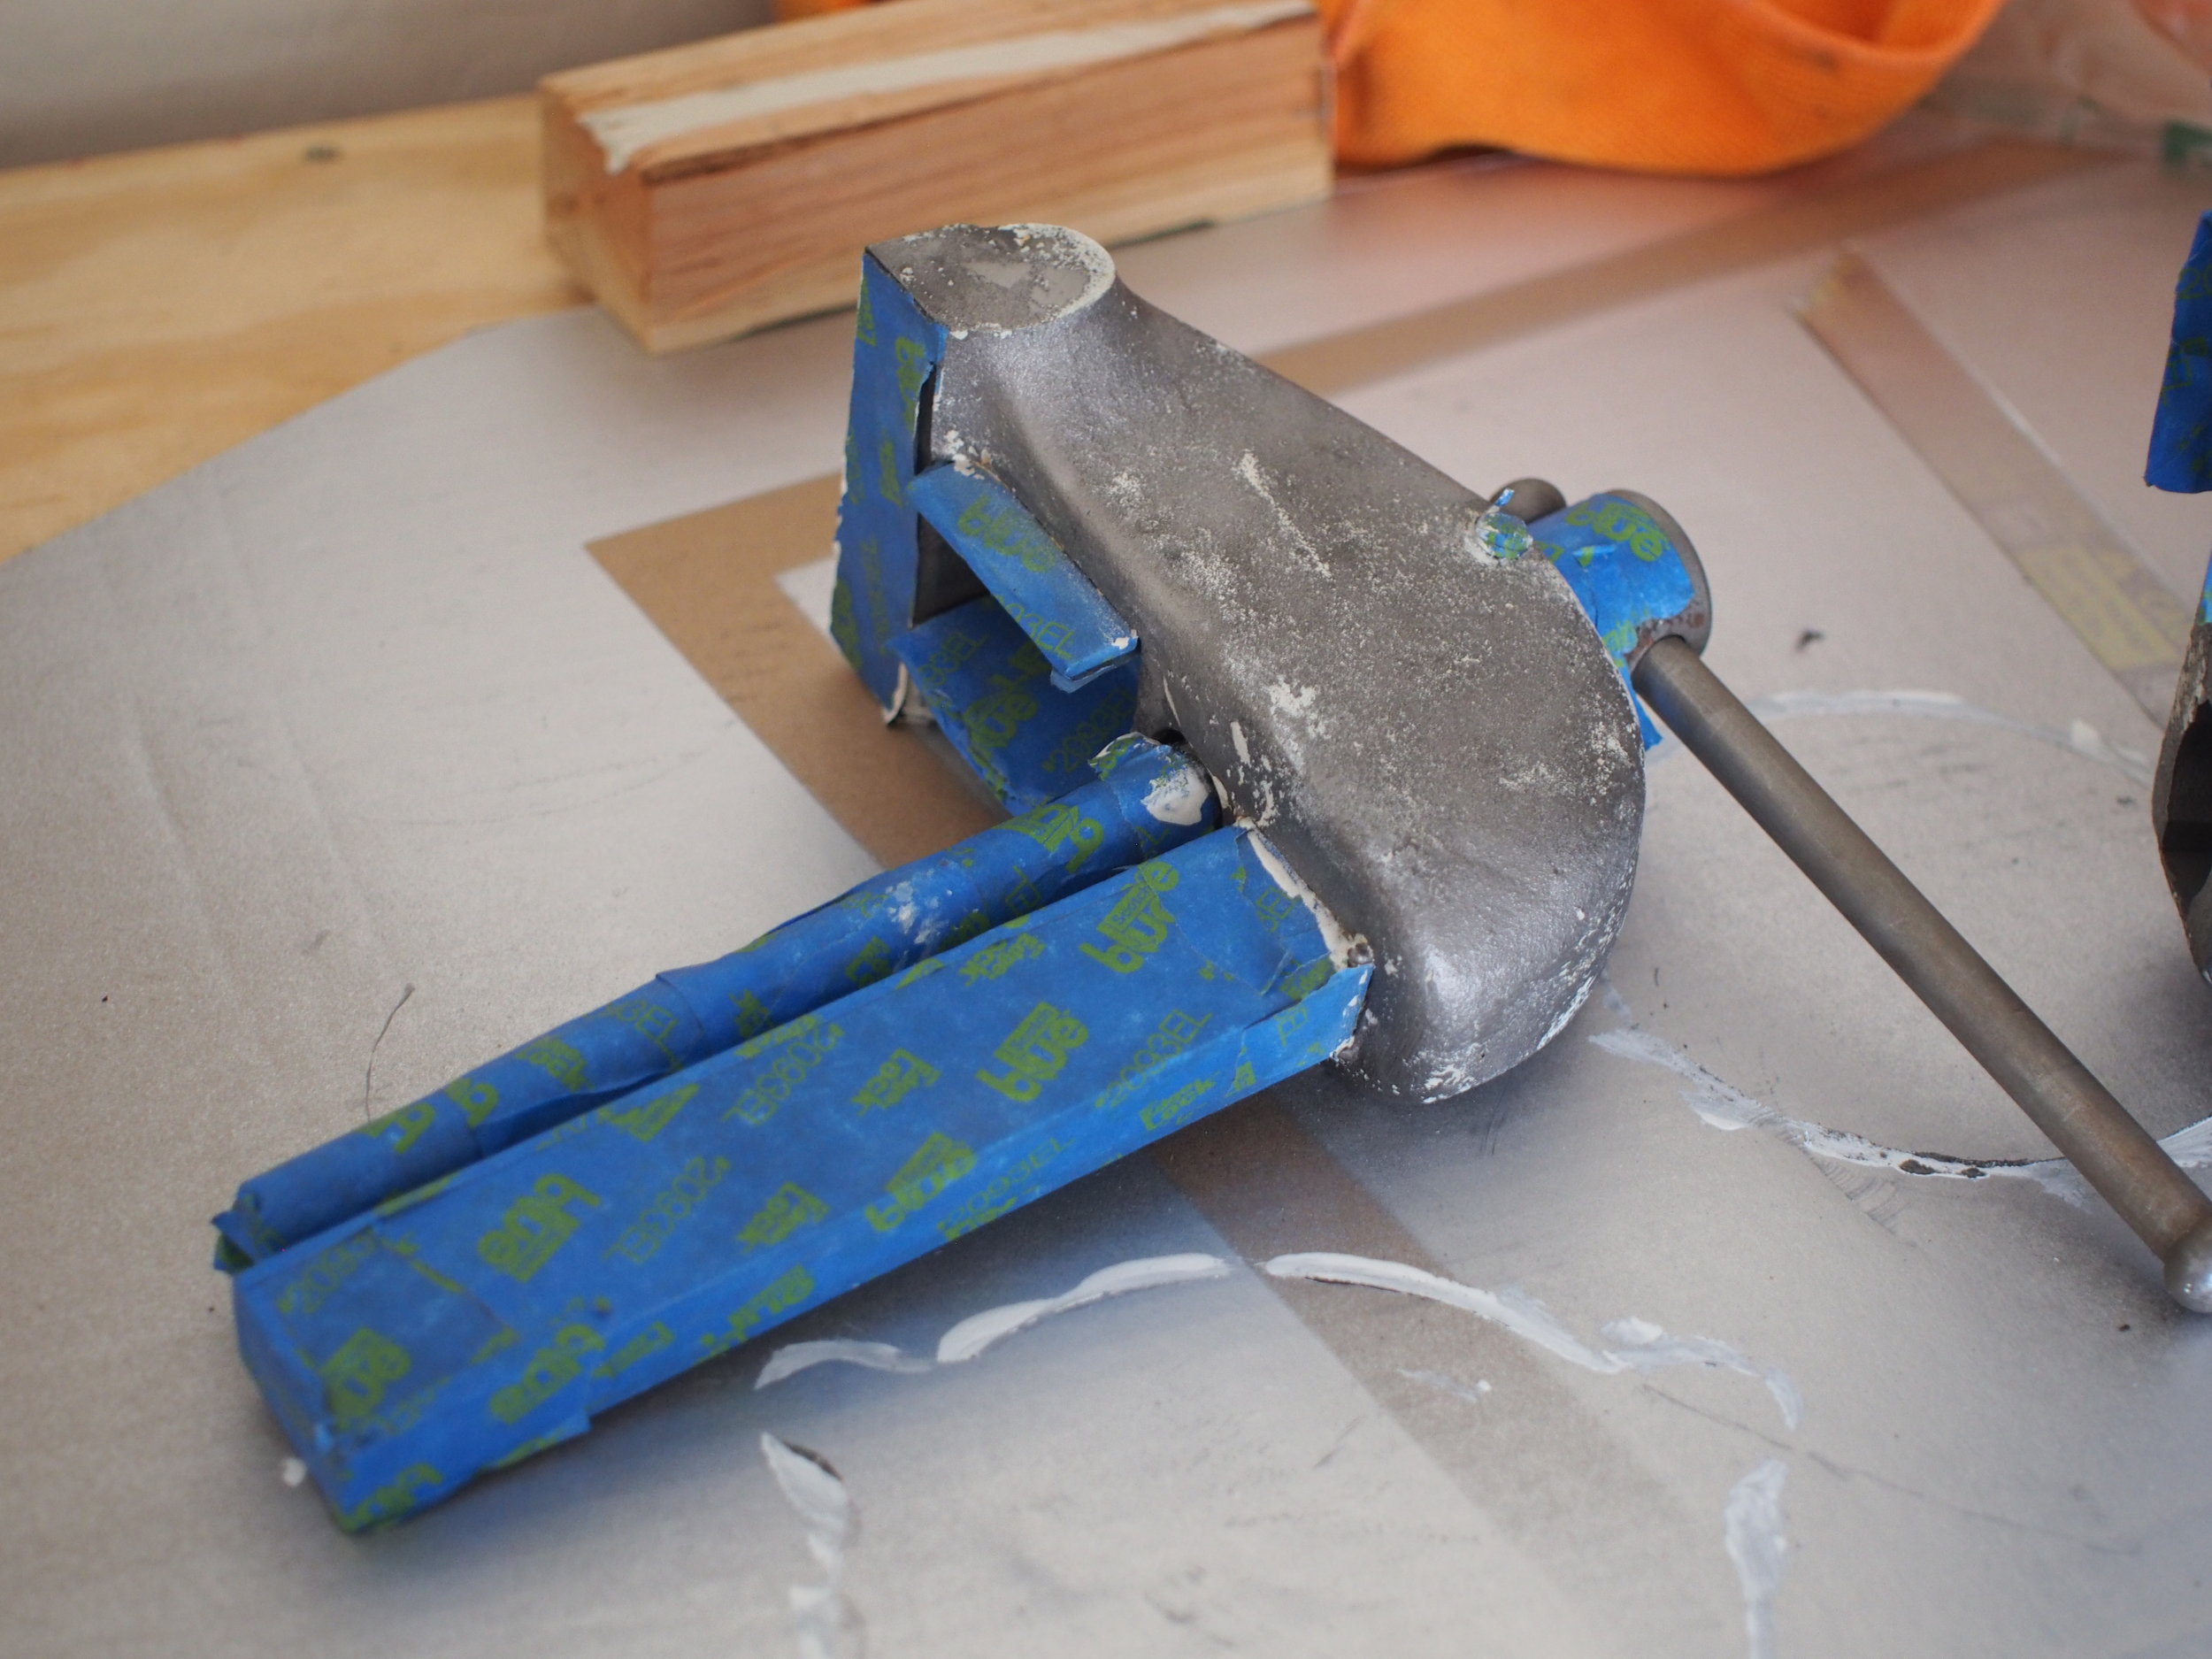
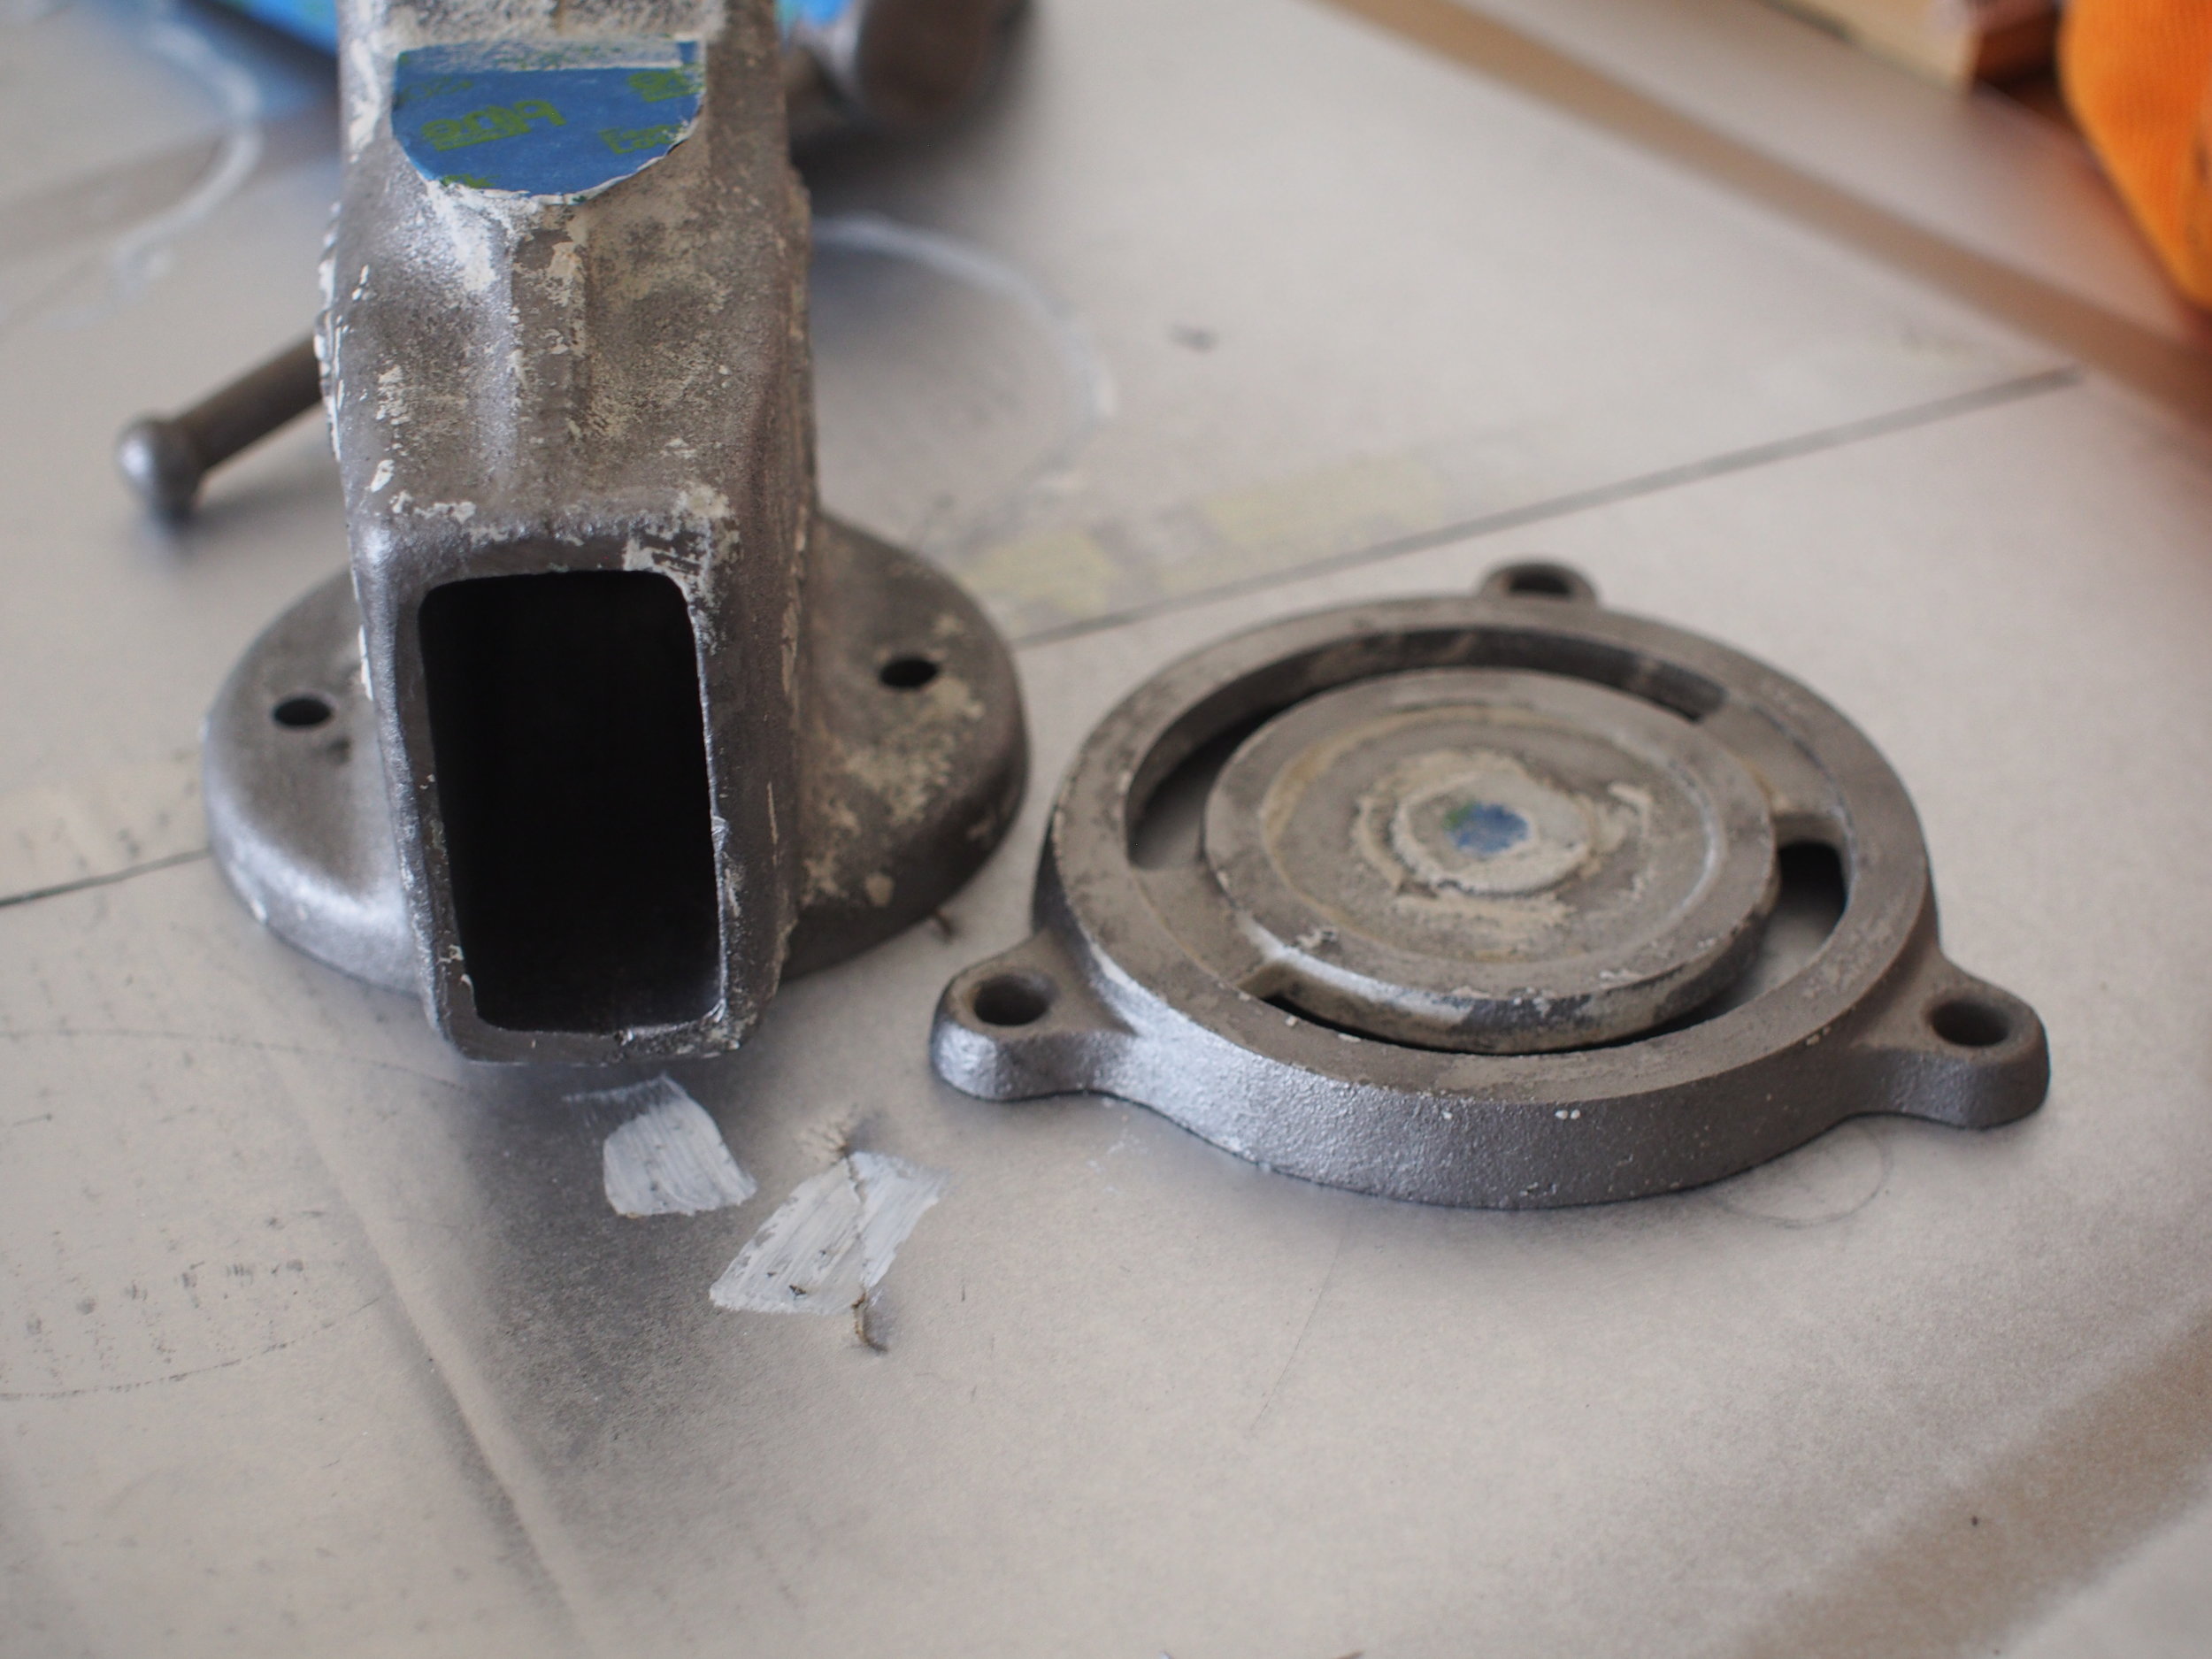
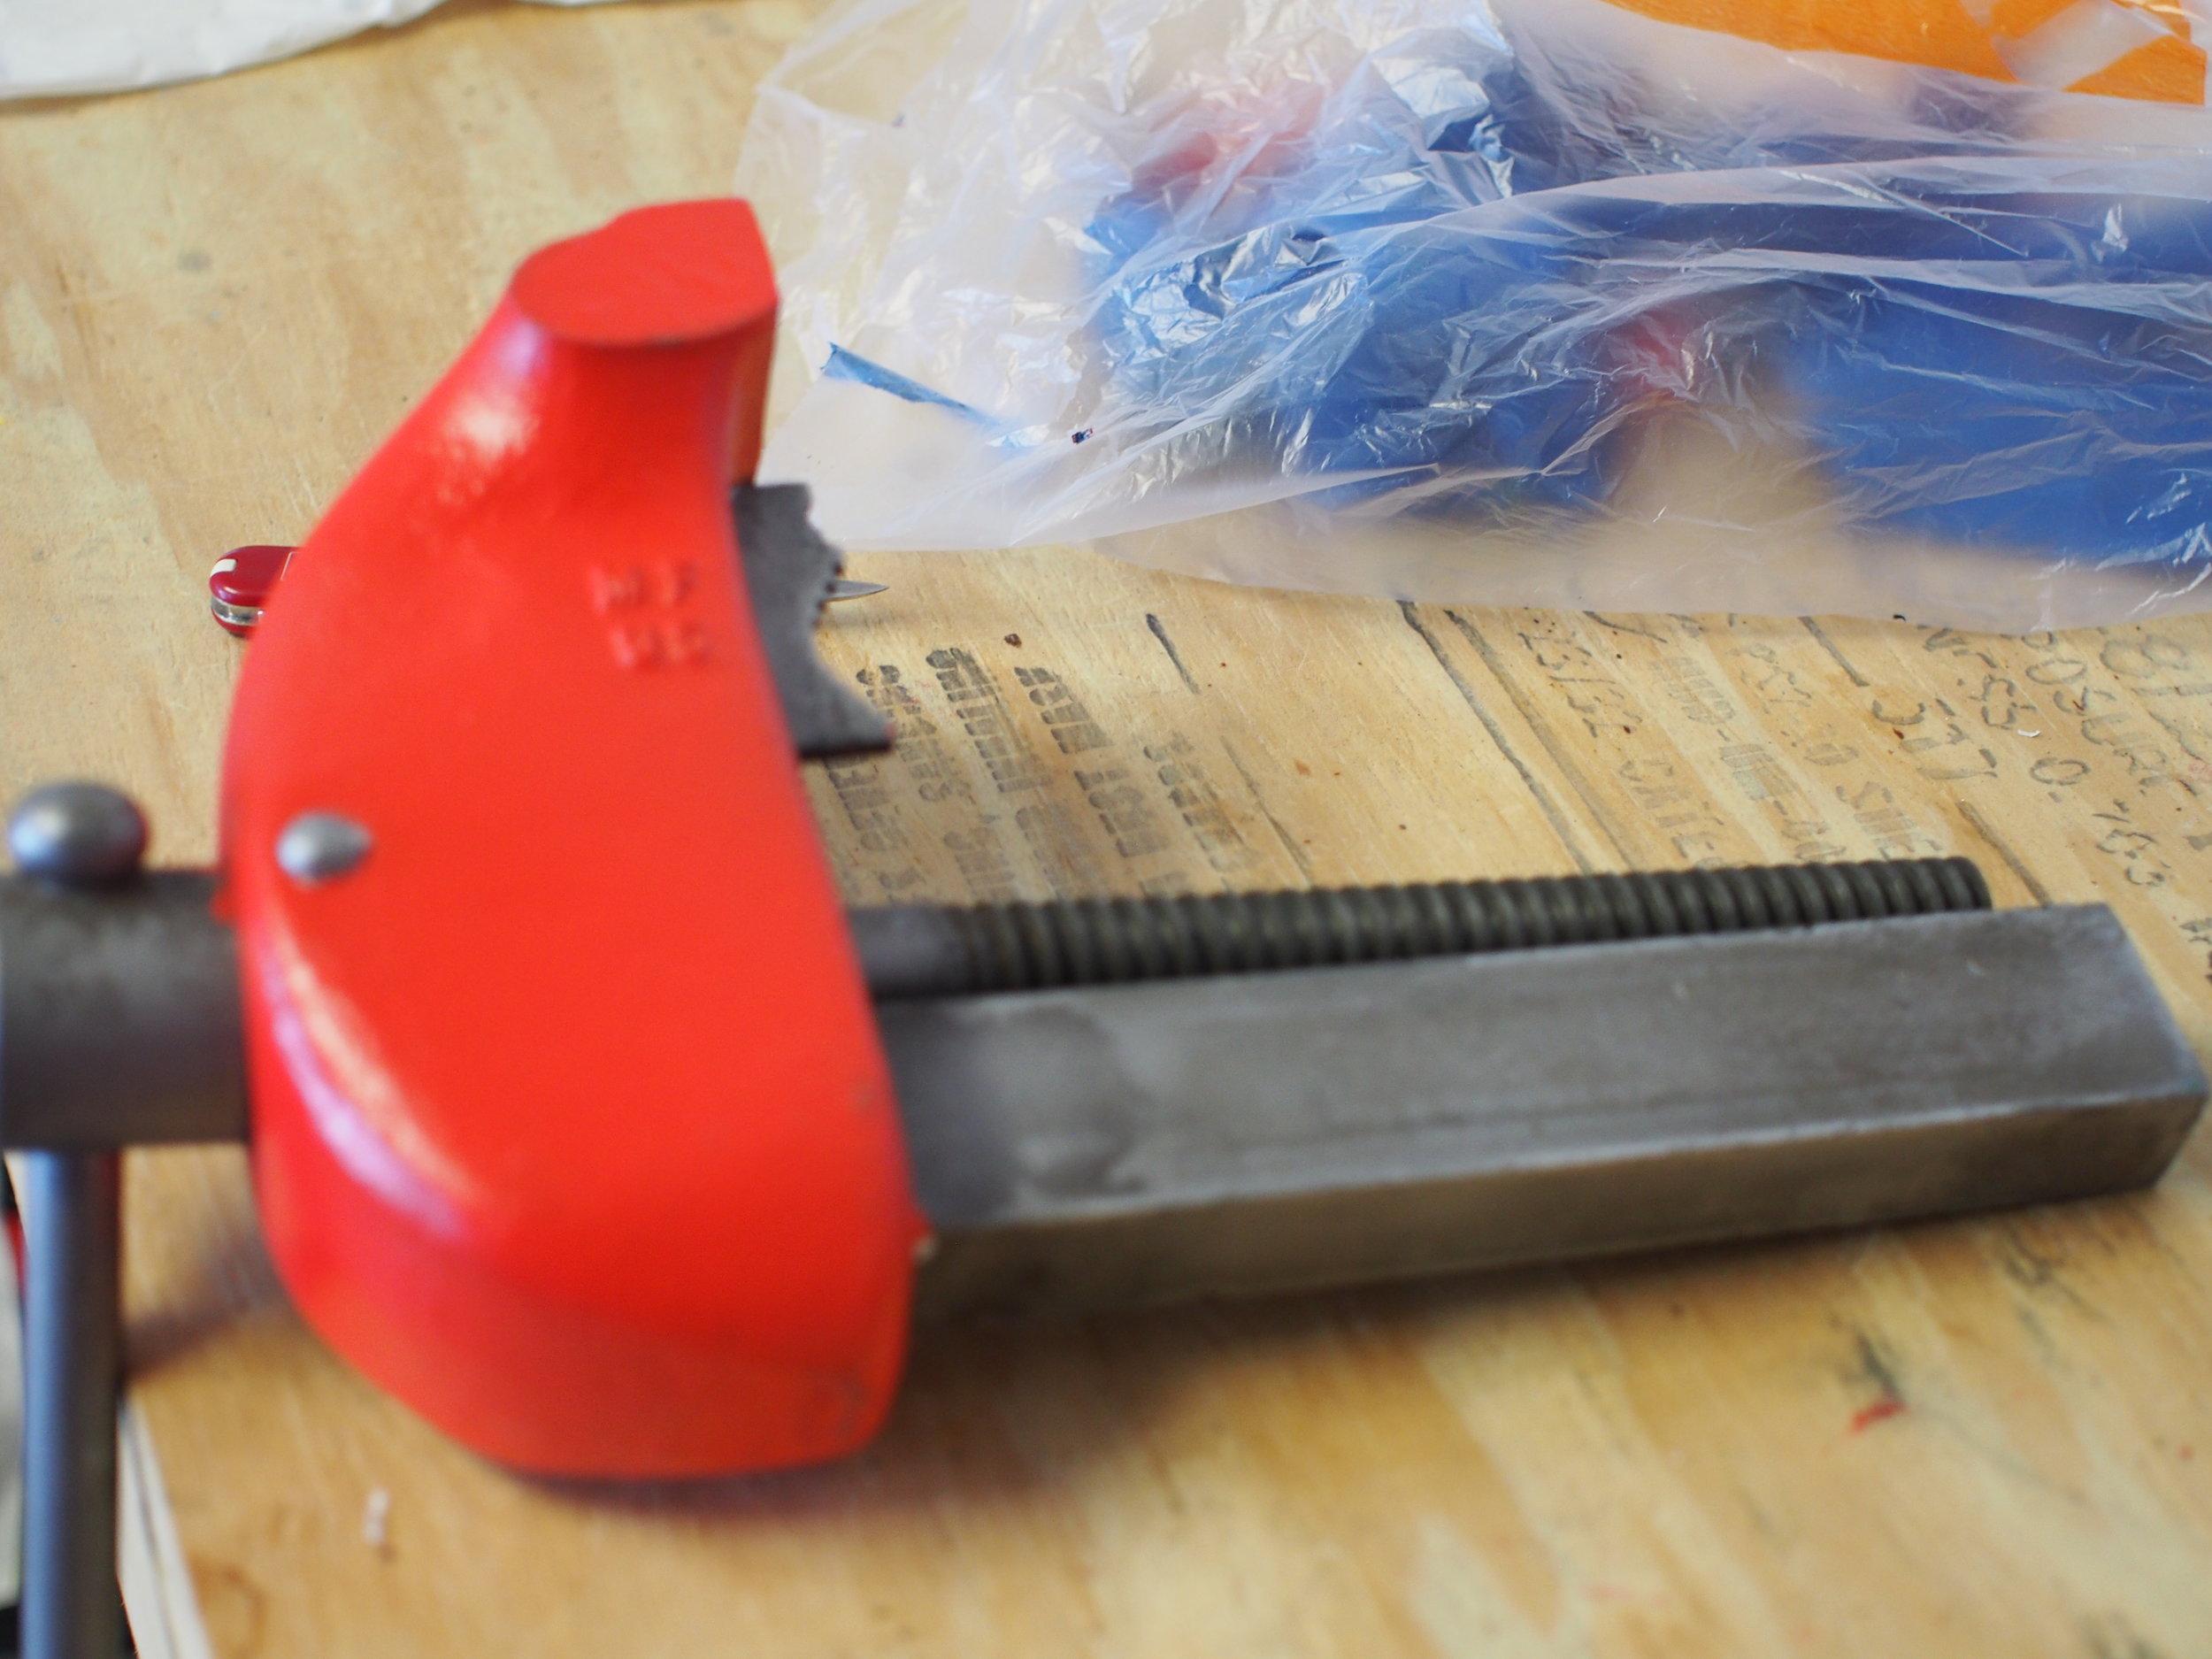
Disassembly
Taking the Torco apart was pretty easy. I just took out any screws I saw and then turned the vise handle until the movable jaw came out.
Removing Rust
Now that I had everything taken apart, I needed to remove all the rust. Since there was rust everywhere, including inside the casting, I decided that either vinegar or electrolysis were the best methods. Using an aqueous method would allow me to get inside everything, and it sounded like fun. Looking into the electrolysis methods, they all seemed to use car battery chargers and 5-gallon buckets, which didn't seem like a good idea with my two-year-old son running around.
The vinegar method was often compared on the forums to Evaporust, a rust-removal product I've used at various jobs. Since I knew Evaporust worked, that gave me some confidence the vinegar soak would too.
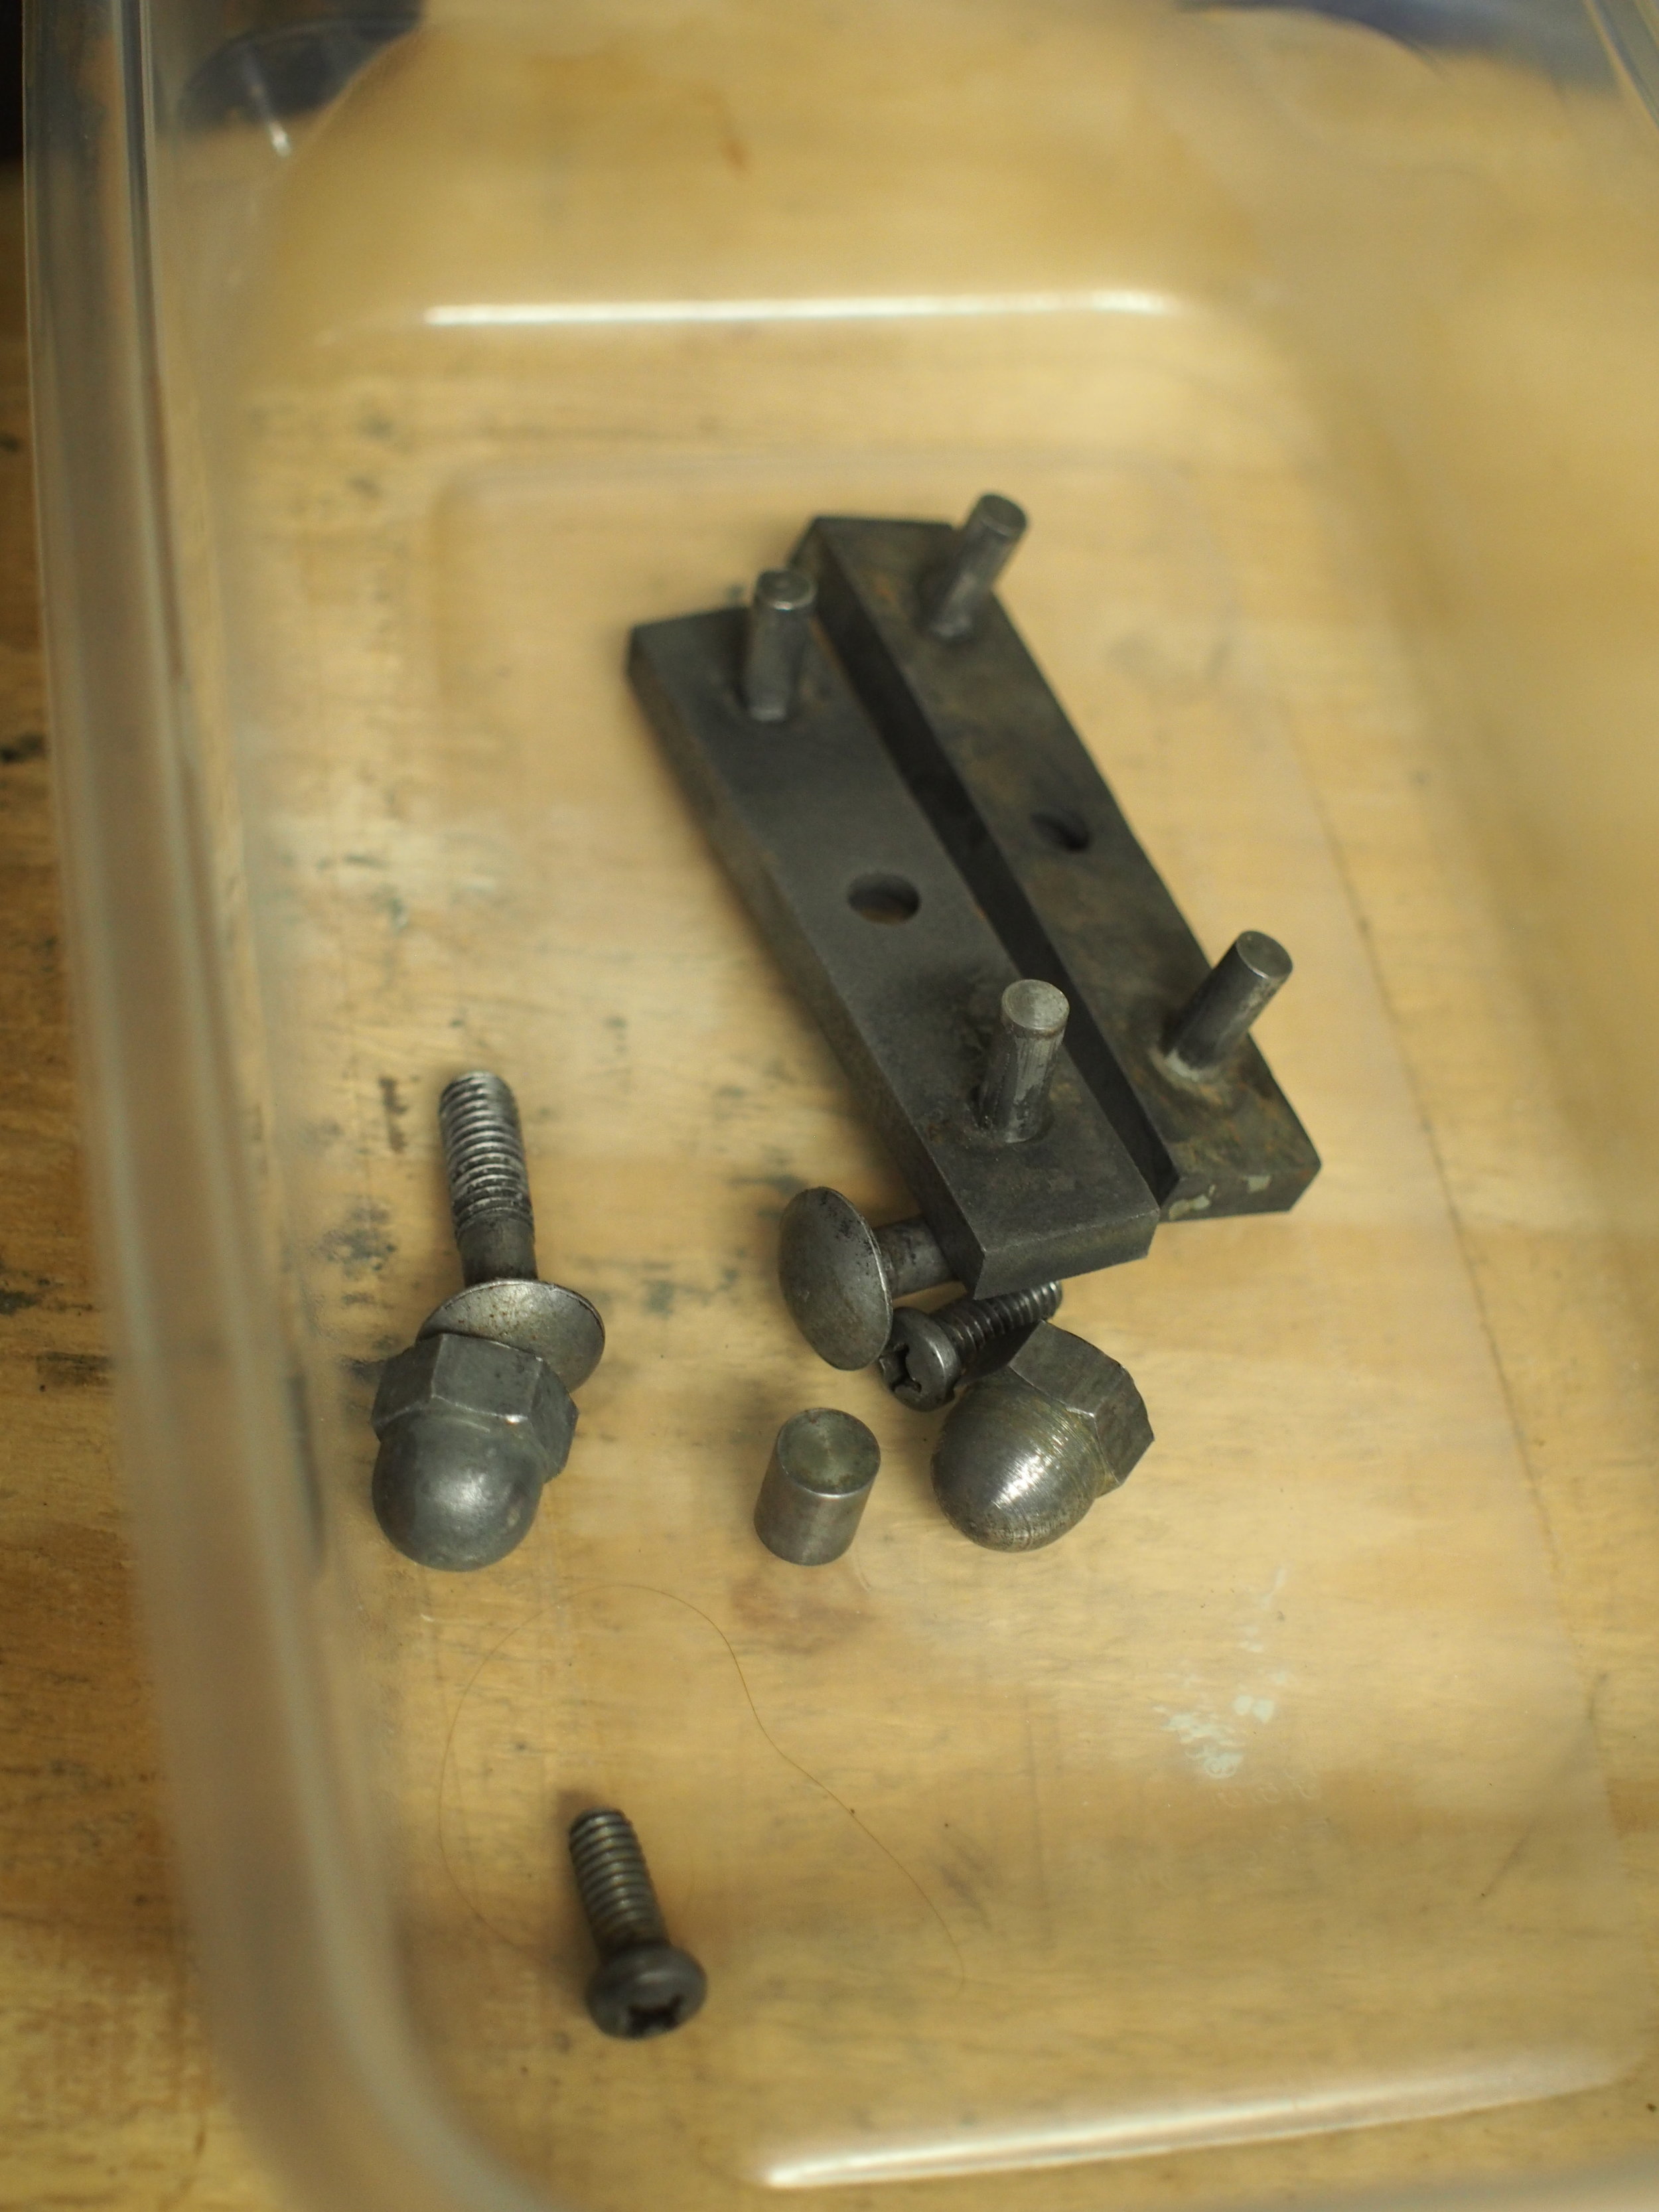
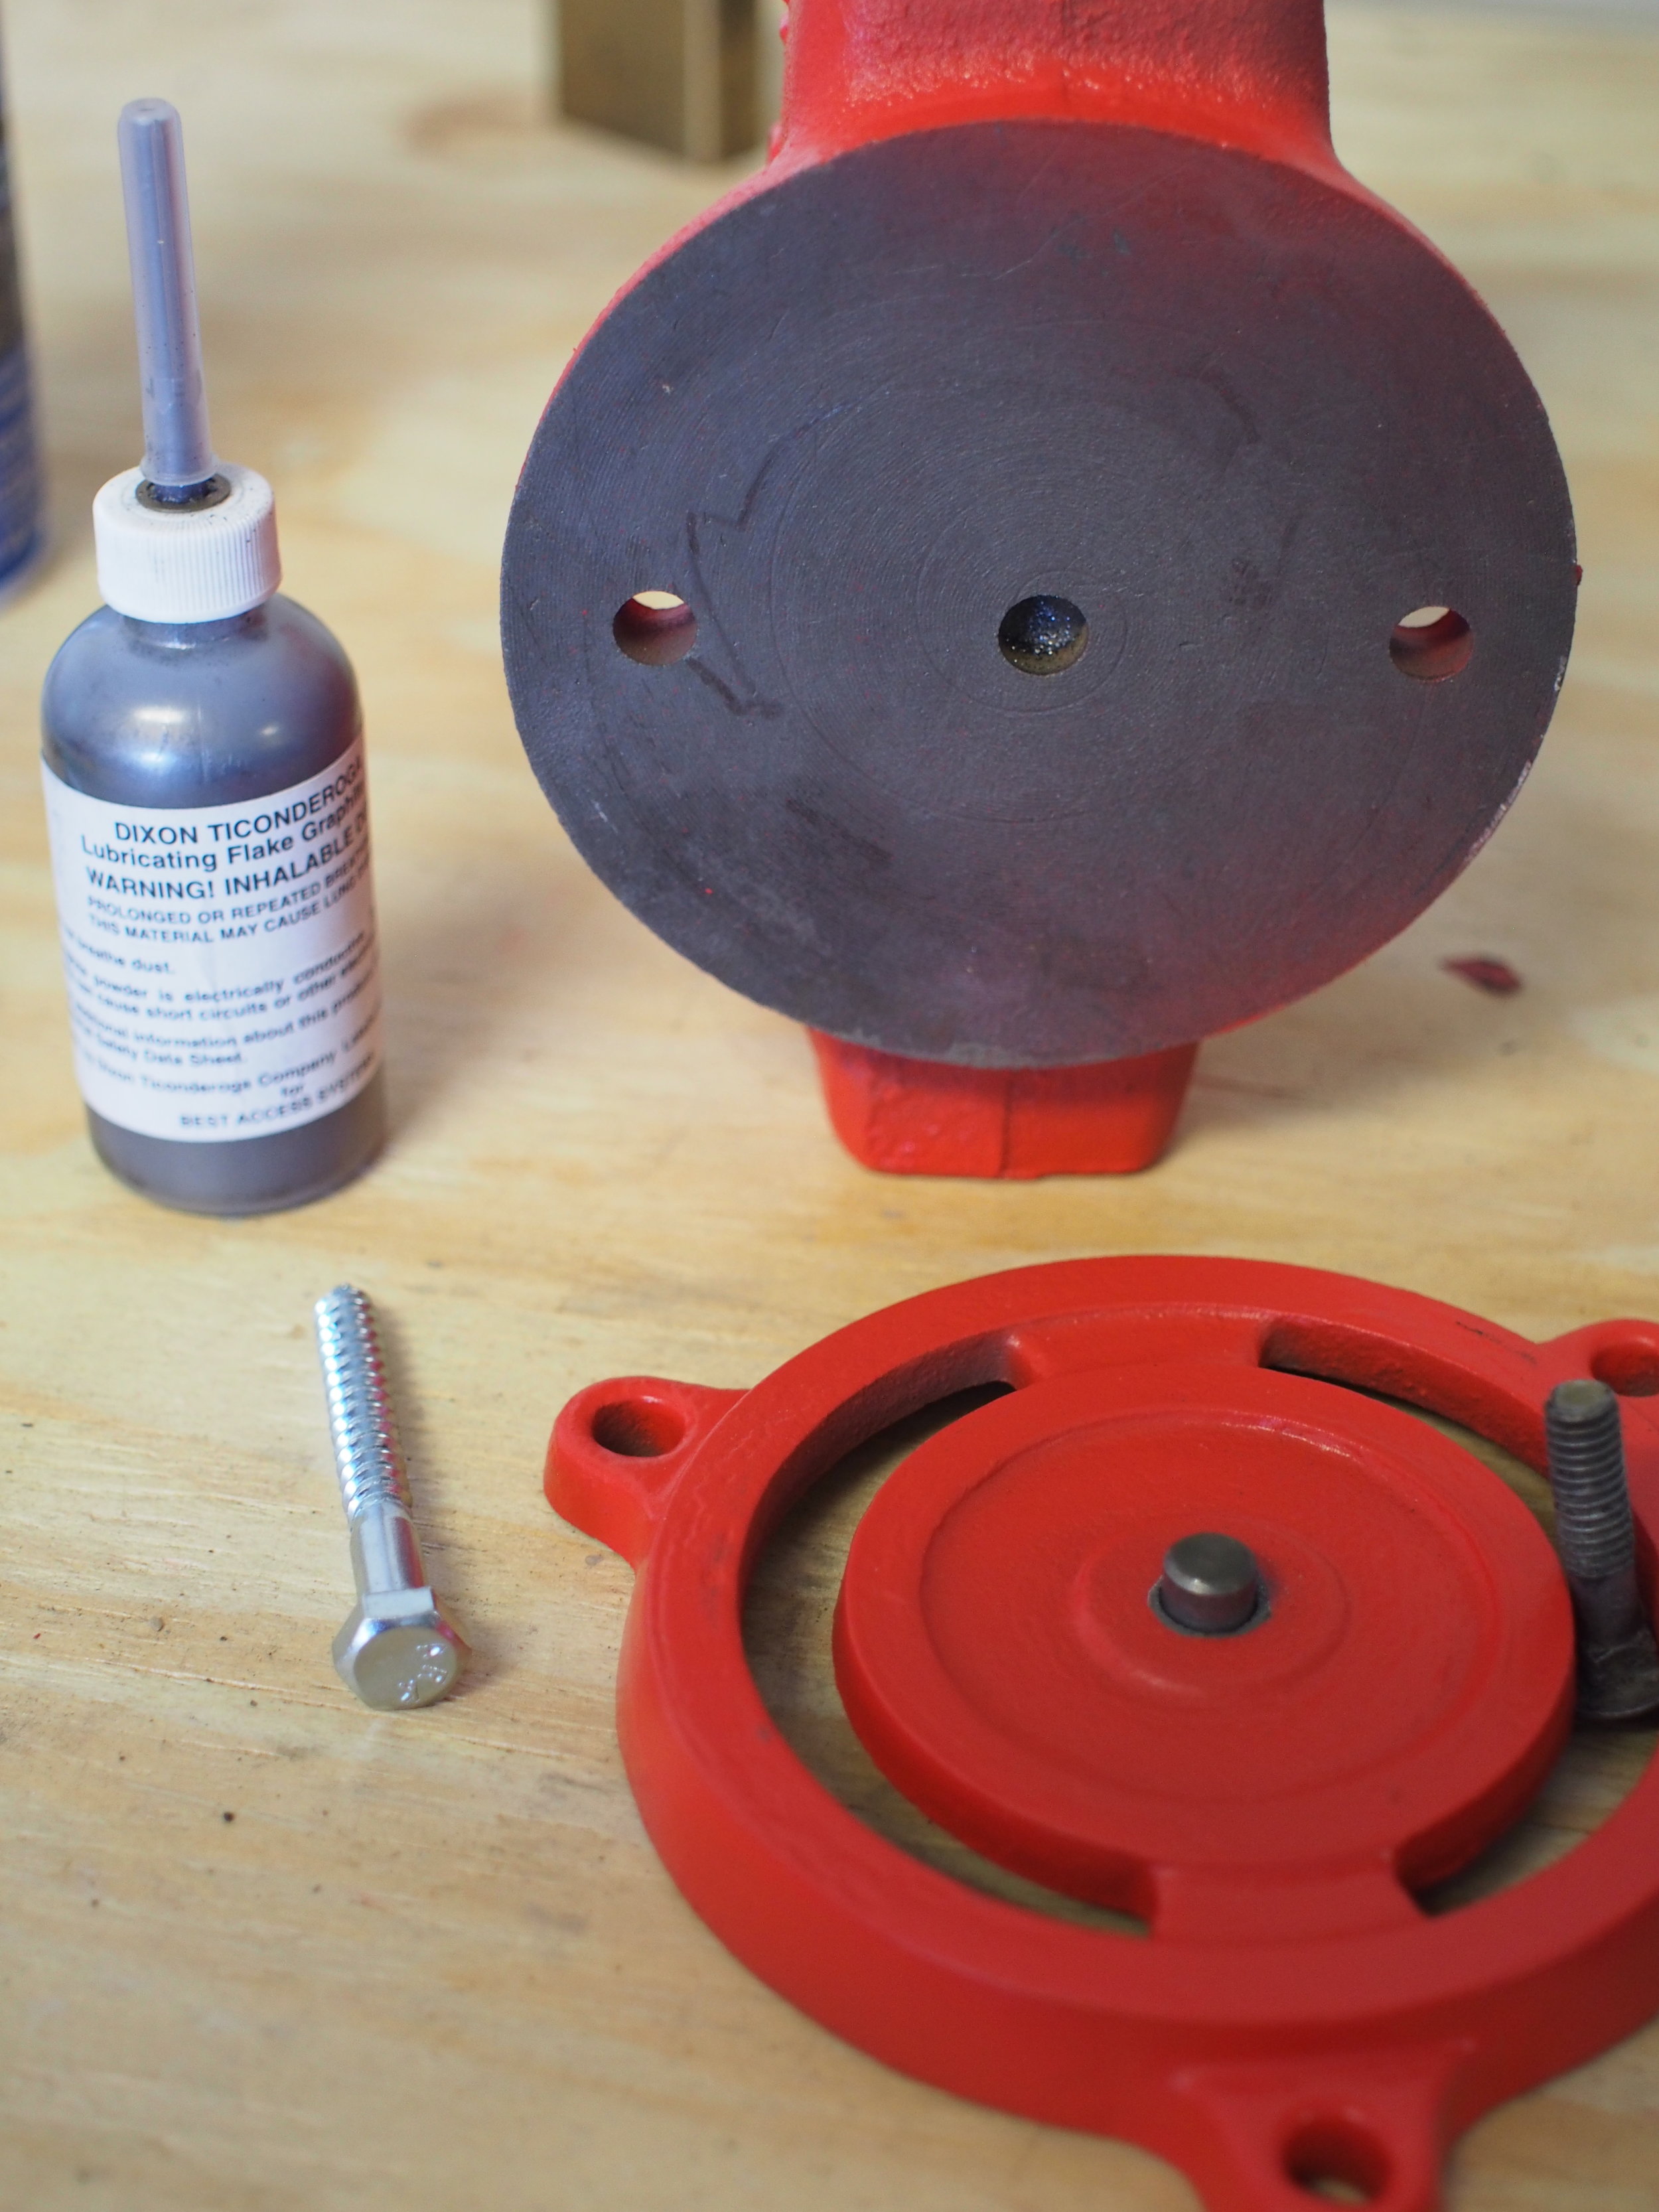
Freshly scrubbed hardware
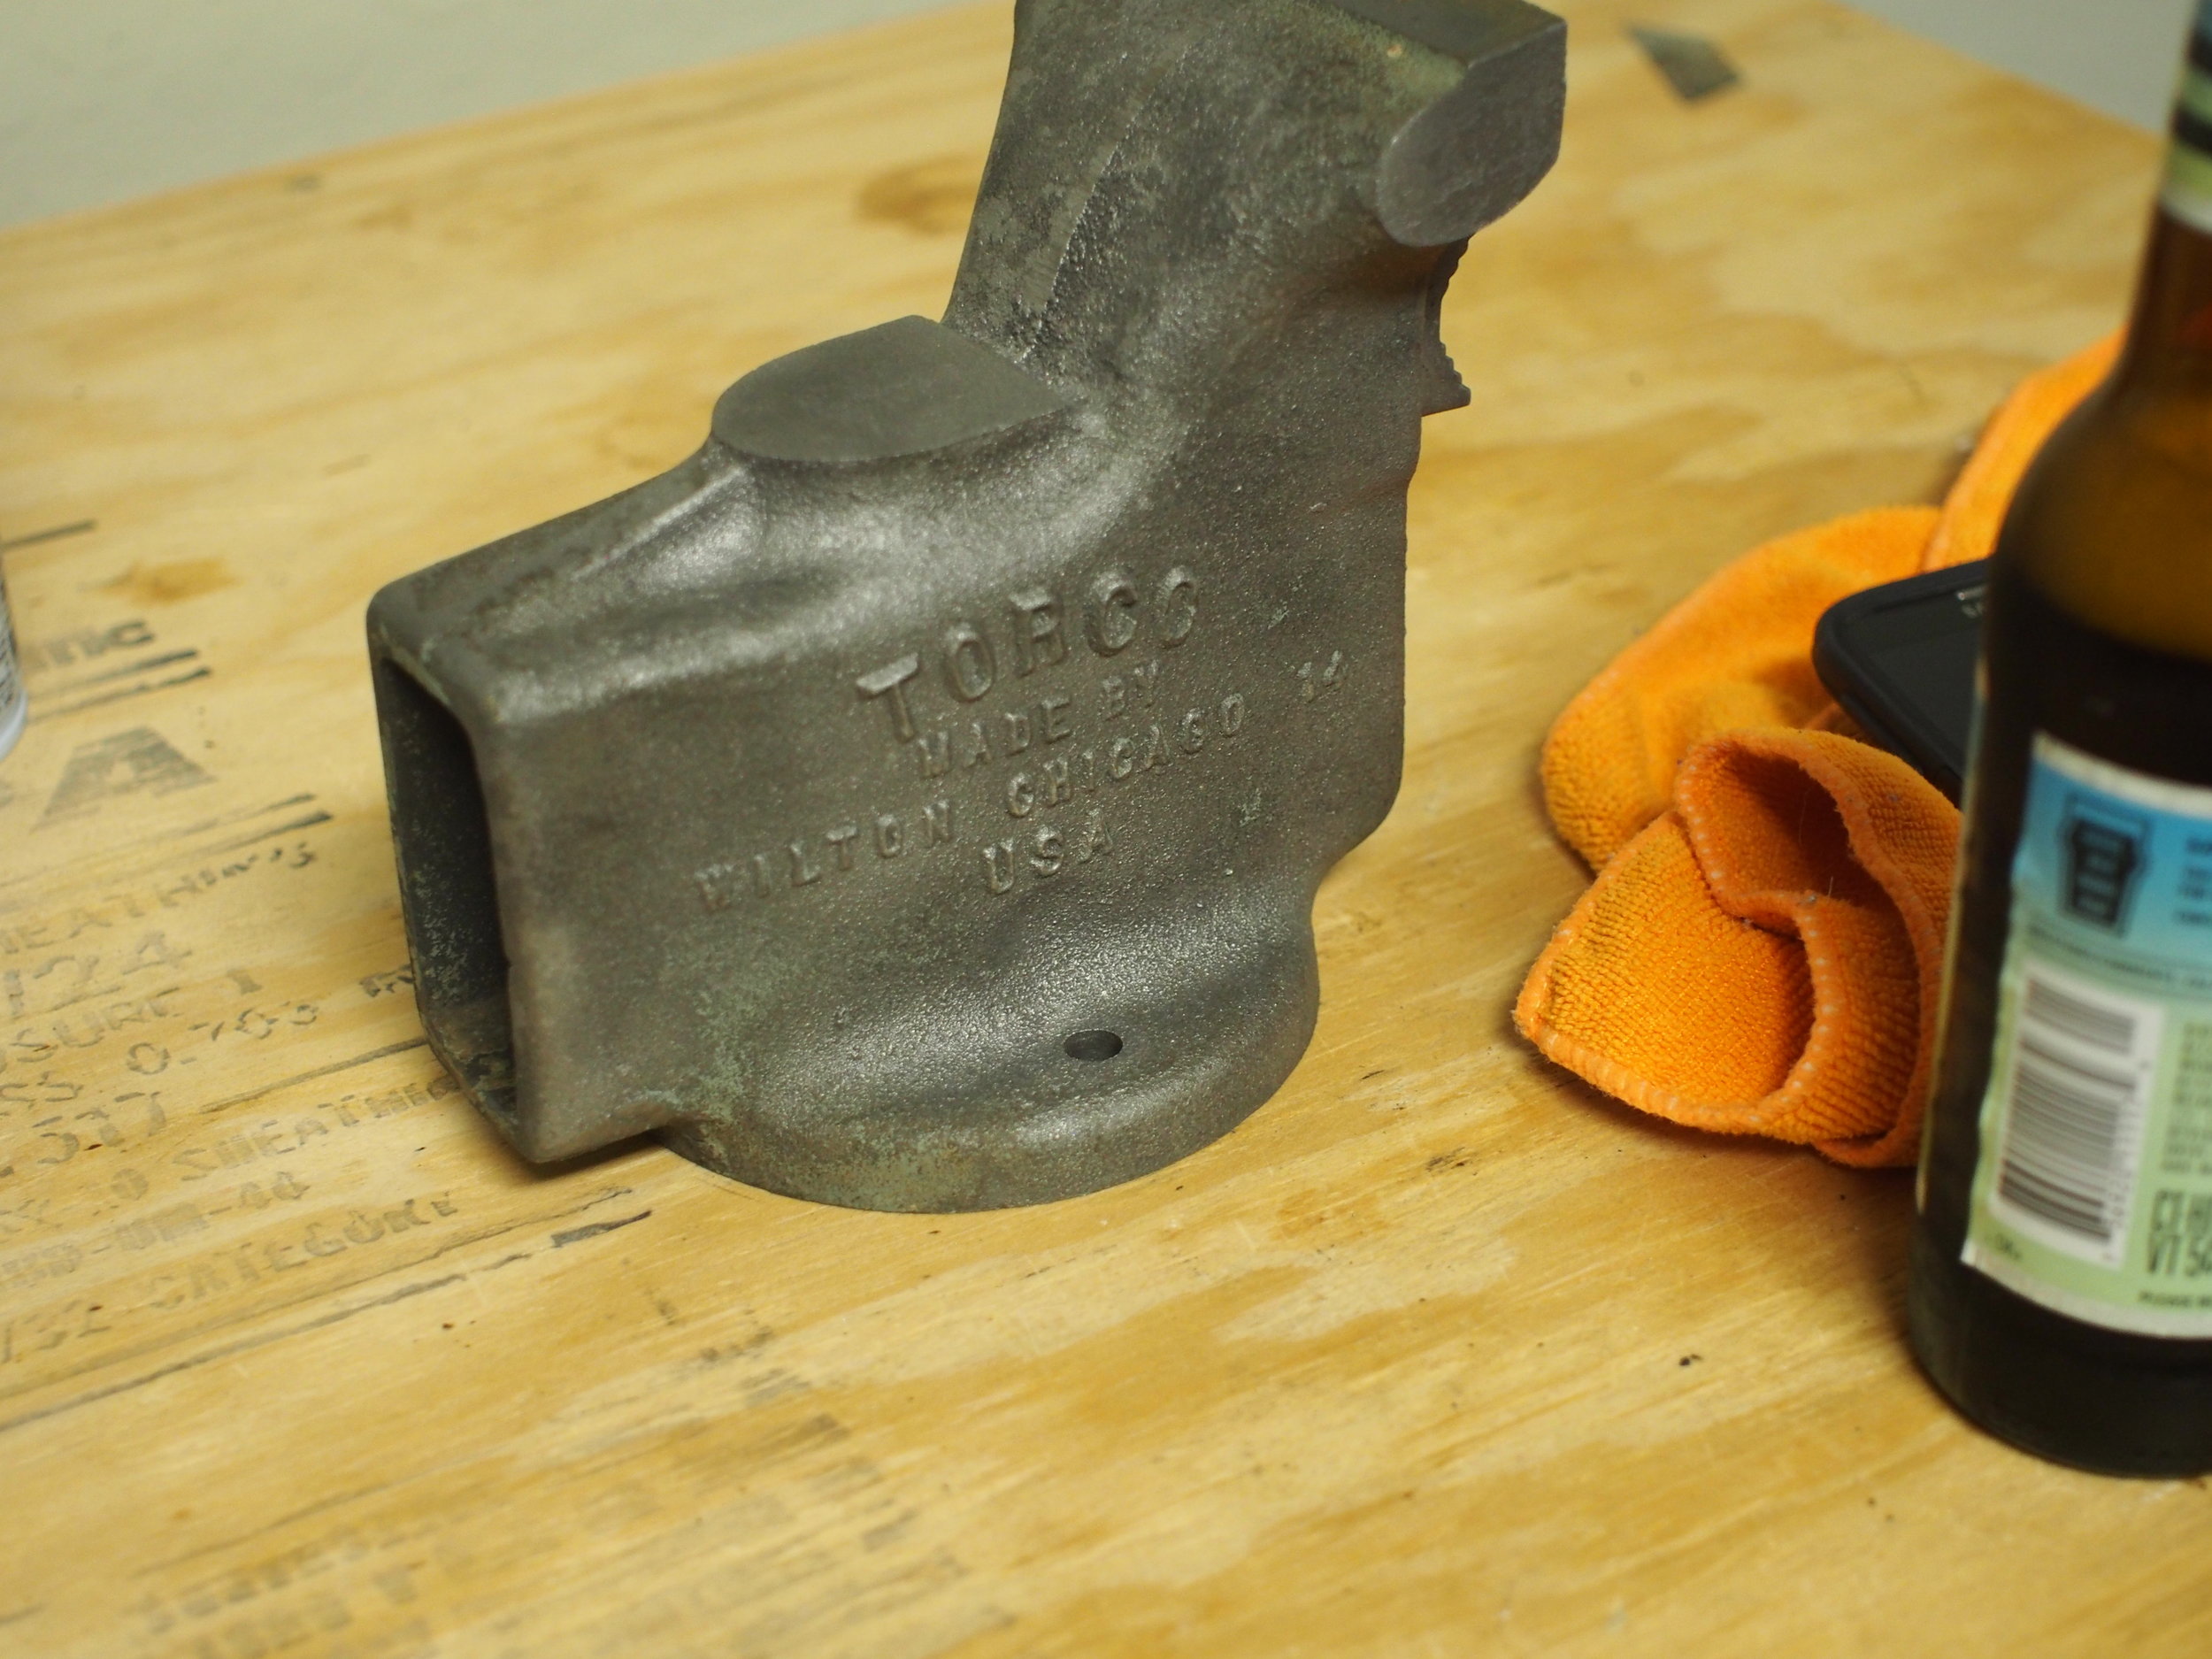
It turned out pretty well. I put the vise in a plastic container with the vinegar, and let it sit for a couple of days. After it came out, it was completely black. This was expected, so I scrubbed the parts with water and dish soap. This has a side benefit of neutralizing the acetic acid, which will cause your metal parts to rust again if you don't clean them.
Removing Old Paint
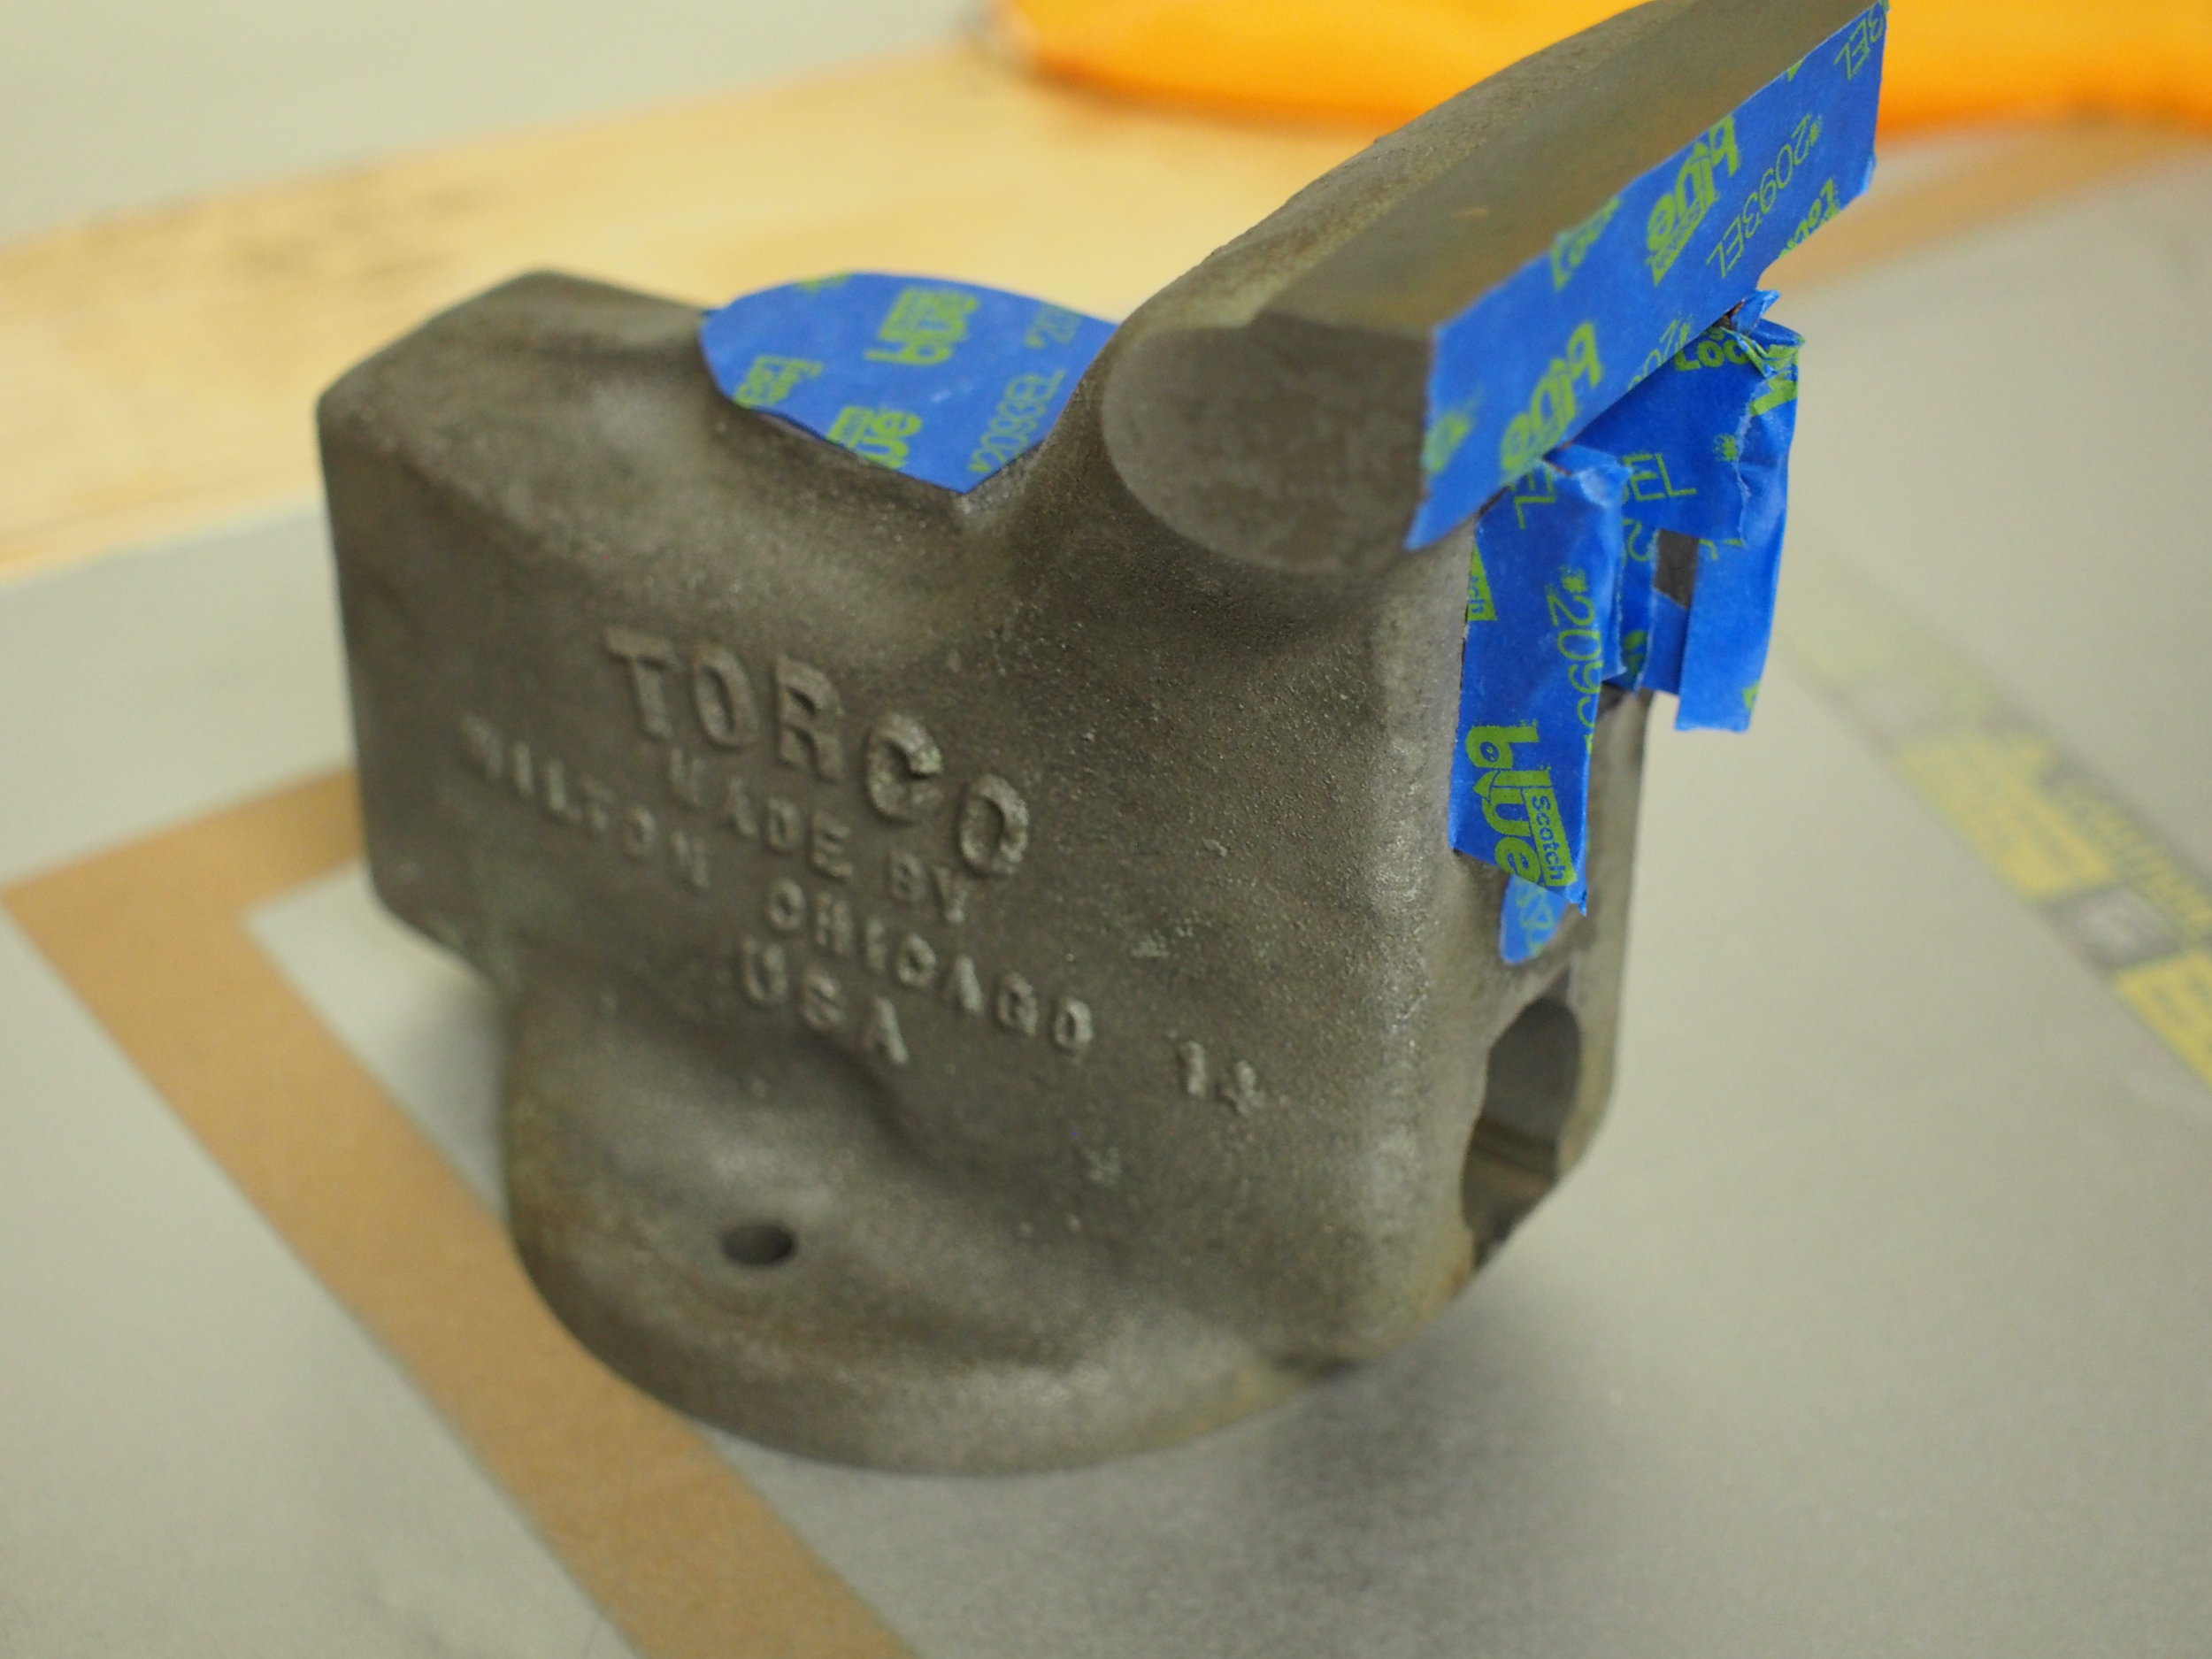
I used a sandblaster with aluminum oxide media to get the old paint off, but plain old sand works too. You could get to the same place with sandpaper, but it would take a lot longer. Getting into the raised letters would be a real challenge.
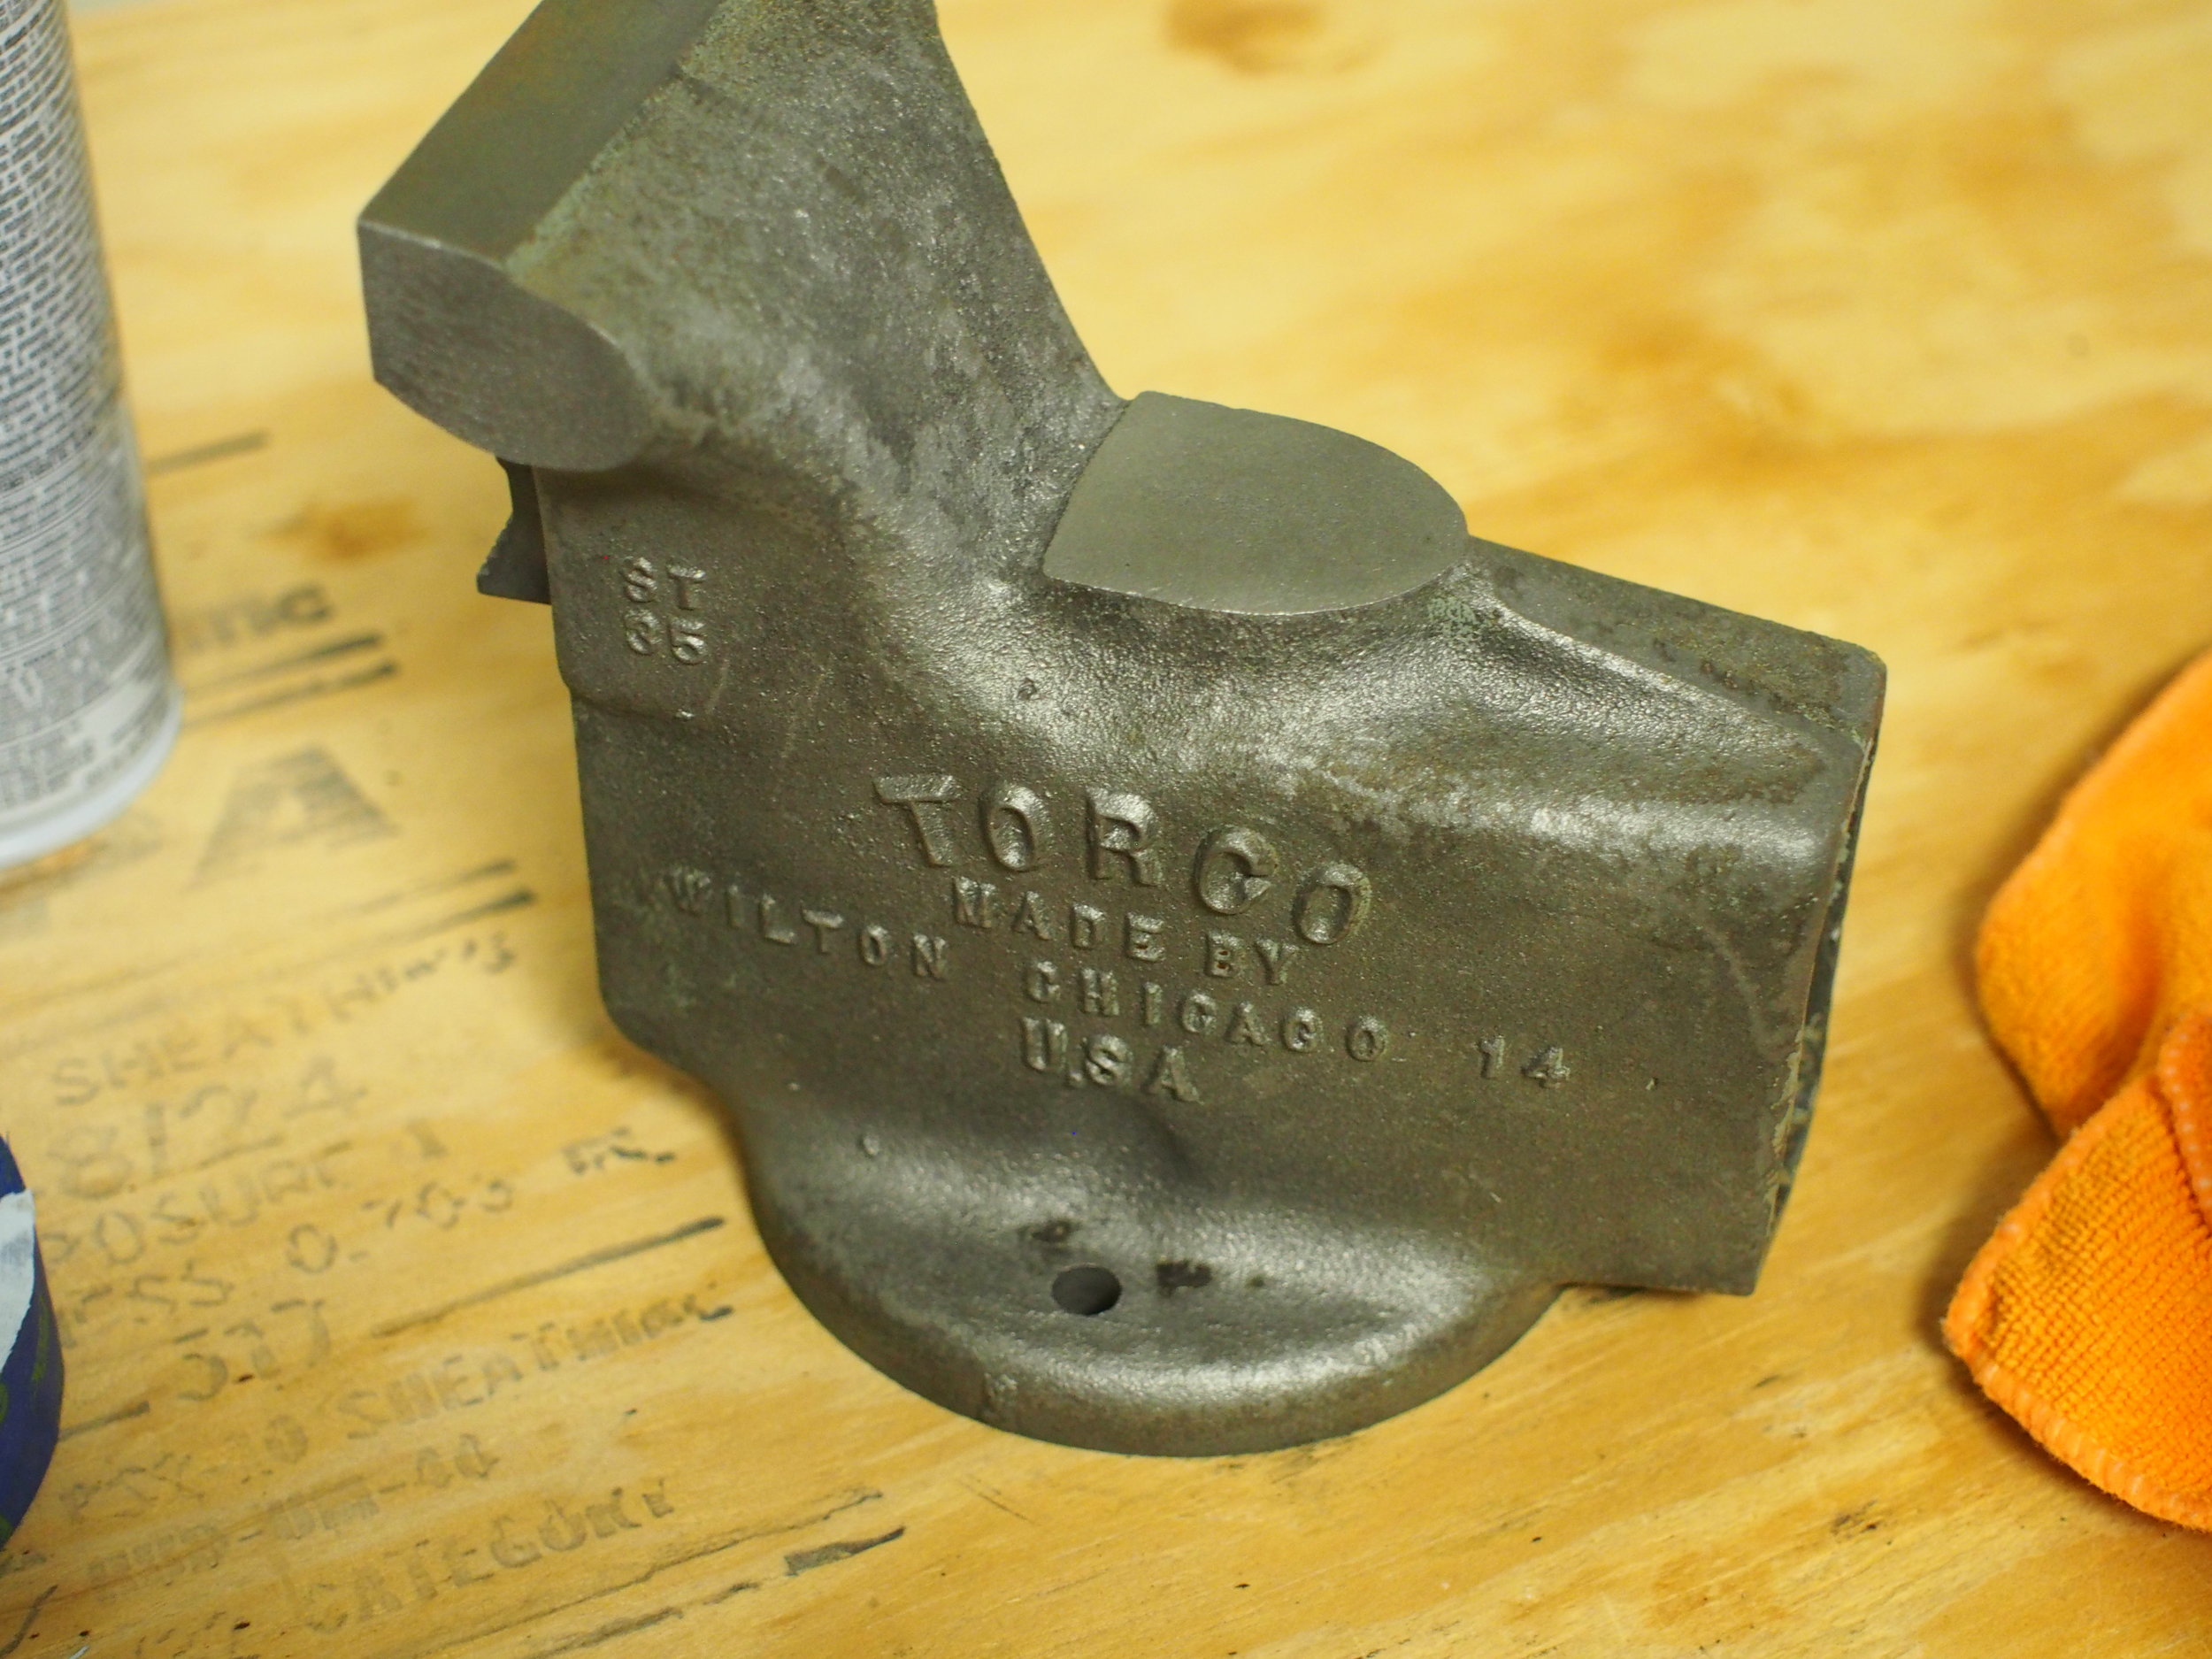
Sandblasted and ready for priming!
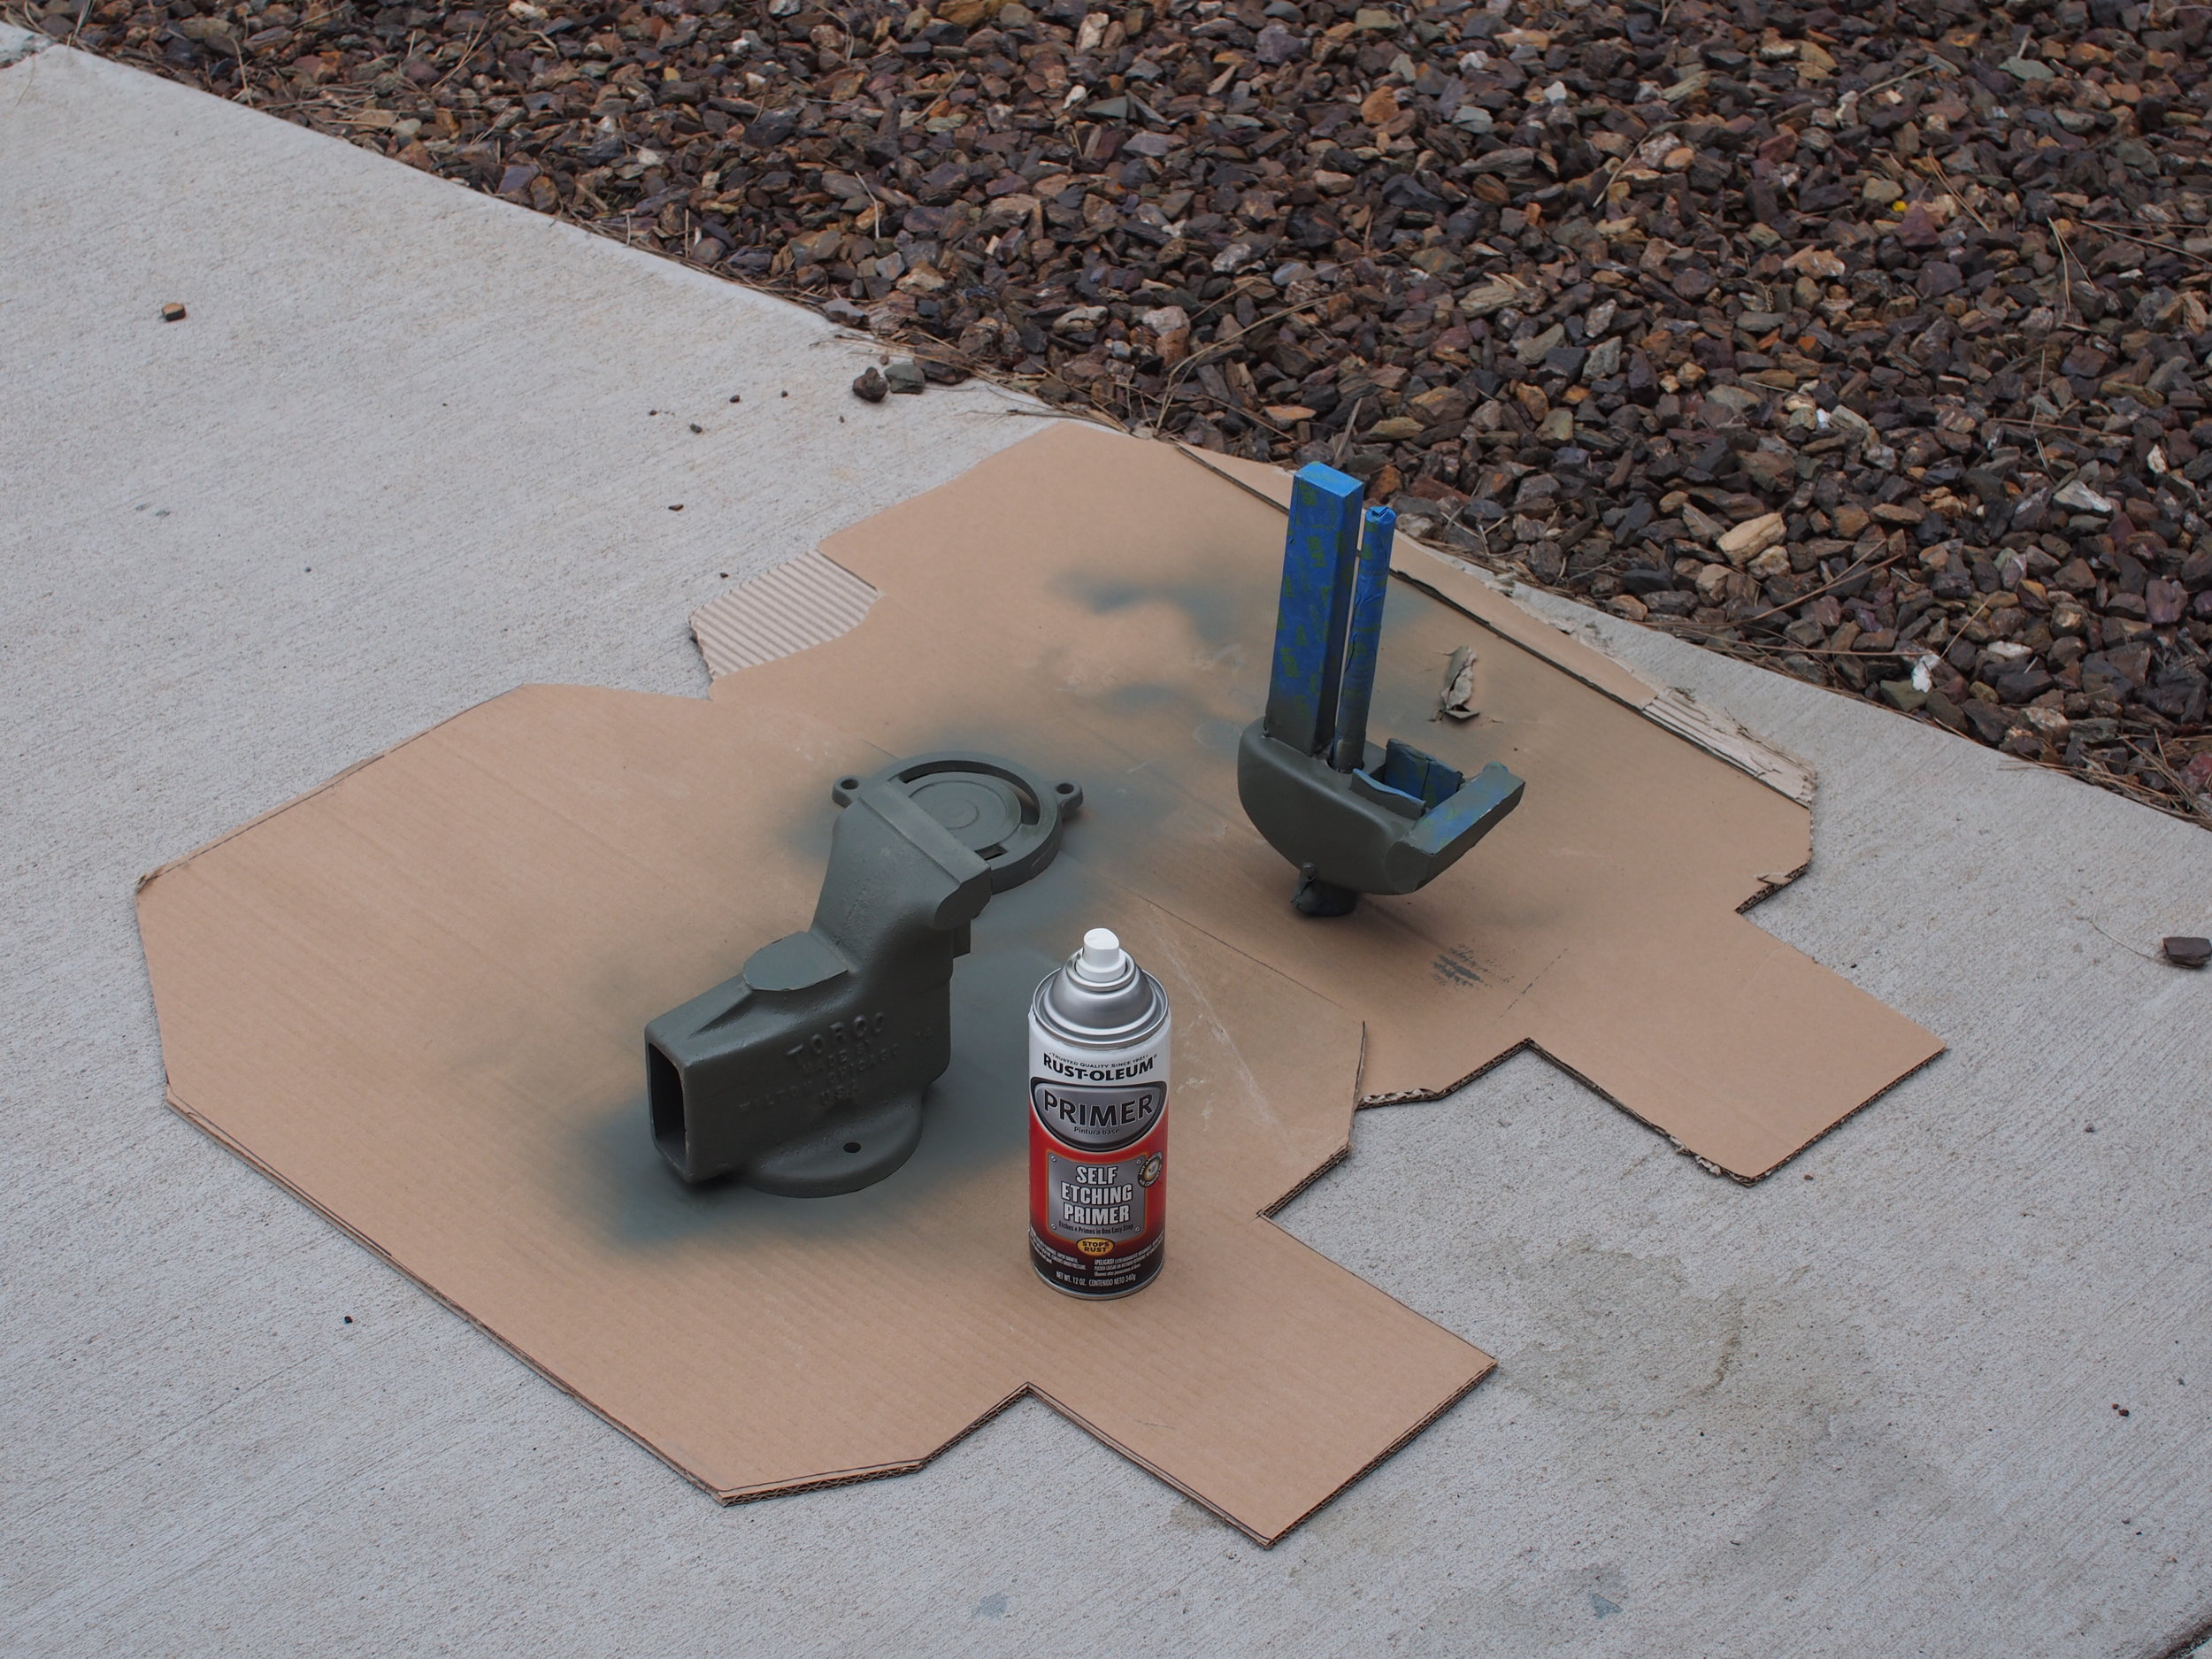
Painting
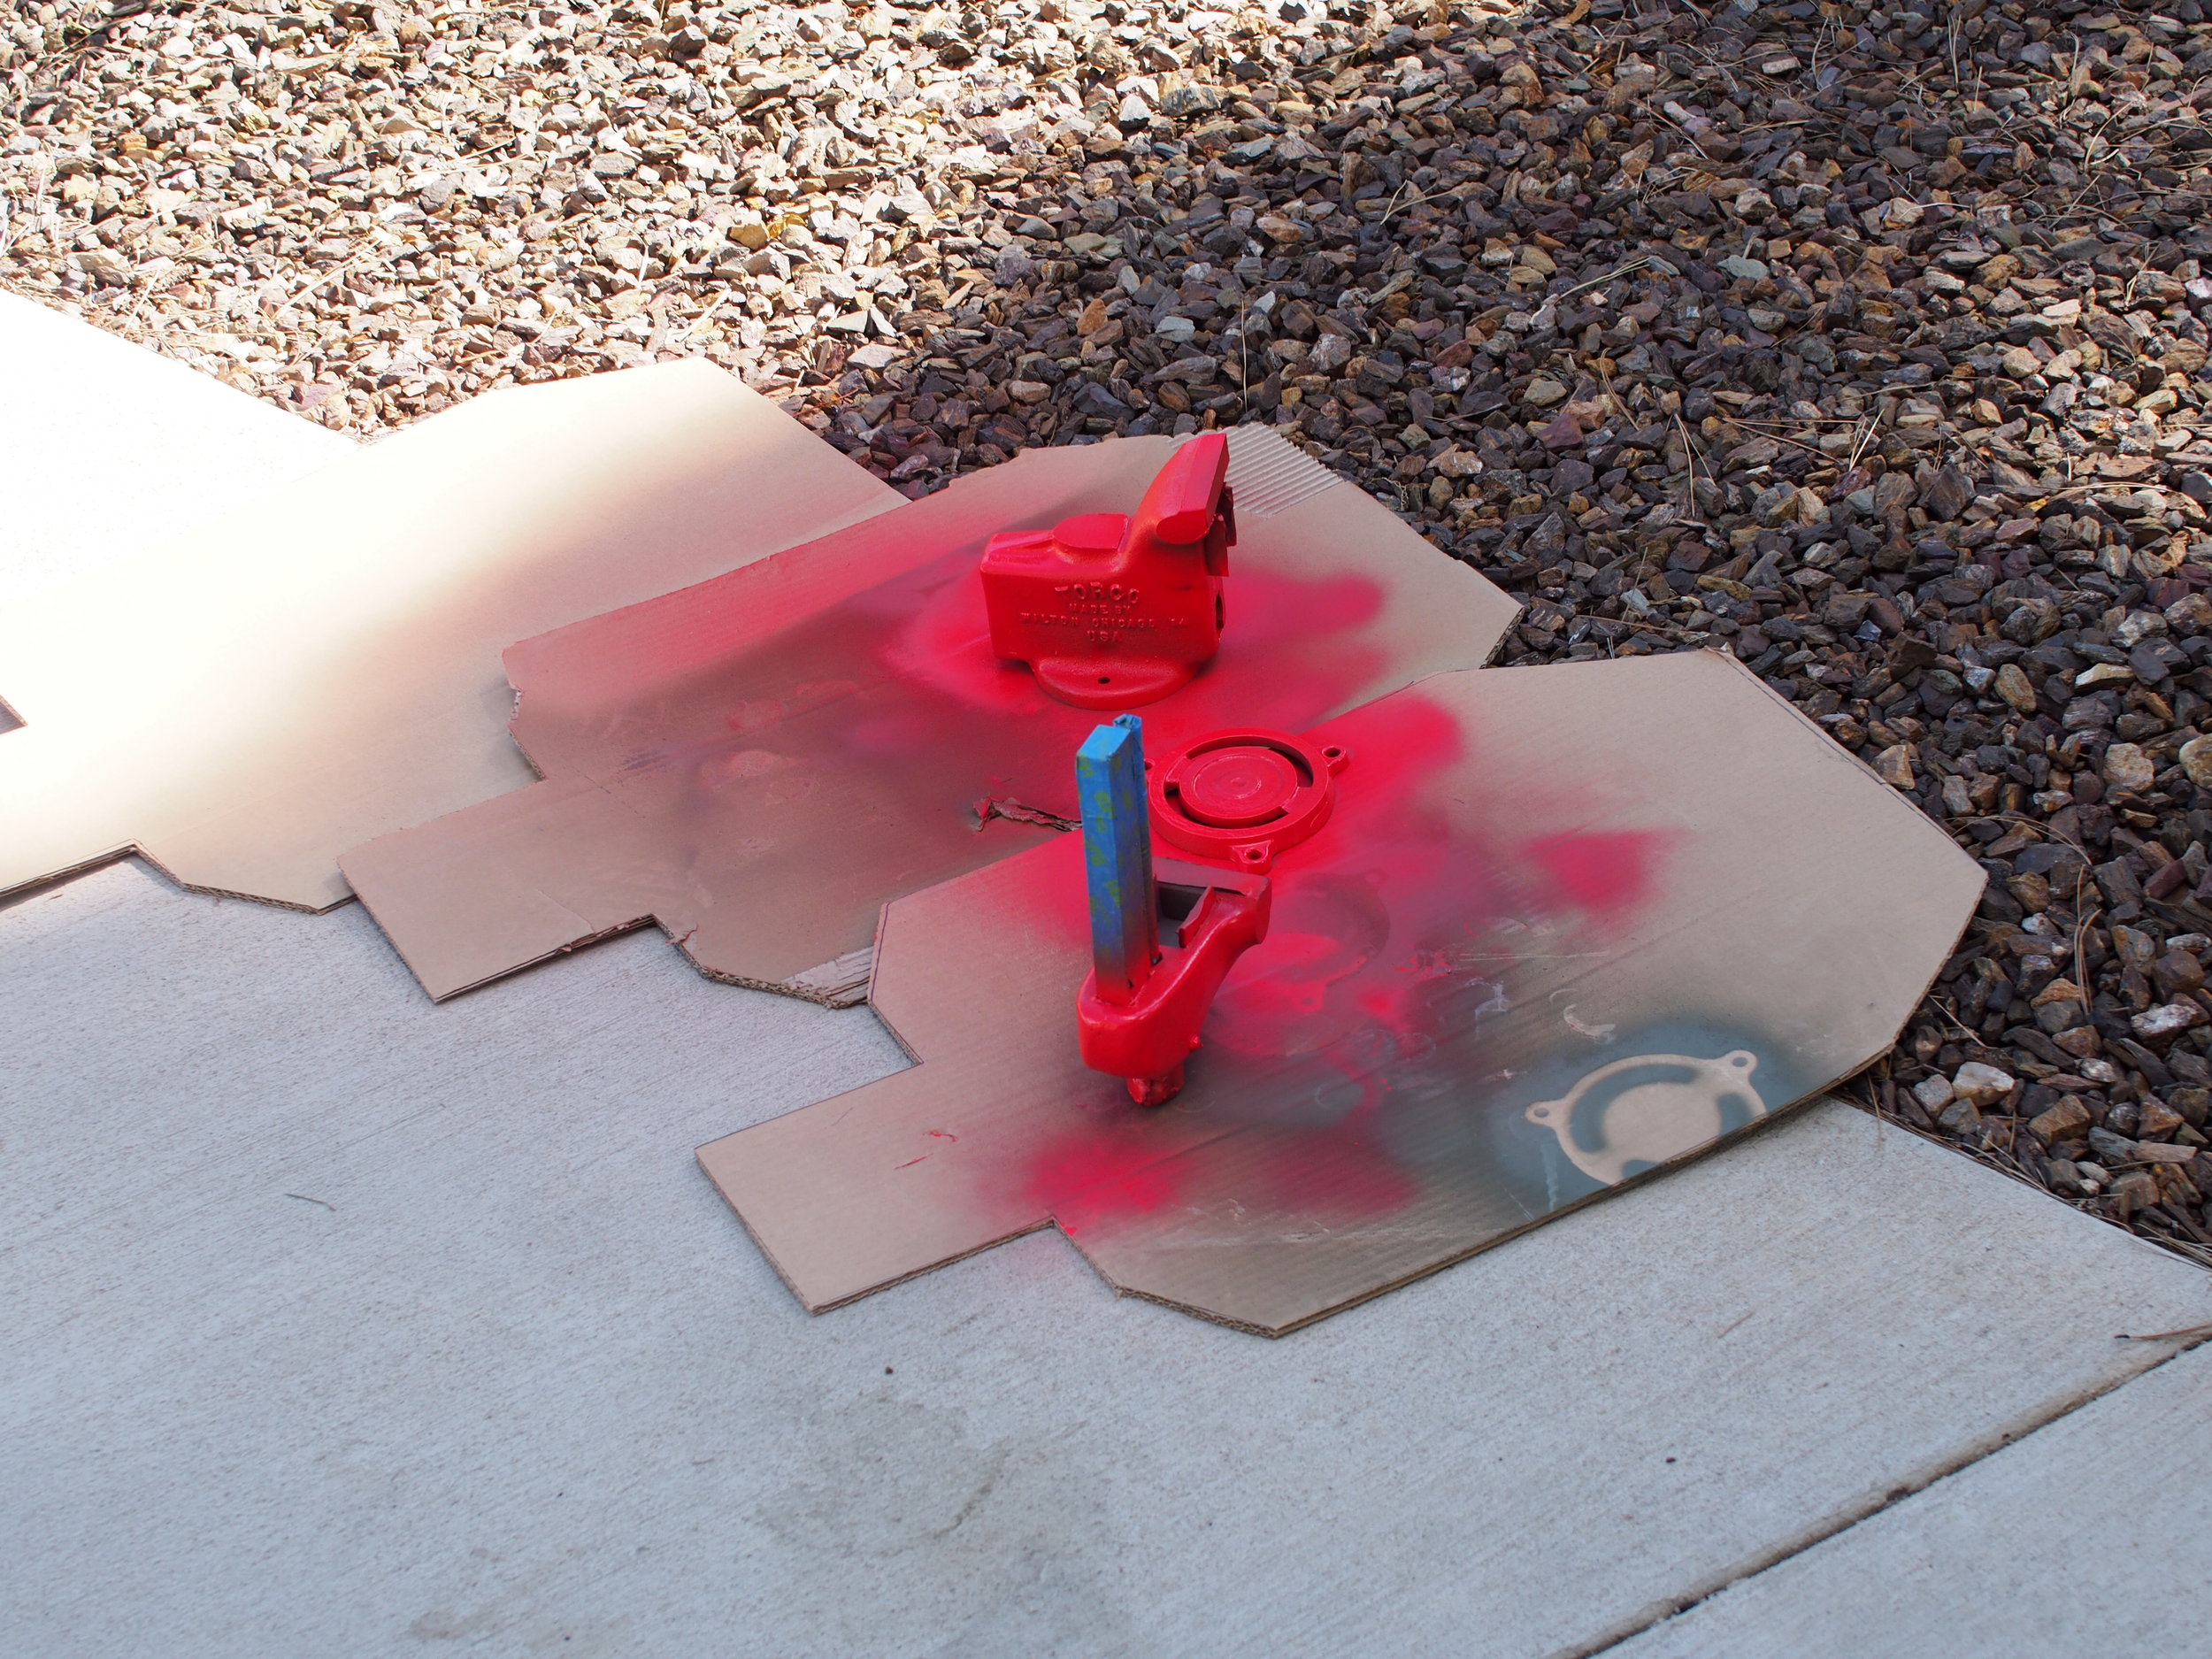
After all this everything came out looking pretty good. I used painter's tape to mask anything I didn't want to paint, and I brushed on the can of primer I bought. Then I came out the next day and there were rust spiders all over everything. I looked at the can of primer I had bought, and it turns out the first one was water based.
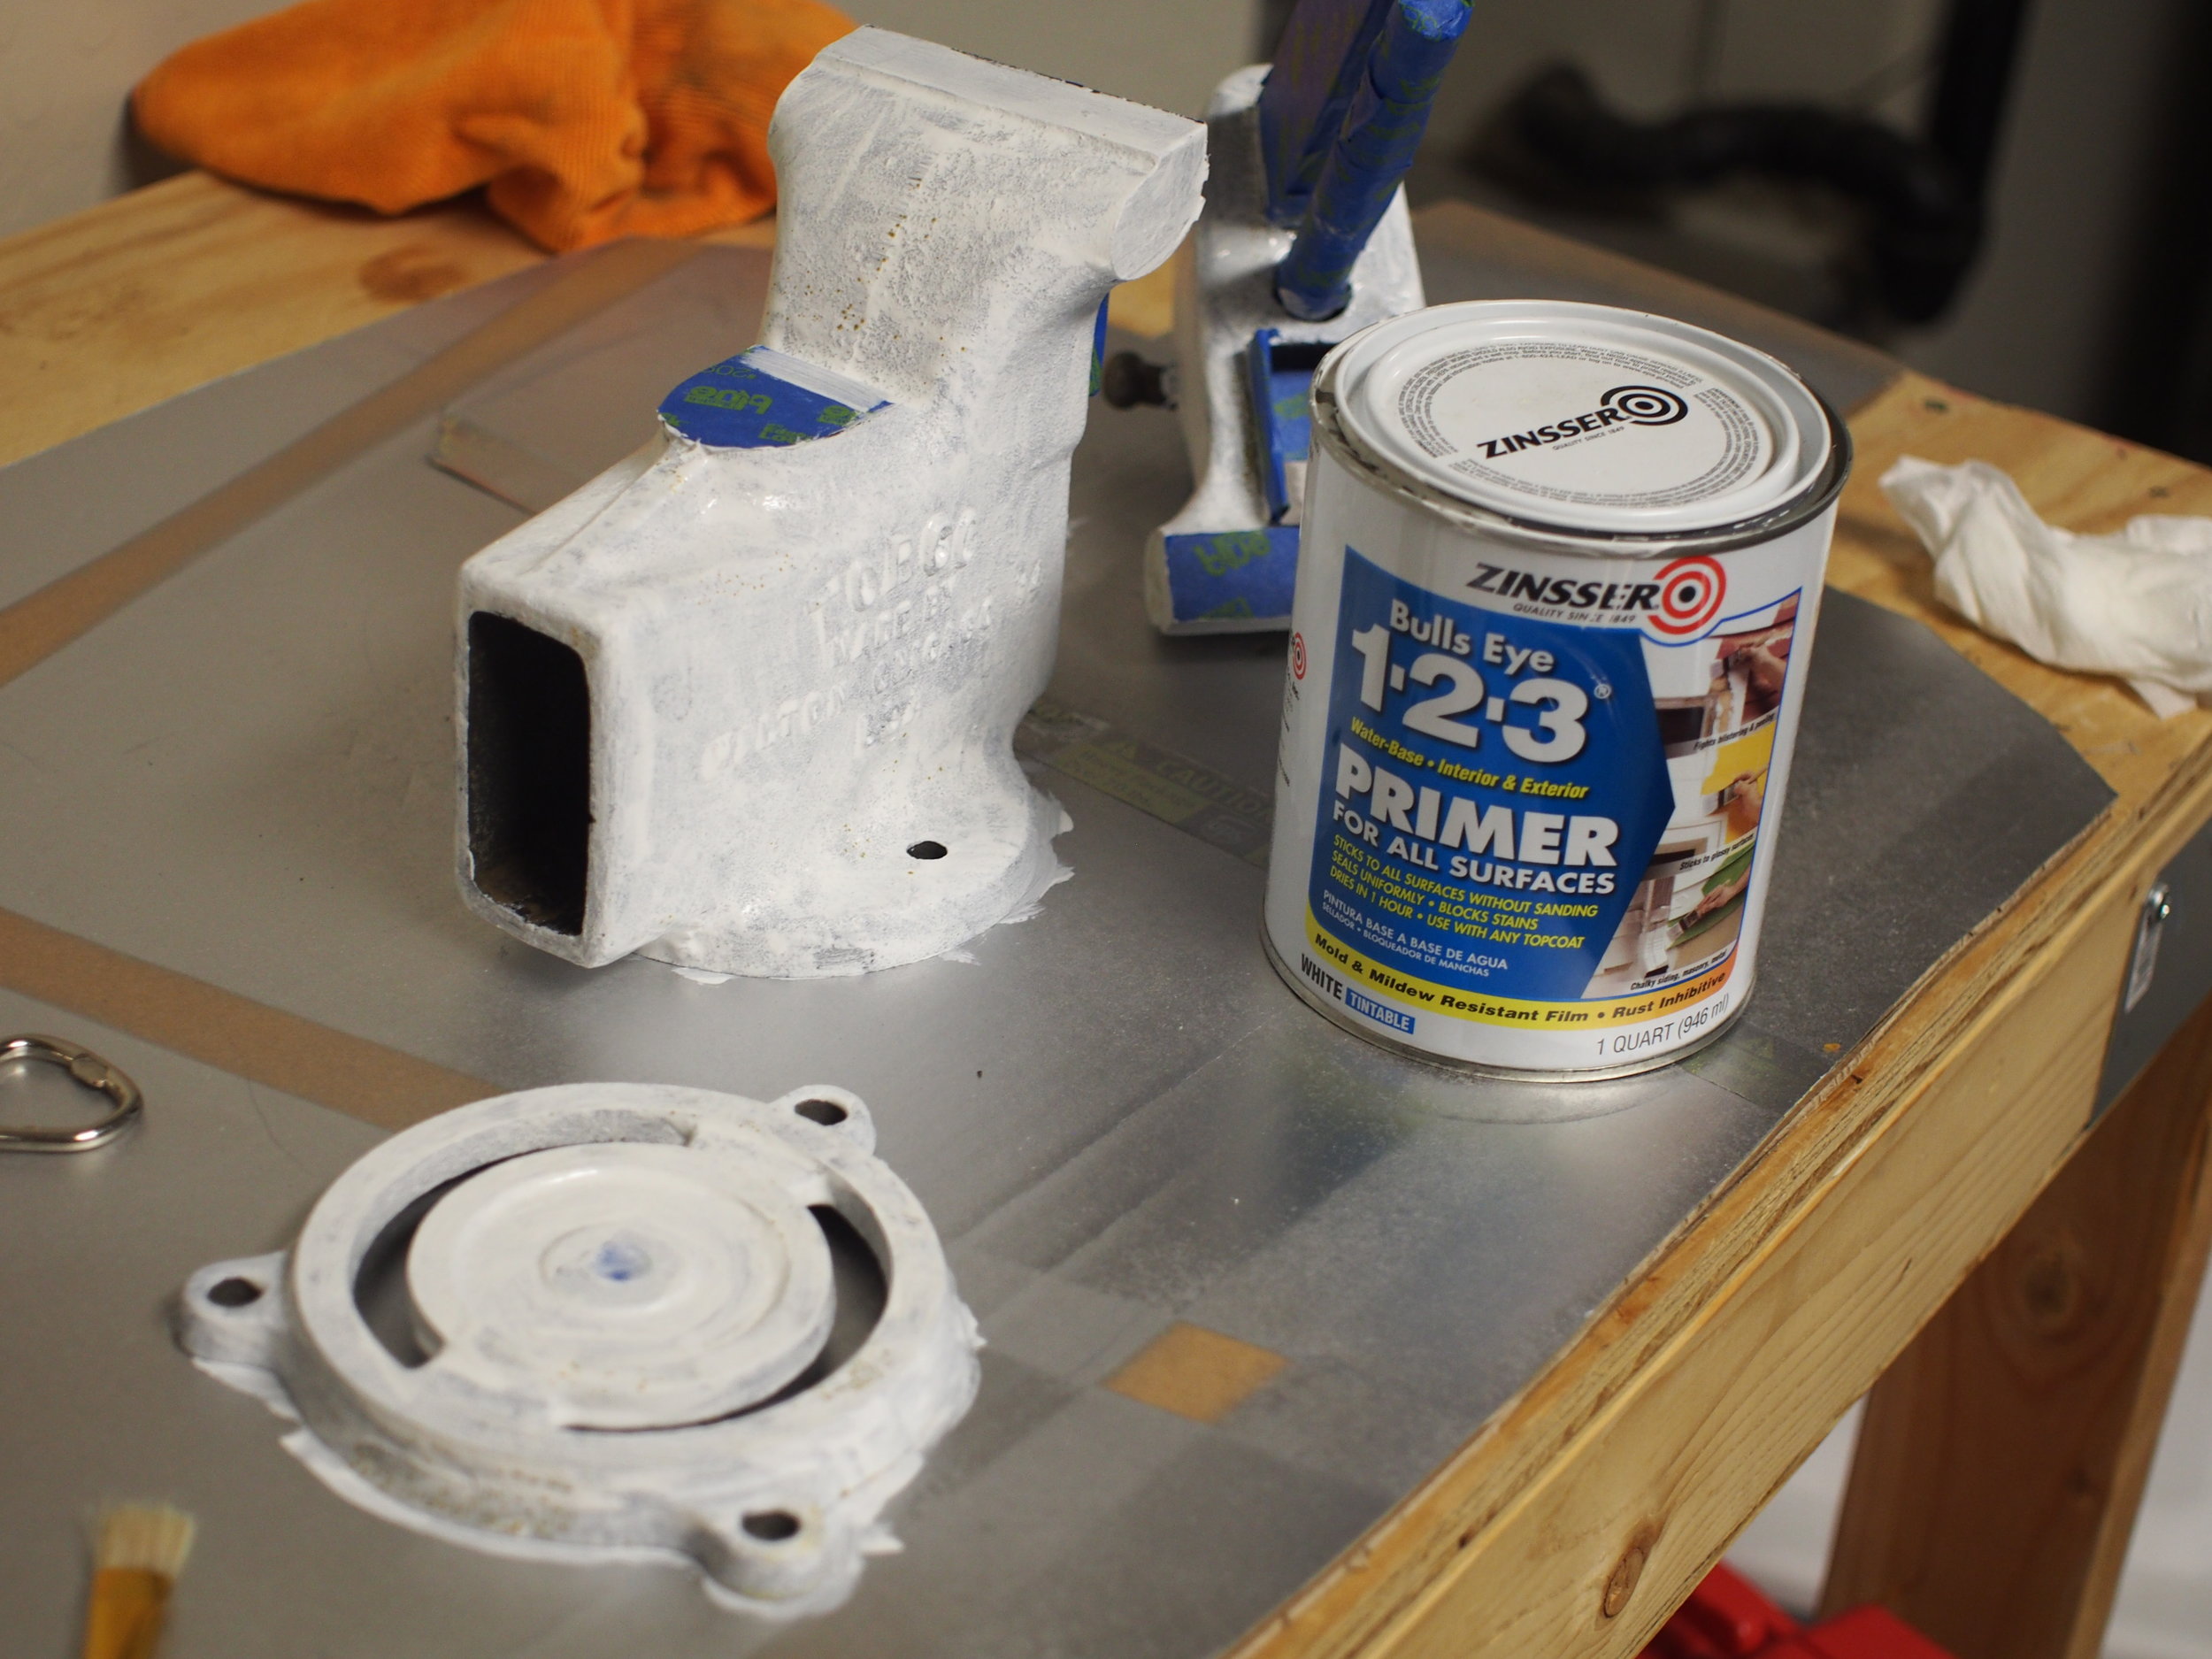
Rookie mistake
I'm sure that primer is a fine product, but it wasn't what I really needed. Everything went back in the sandblaster, and I bought self-etching primer for metal.
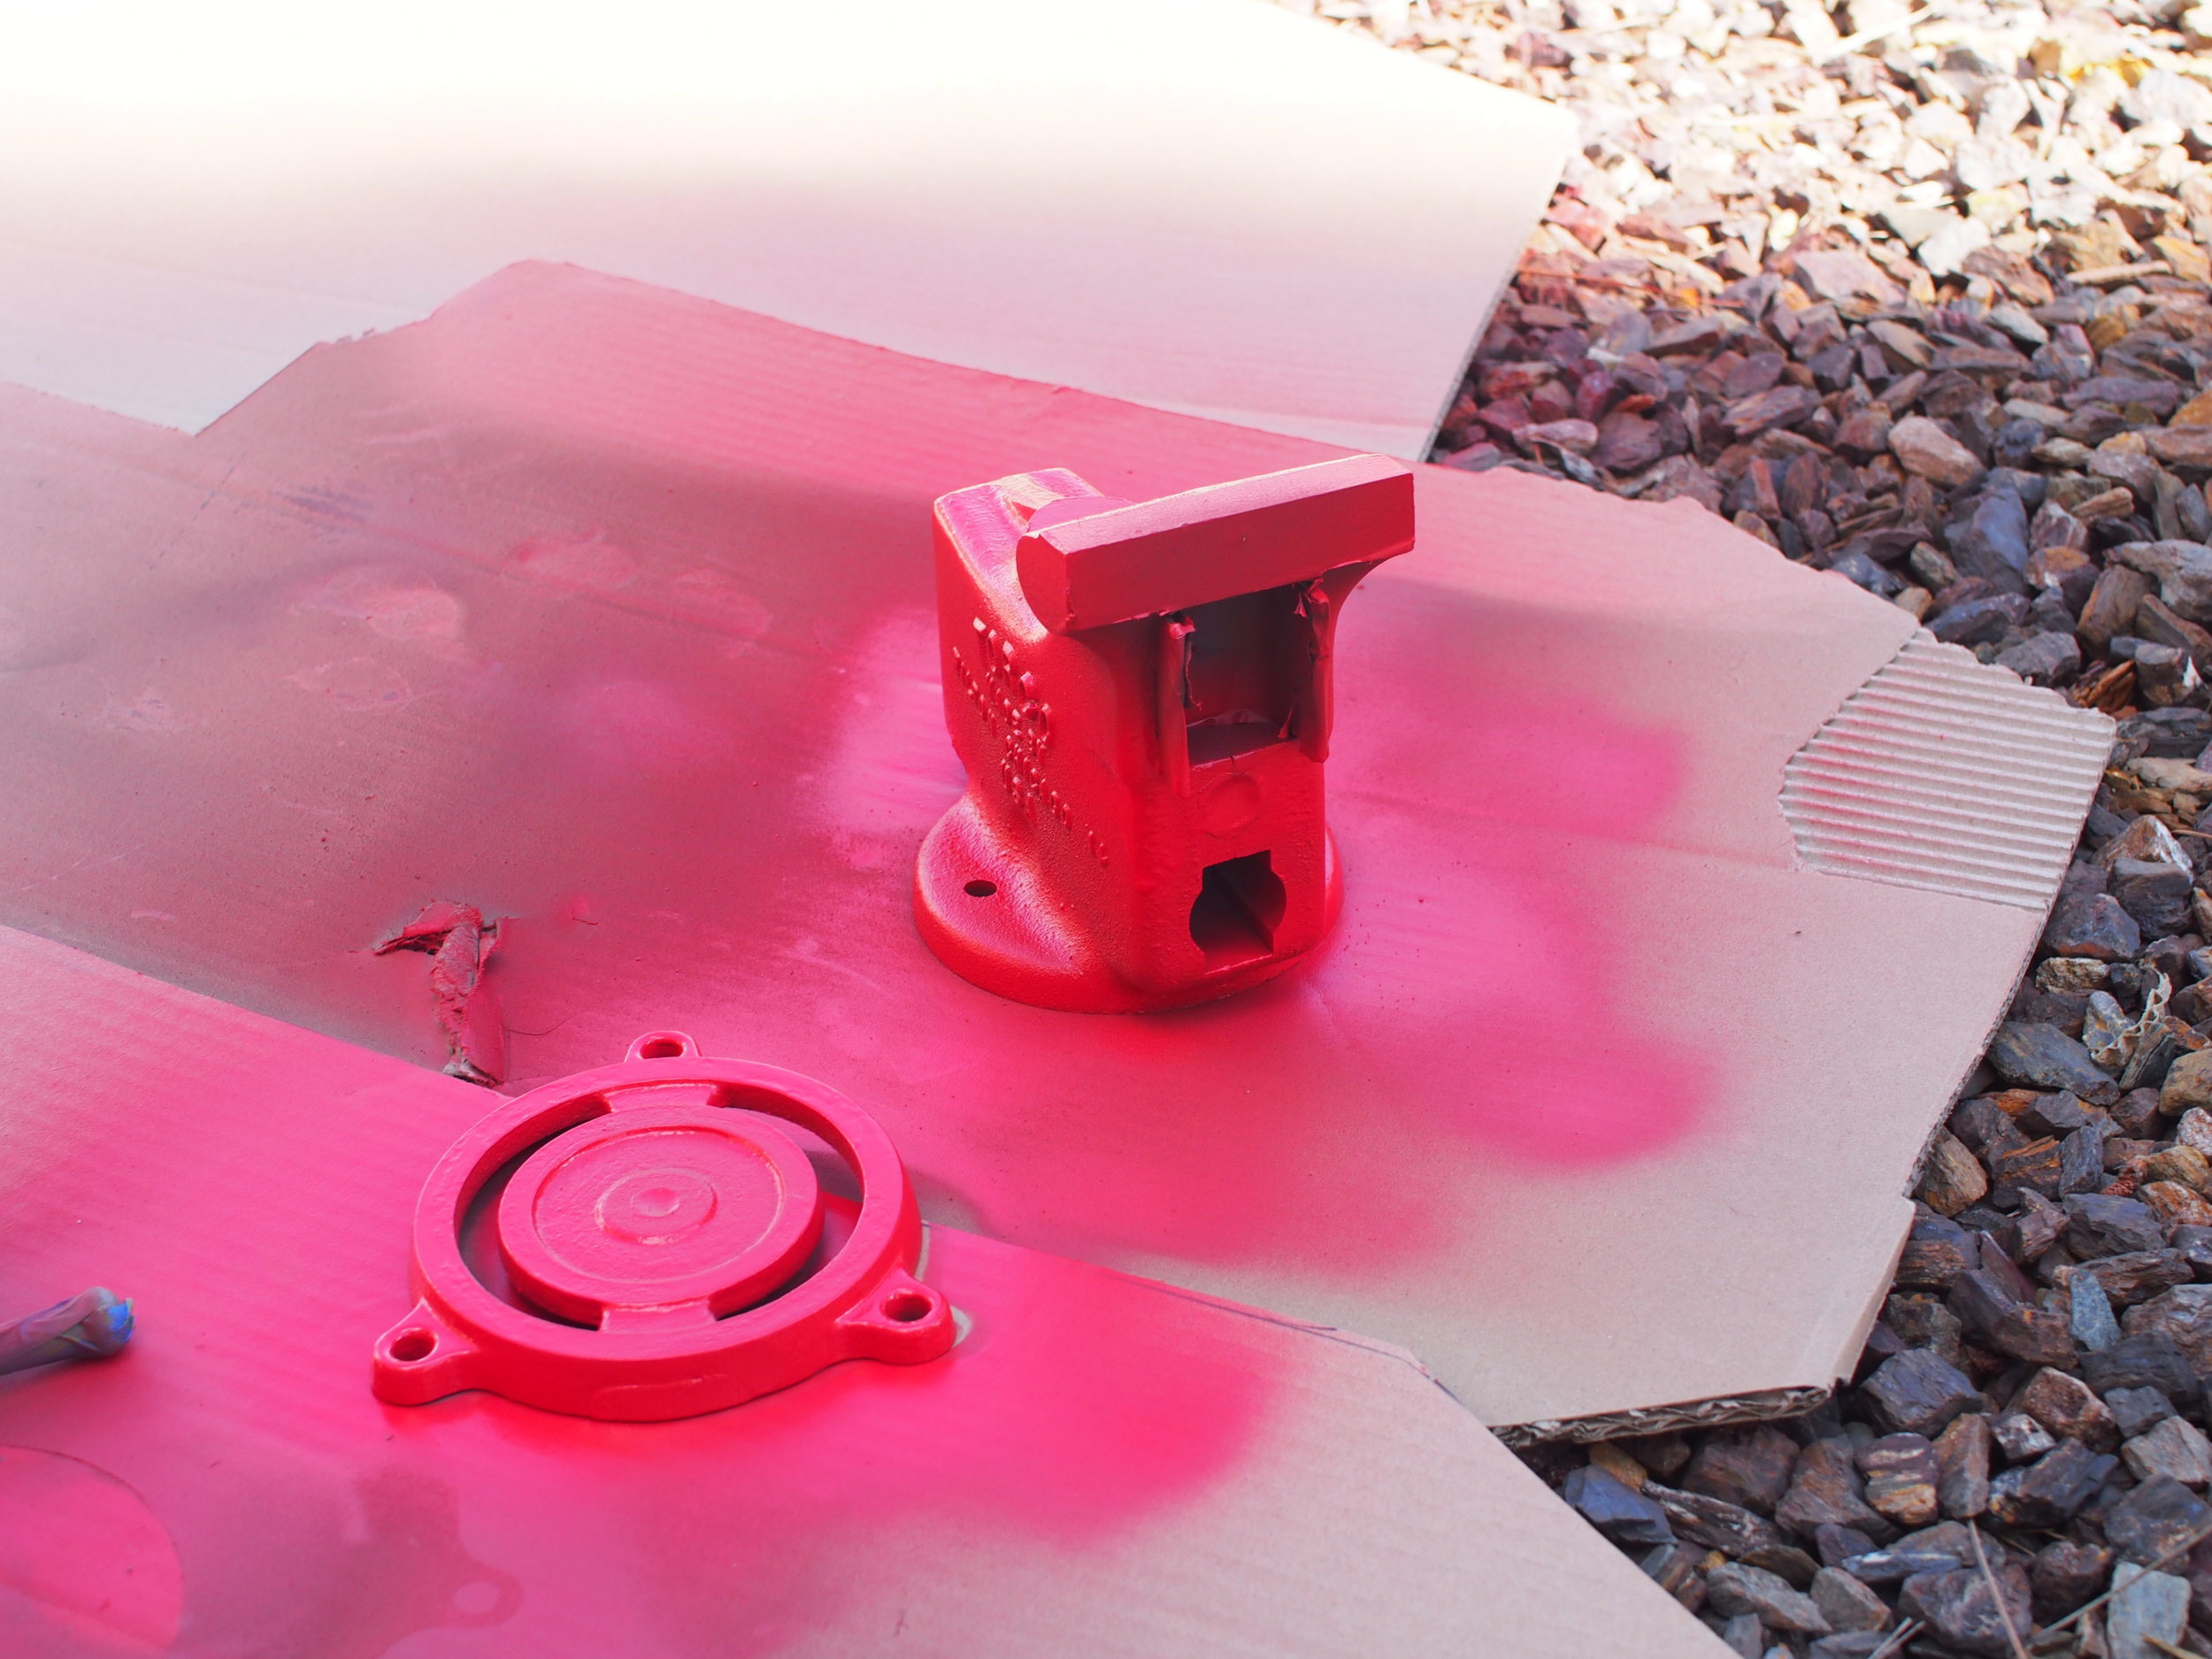
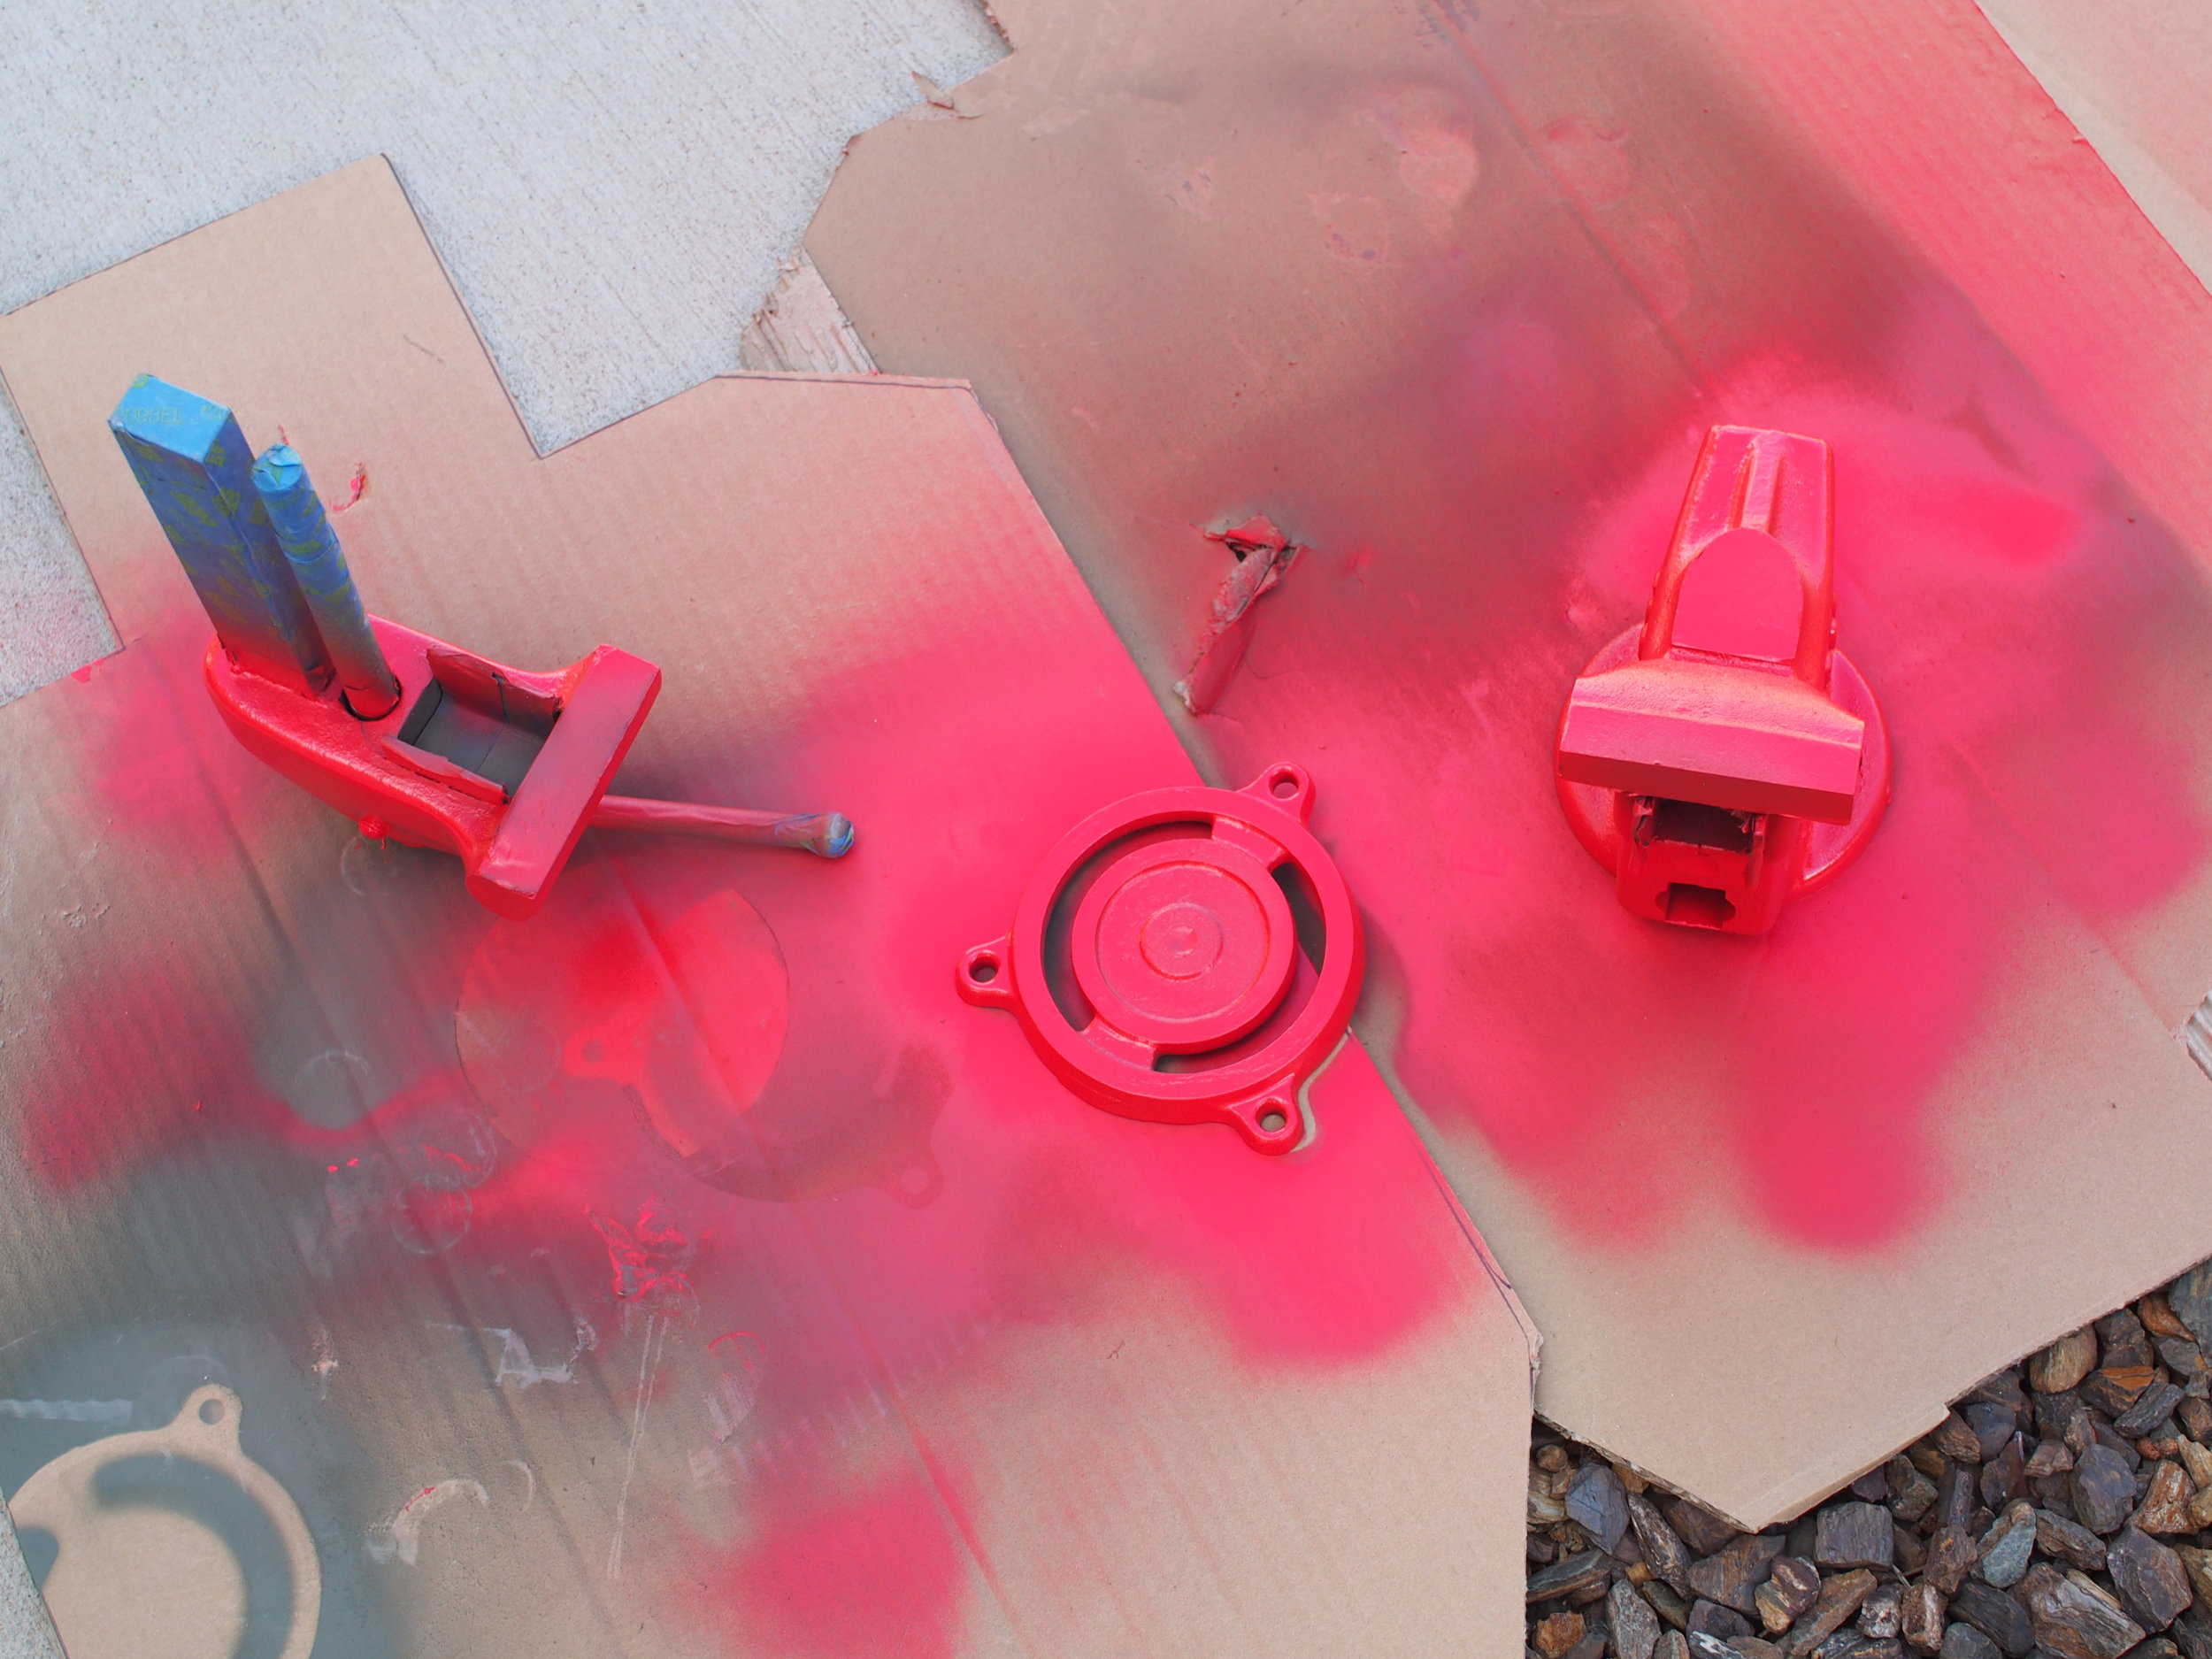
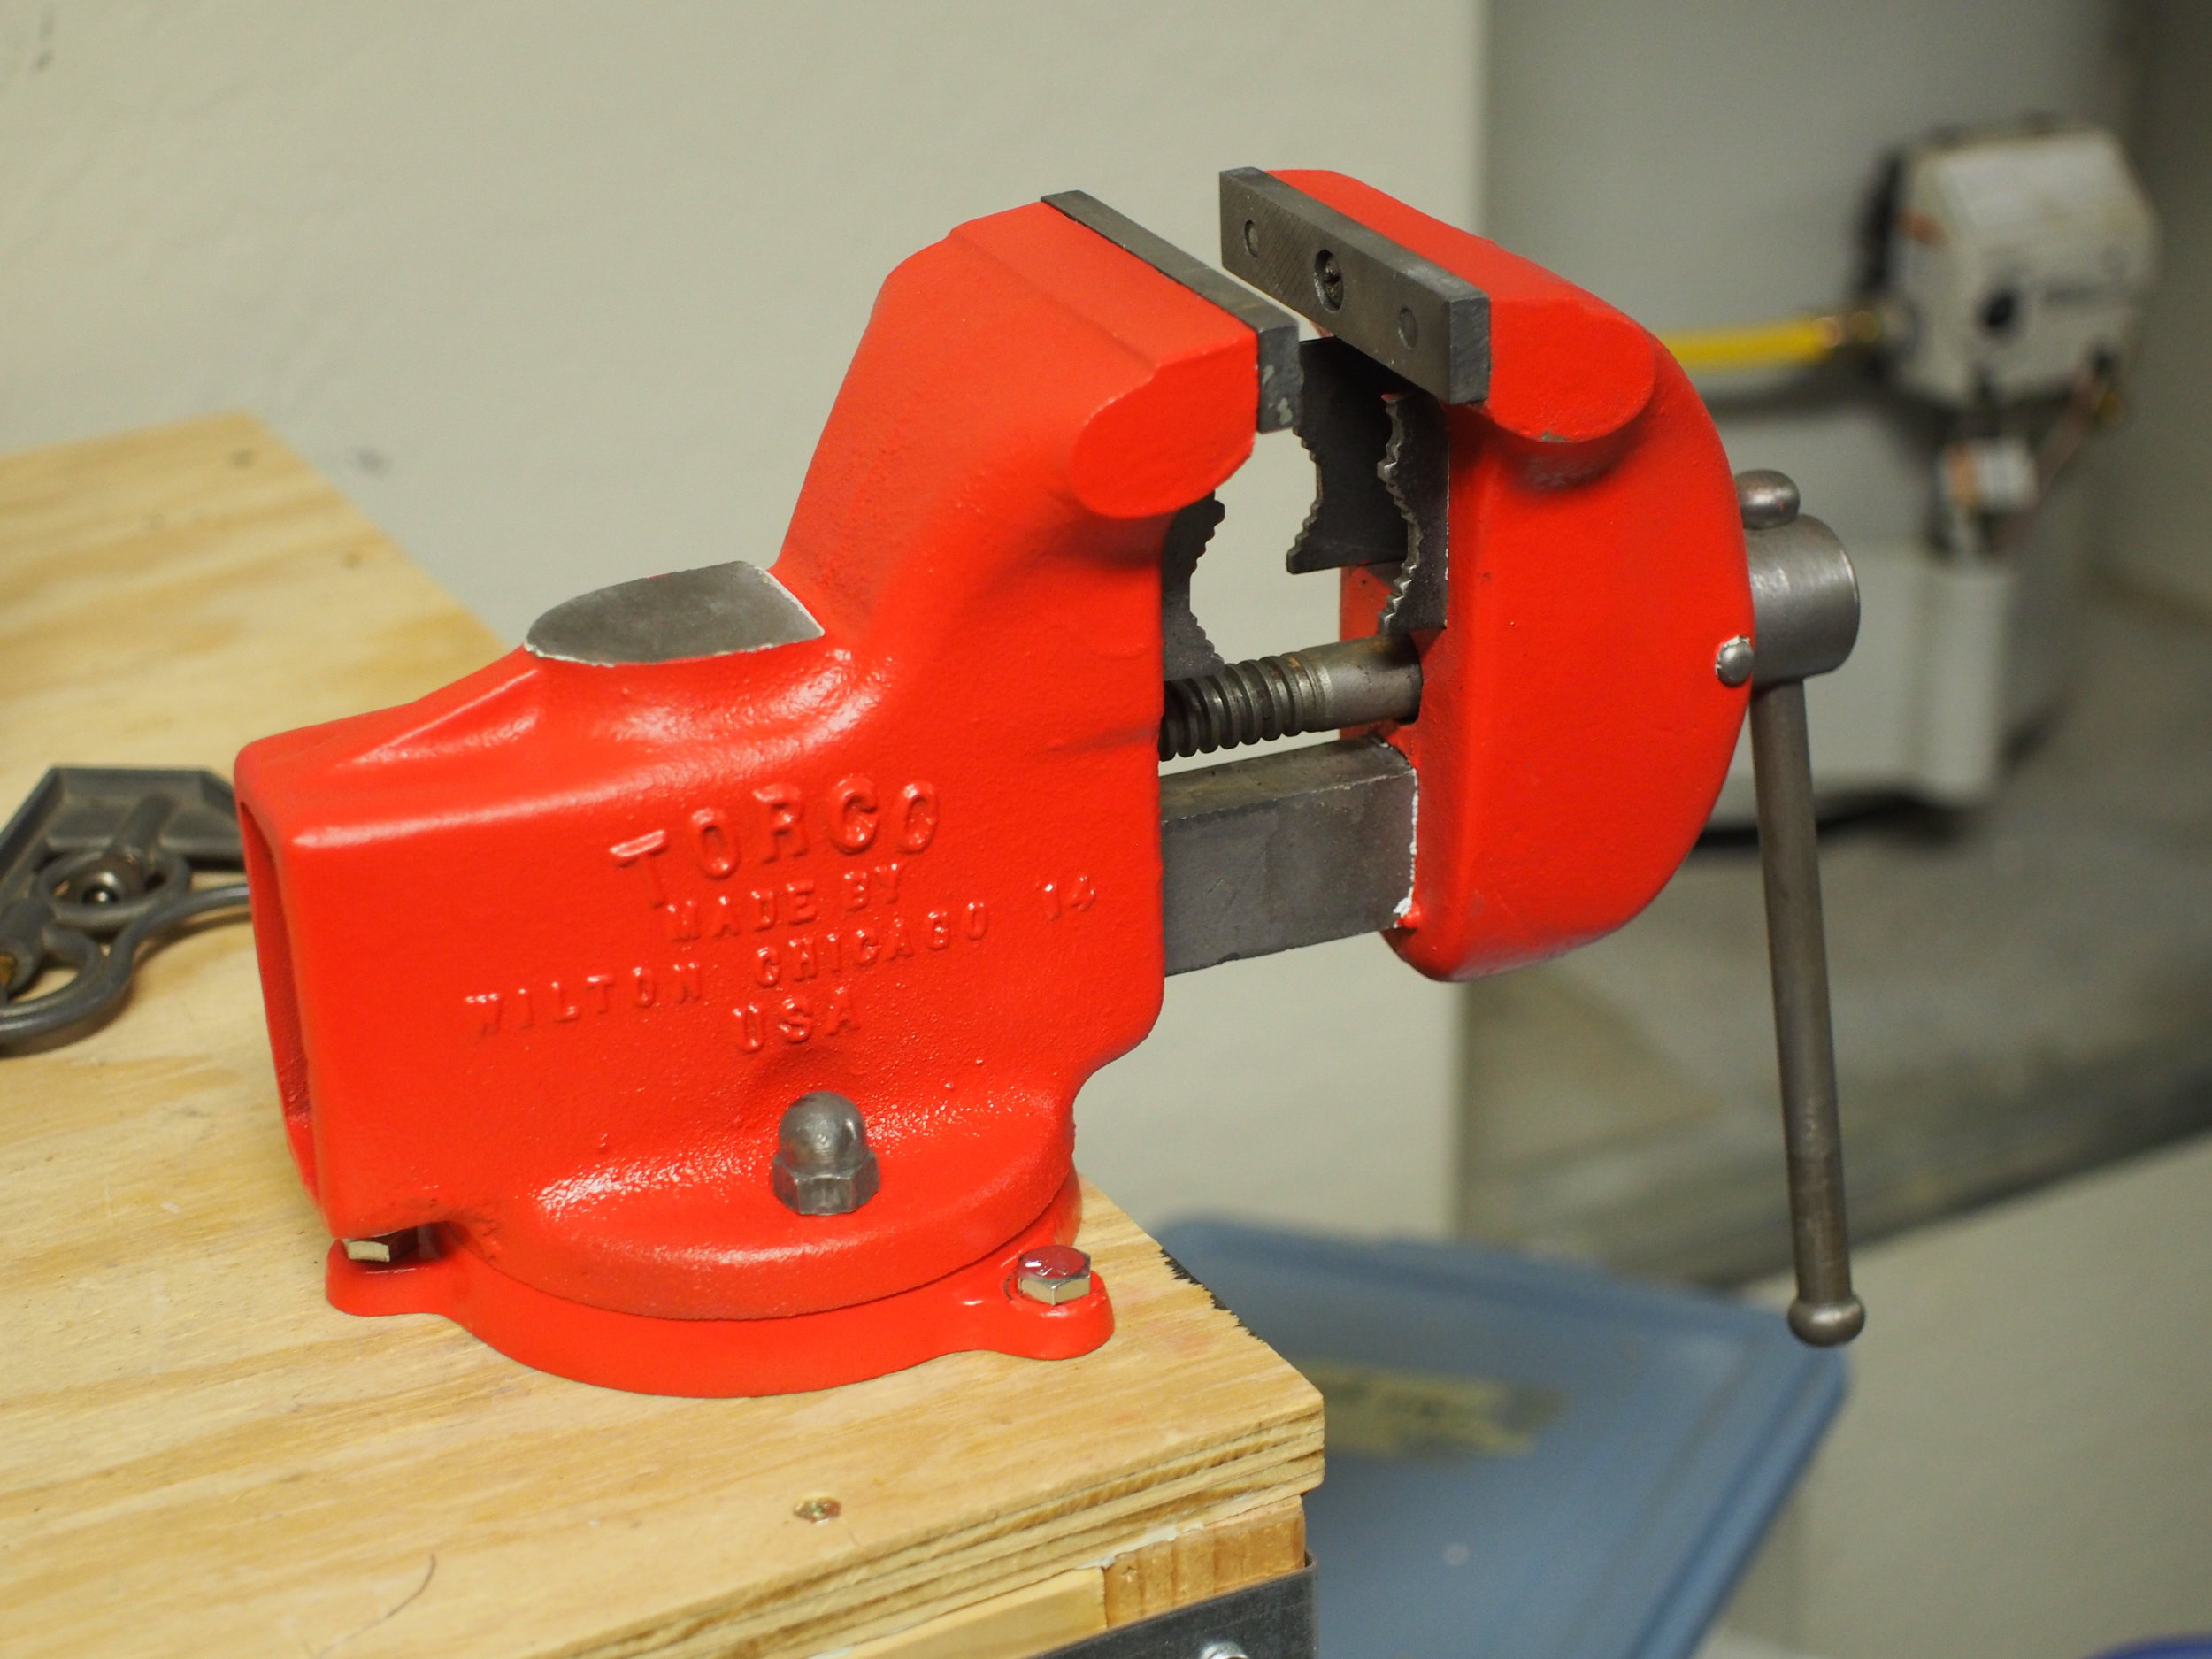
I gave the primer a chance to cure, and then I laid two coats of paint on top. I picked red, because it was fun.
Reassembly
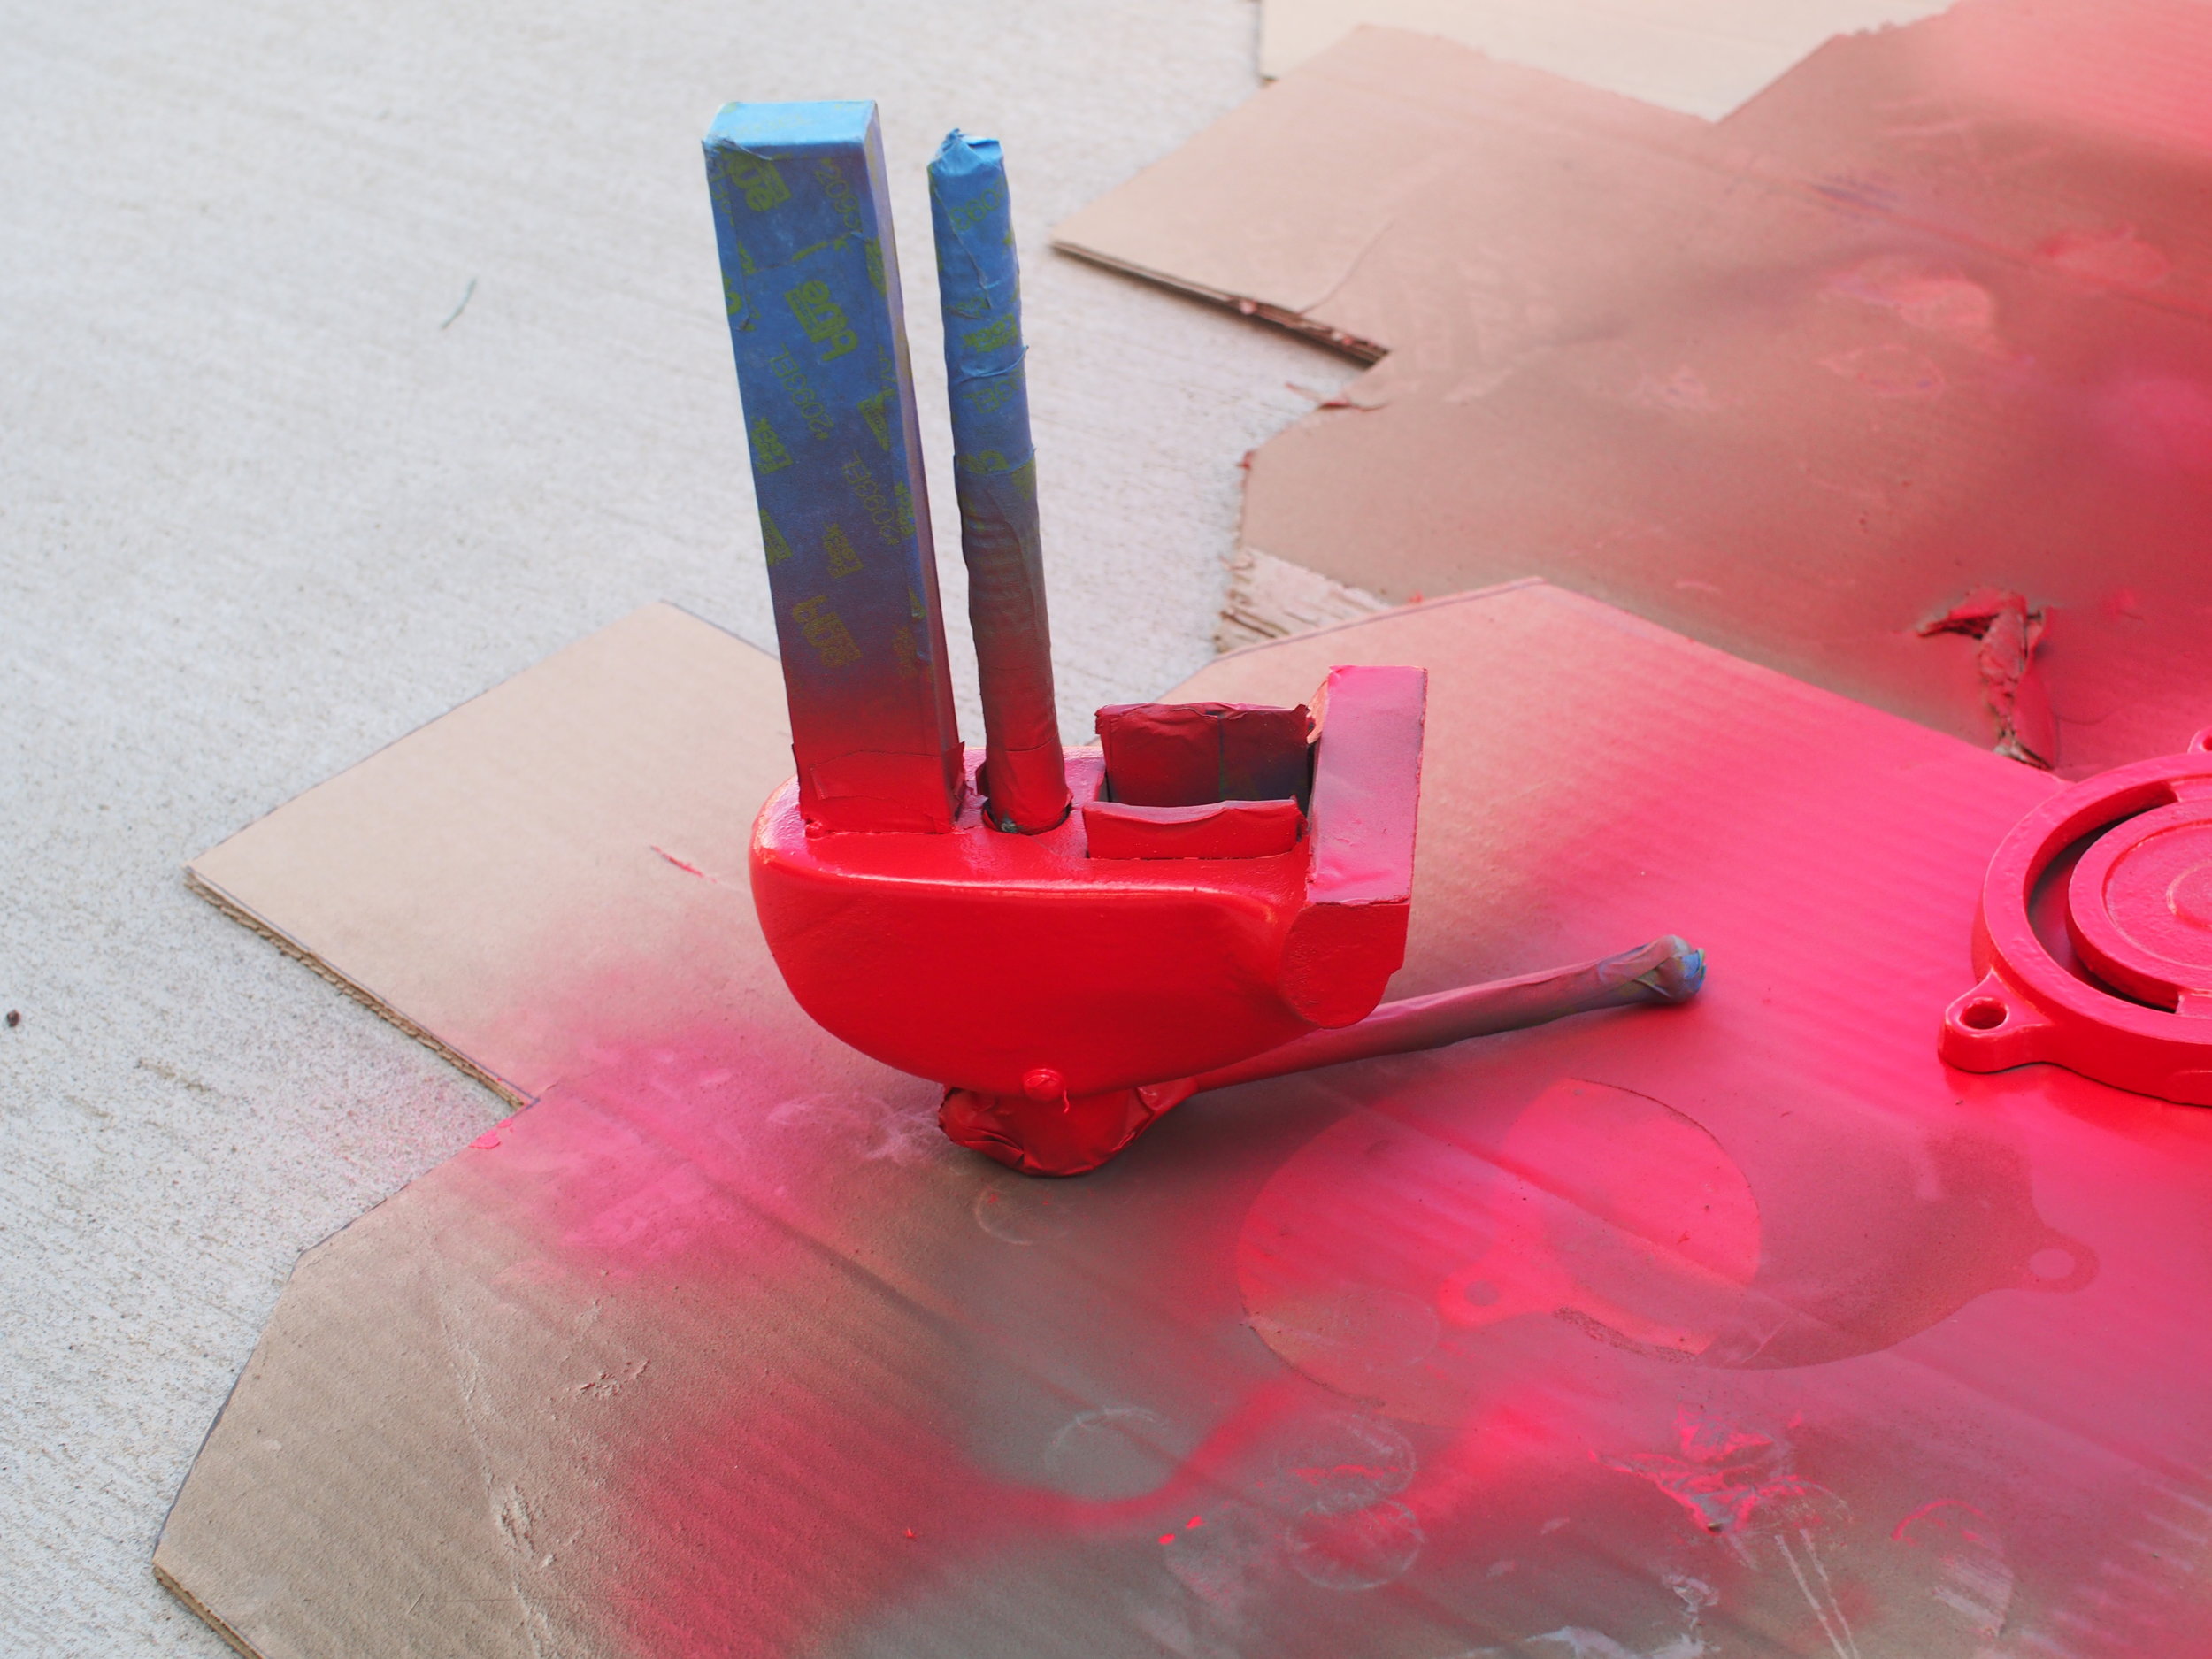
I pulled the masking off, and then I tried to put the movable jaw back into the static jaw. It wouldn't fit! I had masked the rectangular slide of the movable jaw, but some over-spray had made the opening in the static jaw just a bit too small. If you look close in the picture you can see some red inside the channel. Fortunately nothing more was required than a little touch-up with sandpaper.
Mounting the Vise
I put some graphite on the base, drilled some holes in my work bench, and bolted it down. The only thing I should have done different is wait a bit longer for the paint to cure, since the bolts marred it a bit.
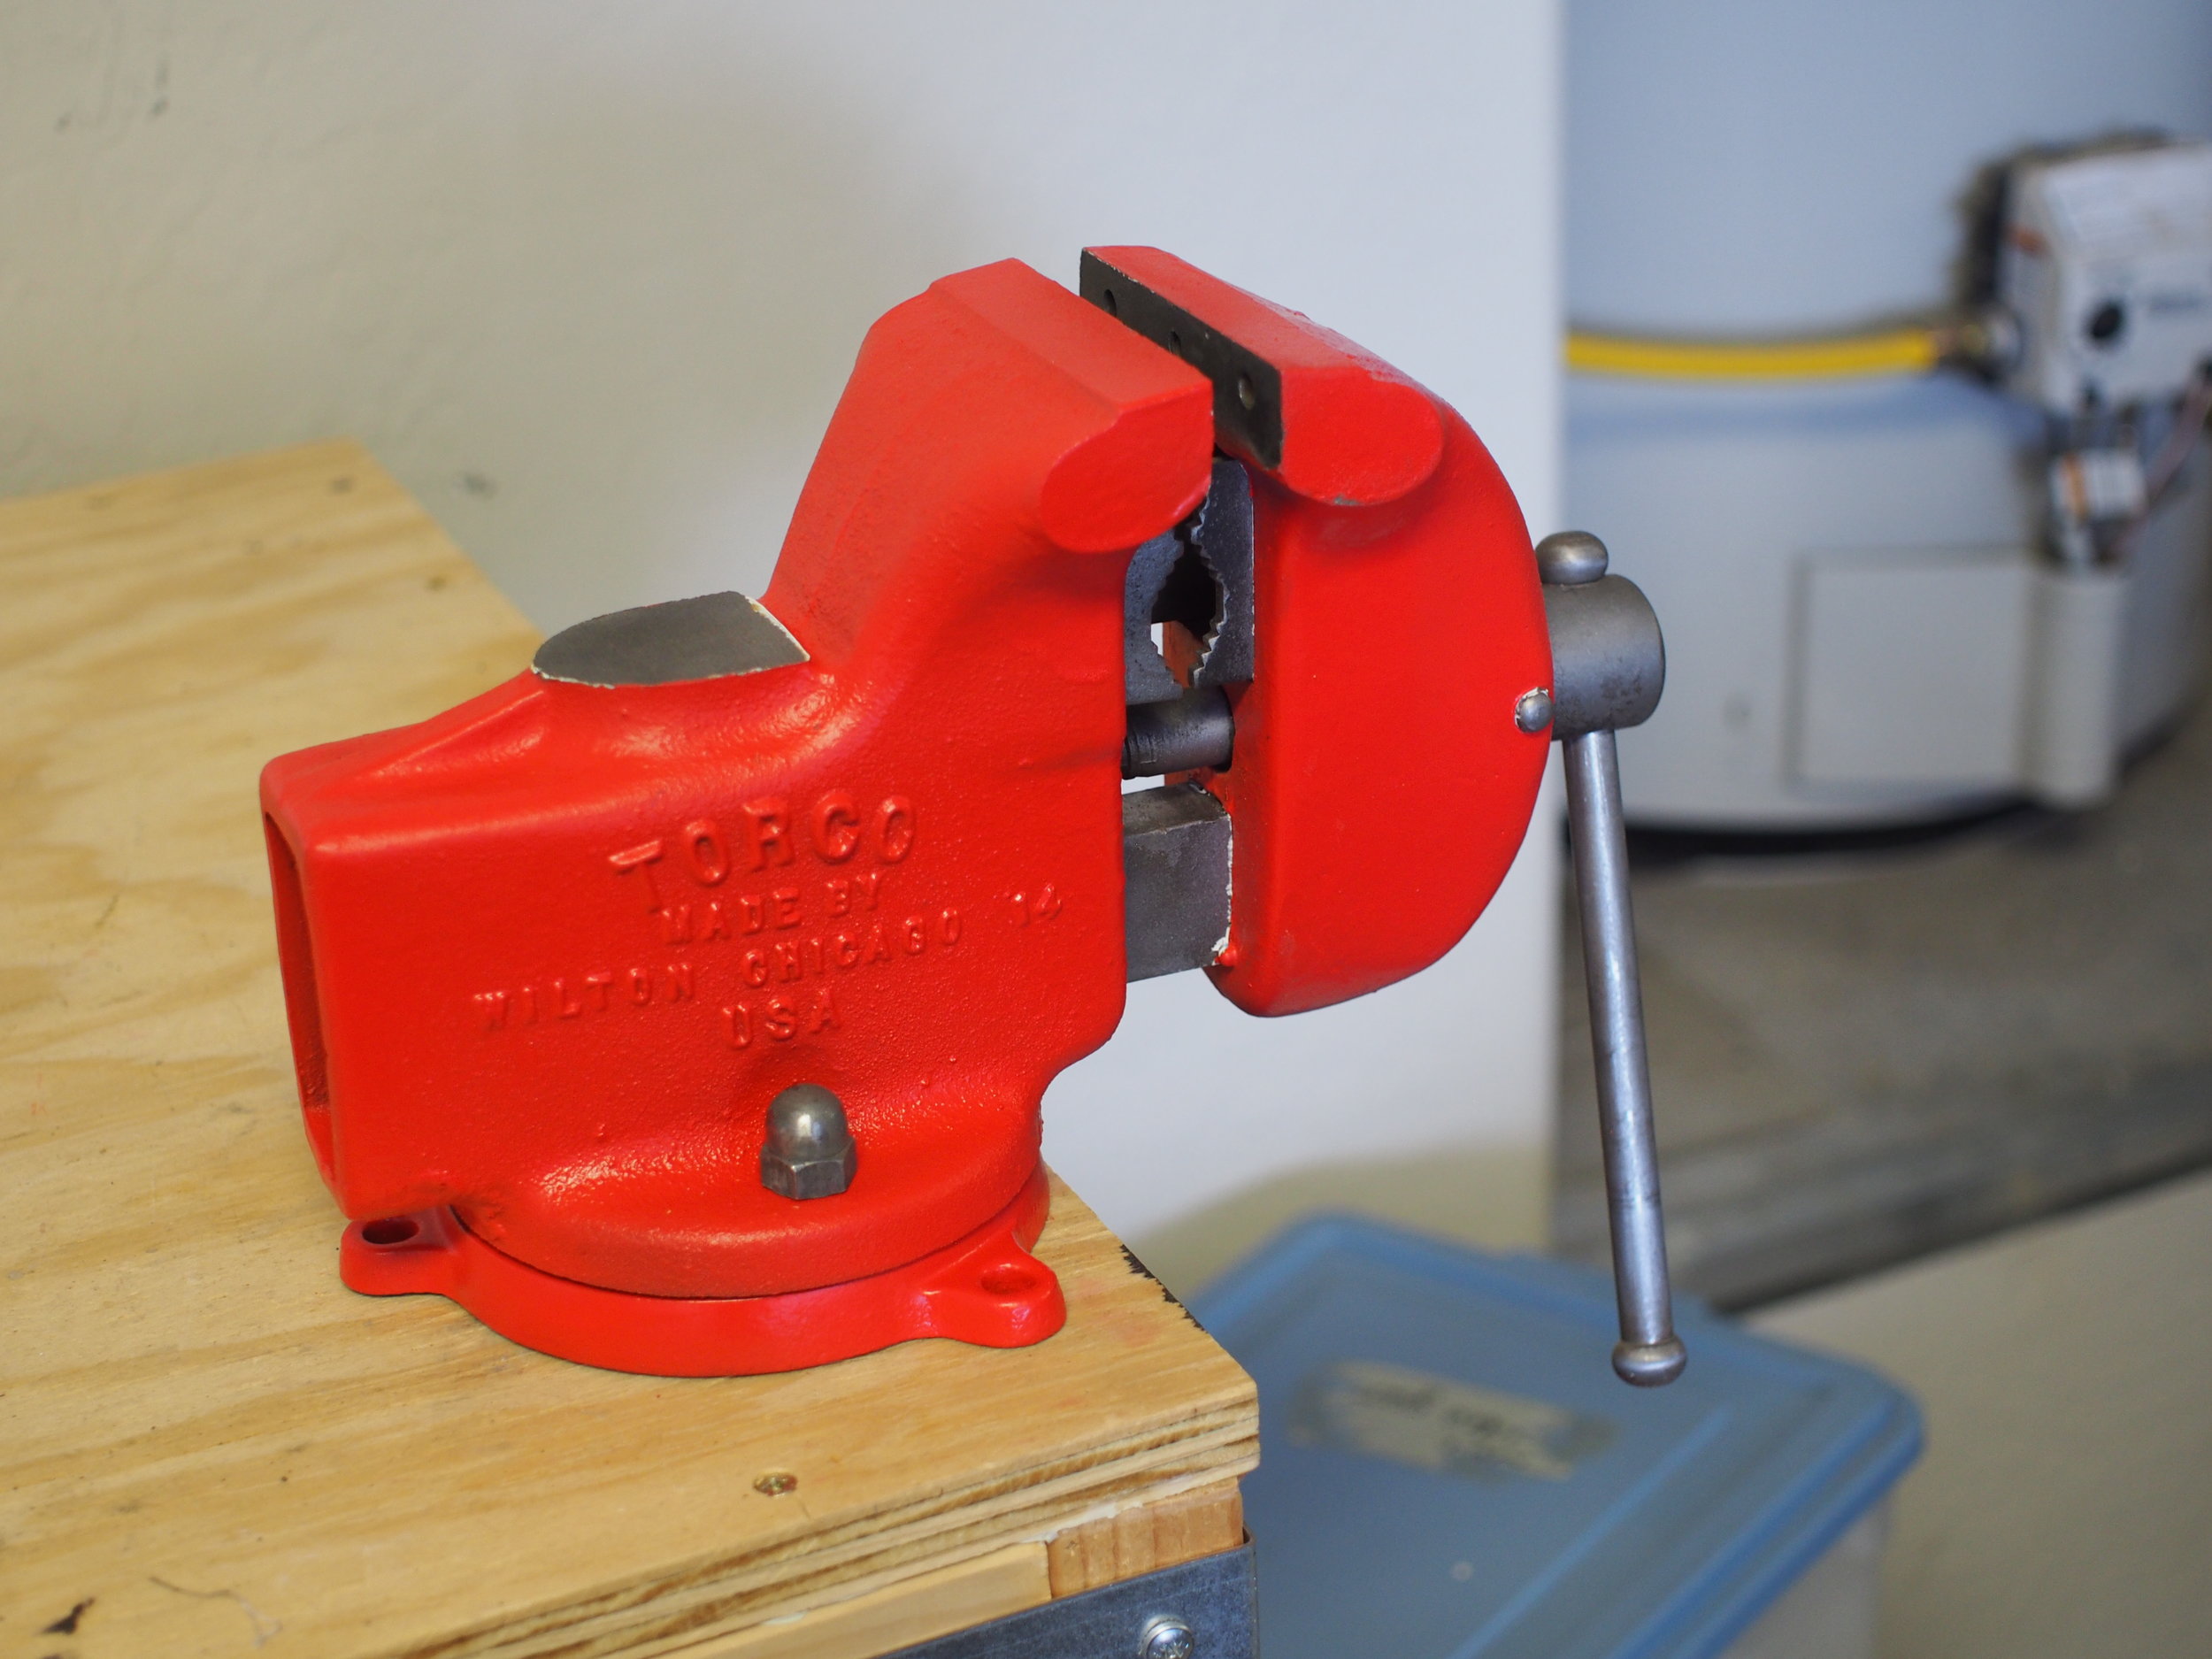
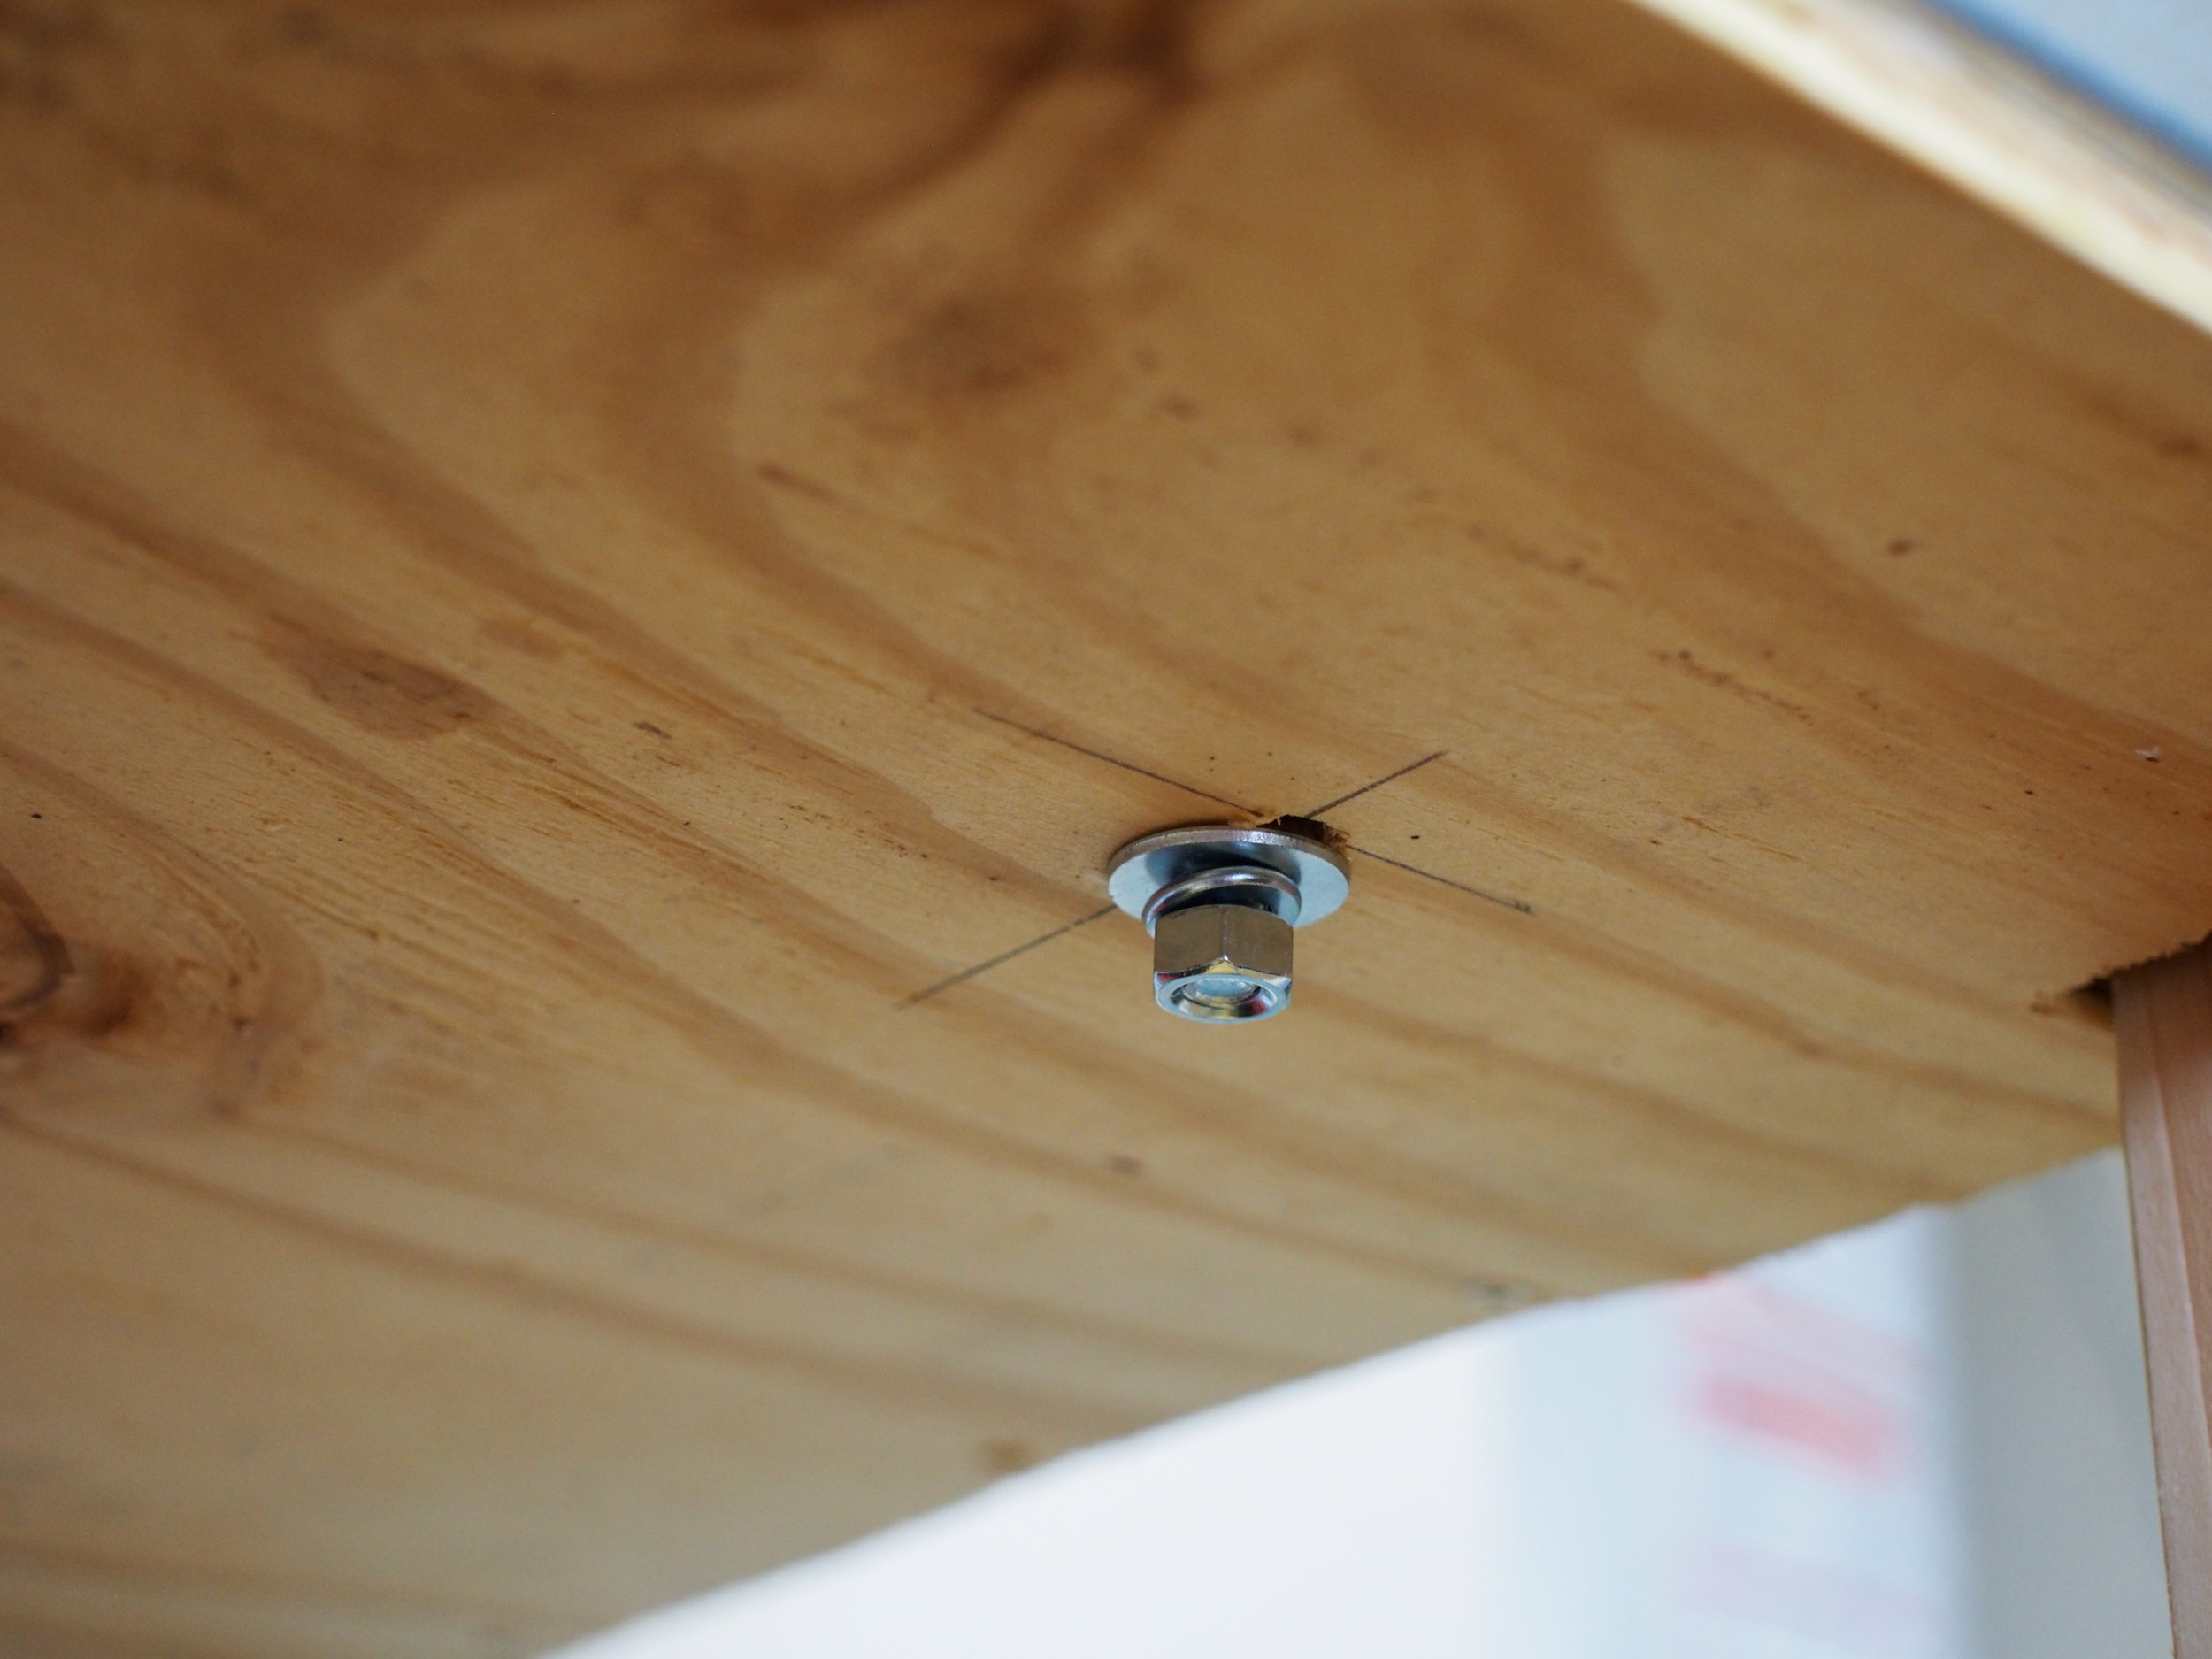
Not too difficult, and pretty rewarding!
Comments ()